10 Inspiring DIY Kitchen Island Ideas to Transform Your Space
- Kitchen Design
 Alina
Alina- 0
- 19 minutes read

A DIY kitchen island can be a fantastic addition to your cooking space, offering extra prep room, storage, and a cozy spot for casual dining. Creating your own island not only reflects your personal style but also gives you the flexibility to customize it to fit your needs. Let’s get started on bringing your vision to life!
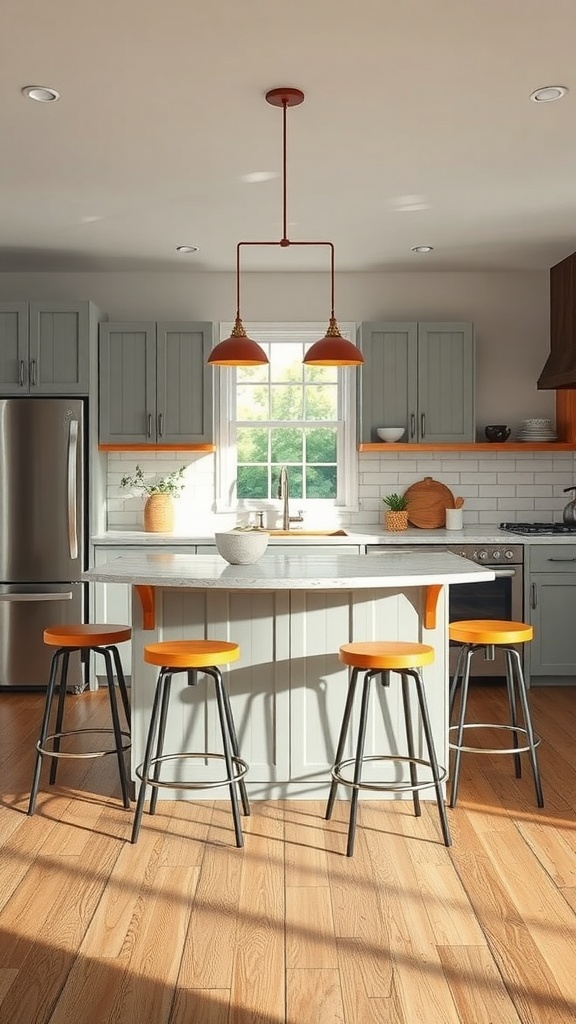
Building a Multi-Functional Workspace

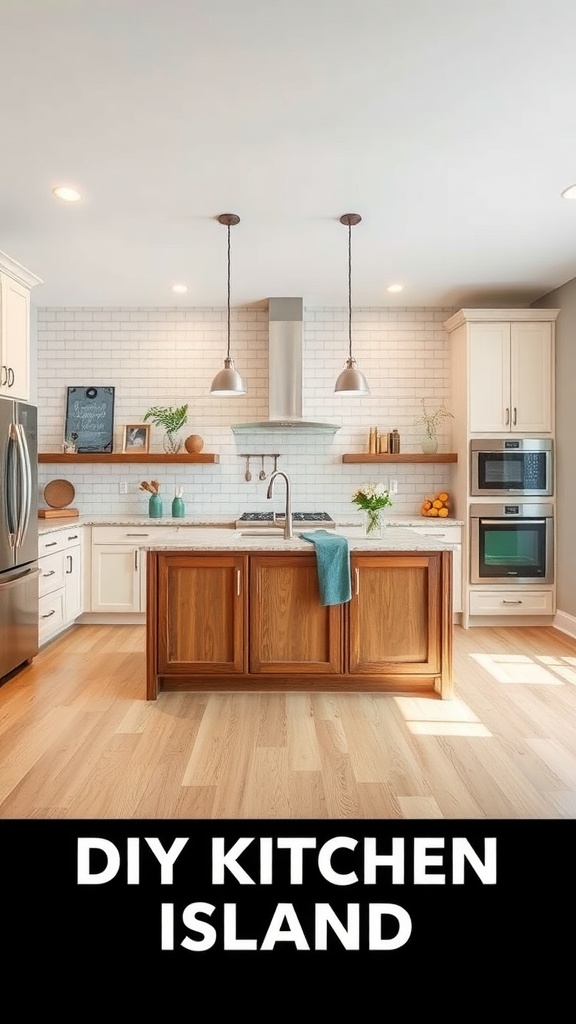
A DIY kitchen island can be a game-changer for your home. This space isn’t just for cooking; it serves as a multi-functional workspace. You can prep meals, entertain guests, or even tackle craft projects right in your kitchen.
In the image, you can see a well-organized kitchen island. It features a sturdy wooden base and a spacious countertop. This surface is perfect for rolling out dough or assembling ingredients. The open shelving below provides handy storage for dishes and kitchen tools, making everything easily accessible.
Notice the stools tucked under the island. They invite family and friends to sit and chat while you cook. This creates a more social atmosphere in your kitchen. The stylish pendant lights above add a modern touch, brightening the workspace and enhancing the overall look.
By incorporating a DIY kitchen island, you create a central hub in your home. It encourages togetherness and functionality, making your kitchen a place everyone wants to be.
Also Read: 12 Stunning Kitchen Islands with Built-In Stoves
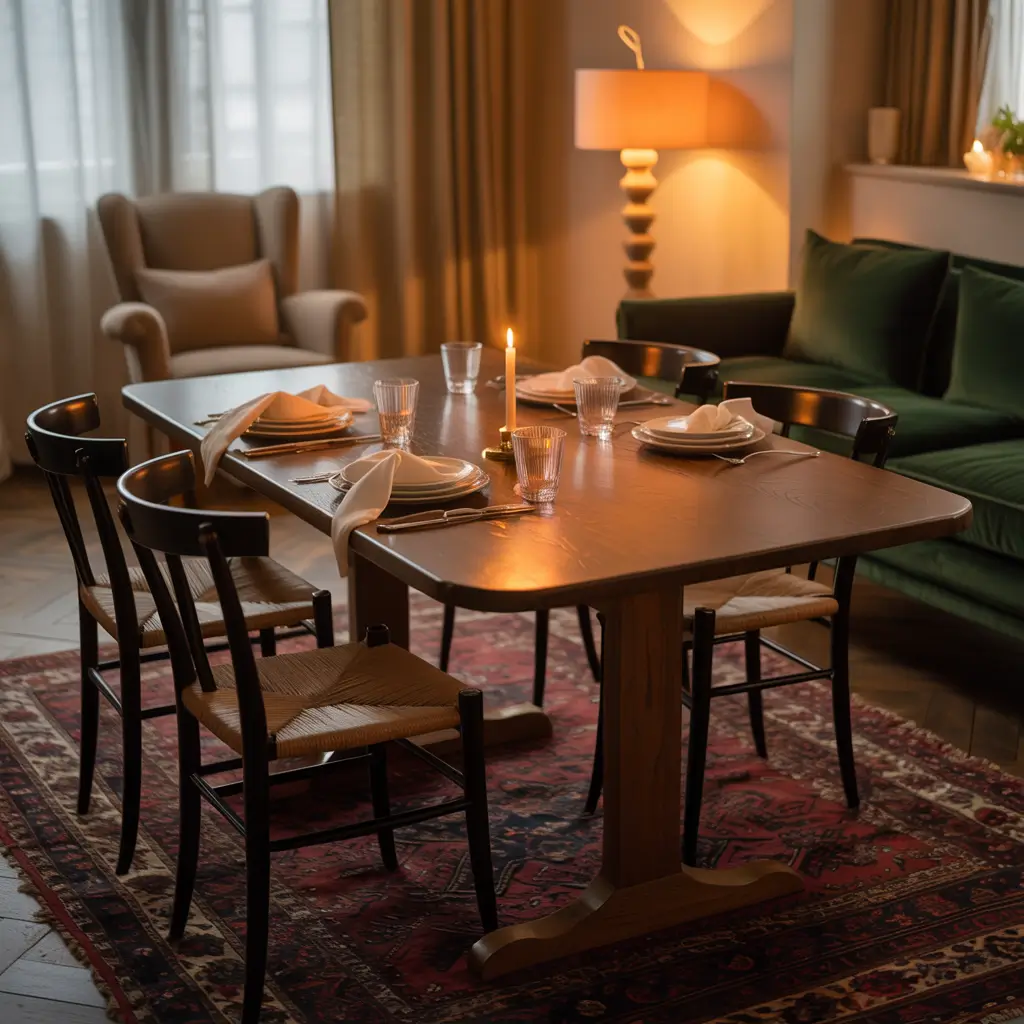
Incorporating Seating into Your Island Design
Adding seating to your kitchen island can turn it into a cozy gathering spot. The image shows a stylish island with sleek stools that invite you to sit and chat. The warm wood tones and soft lighting create a welcoming vibe.
When designing your island, think about how many people you want to accommodate. The stools in the picture are black with a pop of orange, adding color and personality. Consider styles and colors that match your kitchen’s theme.
Make sure the height of your stools works well with the island. Typically, counter-height stools are around 24-26 inches tall, while bar-height ones are about 28-30 inches. This ensures comfort while enjoying meals or casual conversations.
Don’t forget about the space around the stools. Leaving enough room for people to move in and out will make your kitchen feel more open and functional. Planning this layout will enhance how your kitchen works for your lifestyle.
Finally, add some personal touches. You could place a few decorative items on the island or choose stools with unique designs. This will make your kitchen not just functional, but also a reflection of your style.
Adding Lighting to Enhance Your Kitchen Island
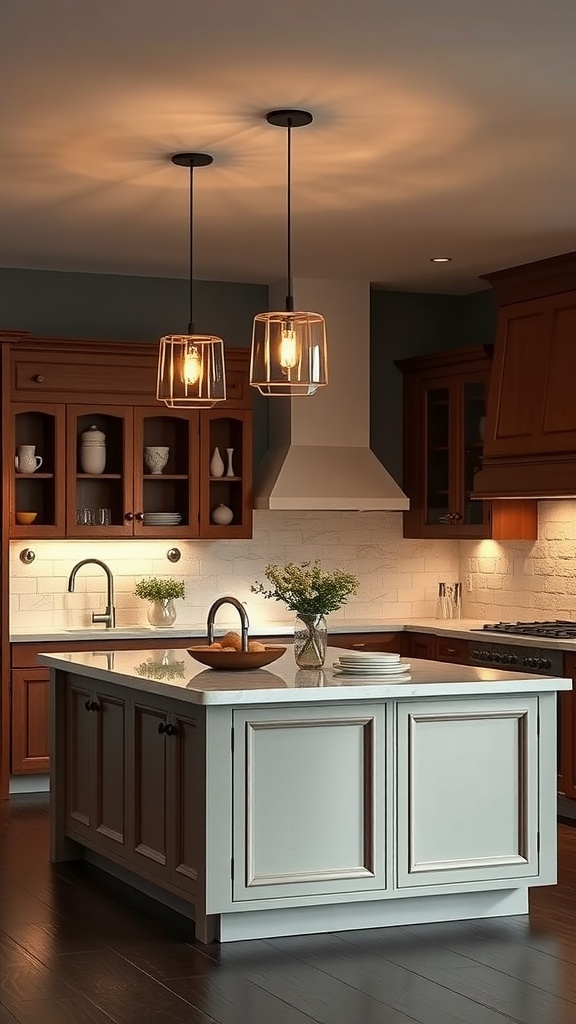
Lighting plays a big role in how your kitchen island feels. The right lights can change the whole vibe of the space. In the image, you can see two stylish pendant lights hanging above the island, casting a warm glow. This not only highlights the island but also makes it a focal point in the kitchen.
The choice of lighting fixtures can really complement your kitchen’s style. The glass pendants shown here add a touch of elegance while keeping things modern. Sometimes, all it takes is a bit of creativity in selecting your fixtures to make your kitchen stand out.
Layering your lighting is also key. The image shows other light sources, like wall sconces, which help create depth. This mix makes the kitchen feel inviting and functional, perfect for cooking or hanging out with friends.
Lastly, think about the brightness. You want your island to be well-lit for tasks, but also cozy for gatherings. A dimmer switch could be a great addition, letting you control the mood based on the occasion.
Selecting Materials for a Durable Island
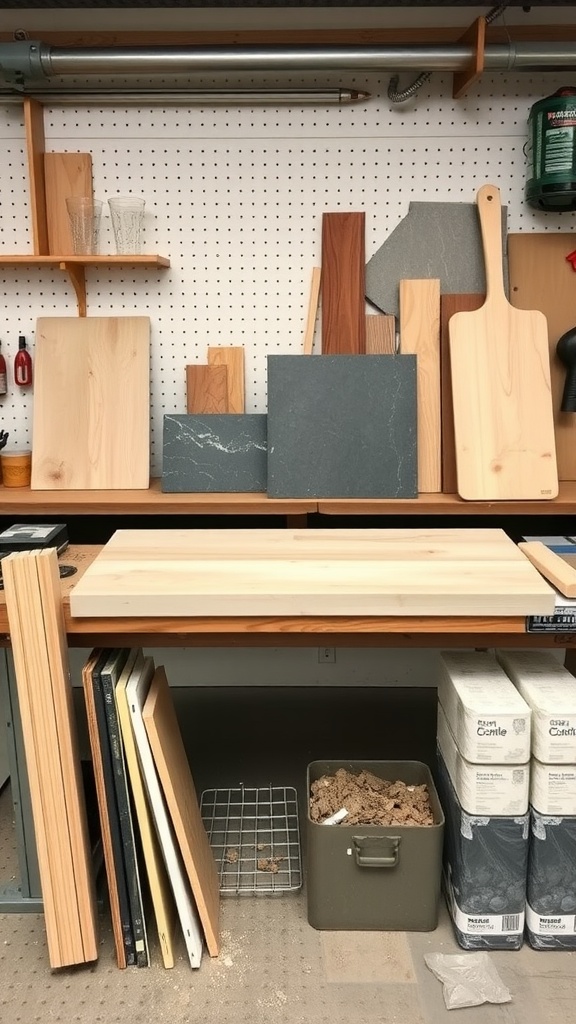
Creating a DIY kitchen island is an exciting project! Choosing the right materials is a key step in ensuring your island is durable and functional. In the image, you can see a variety of materials laid out on a workbench. This might include different types of wood and stone, perfect for countertops and bases.
Starting with the countertop, you have options like solid wood, quartz, or even granite. Each material has its own charm and durability. Solid wood gives a warm, rustic feel, while stone options are often more resistant to heat and stains.
Next, consider the base structure. Plywood or solid wood can provide a sturdy foundation. It’s important to choose materials that can withstand daily wear and tear, especially in a busy kitchen.
Don’t forget about finishes! A good sealant can protect your surfaces from moisture and spills. Look at the materials in the image; they can inspire your choices for textures and colors. Keeping your island stylish yet functional will make it the centerpiece of your kitchen!
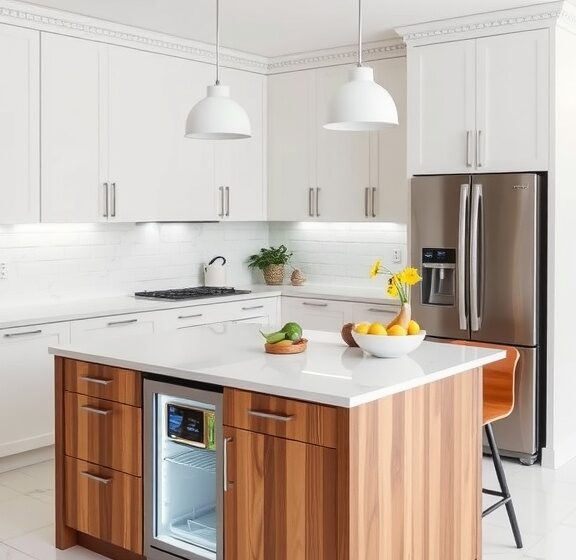
Integrating Appliances into Your Island
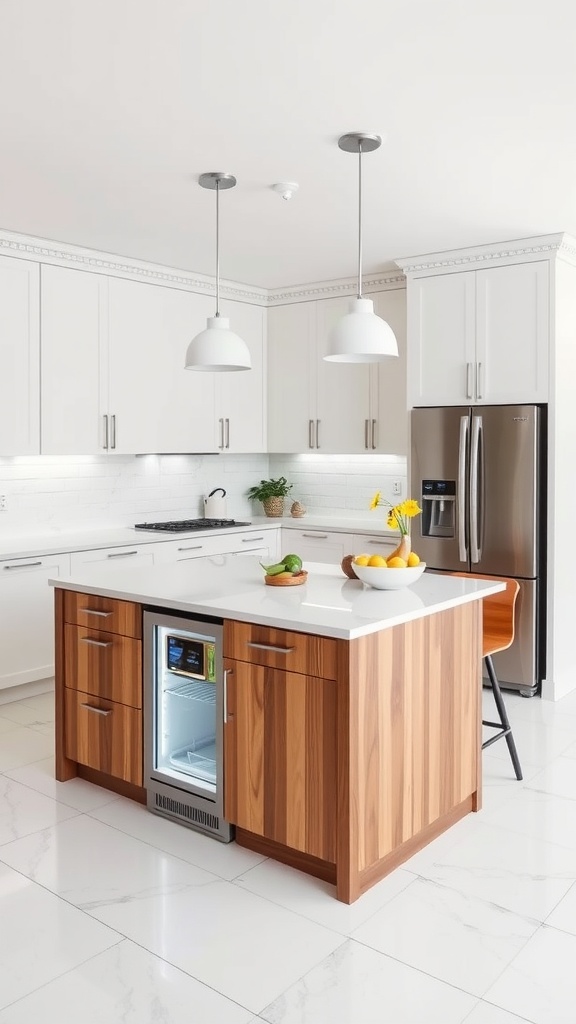
Integrating appliances into your kitchen island can boost functionality and style. The image shows a sleek island featuring rich wood cabinetry and a modern mini-fridge. This setup not only offers extra storage but also keeps beverages close at hand.
When planning your island, think about what appliances will enhance your cooking and entertaining experience. A built-in wine cooler or a warming drawer can make a big difference during gatherings. They save steps and keep everything organized.
Consider the layout of your kitchen. Positioning appliances within reach of the main cooking area can streamline your workflow. The design should feel seamless, blending with the overall aesthetic of the kitchen.
Lastly, don’t forget about power sources. Ensuring there are enough outlets for your appliances is key to a functional space. With thoughtful planning, your kitchen island can become the heart of your home.
Also Read: 13 Stunning Island Centerpiece Ideas for Your Kitchen
Designing a Functional Layout with Storage Options
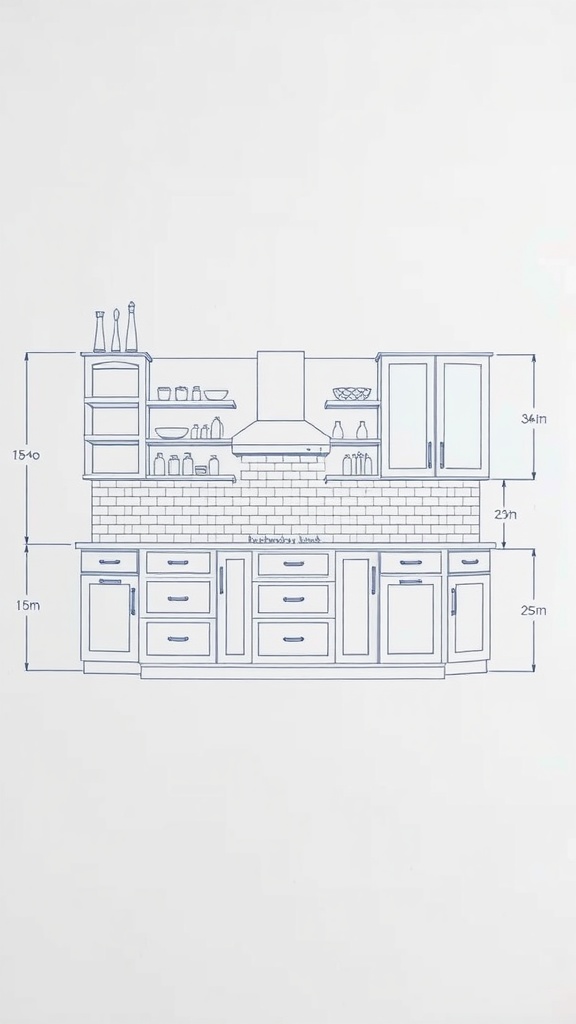
When planning a DIY kitchen island, layout and storage are key. The image shows a detailed blueprint of a kitchen design. This layout features ample counter space and various storage solutions, ensuring that everything you need is at your fingertips.
The cabinets and drawers are thoughtfully arranged, allowing for easy access. Notice the upper shelves; they provide extra storage for dishes and ingredients you want to keep within reach. This is perfect for anyone who loves to cook or entertain.
Take a look at the measurement annotations. They help you visualize how the island will fit into your kitchen. Ensuring that it complements the overall space is important. This layout not only maximizes functionality but also keeps the kitchen looking tidy and organized.
Consider adding some personal touches, like decorative containers or plants, to make the island feel more inviting. Remember, a well-designed kitchen island is both practical and stylish!
Choosing the Right Location for Your Kitchen Island
When planning your DIY kitchen island, location is key. The image shows a spacious kitchen with a beautifully crafted island at its center. This setup not only serves as a functional workspace but also enhances the overall look of the kitchen.
First, think about the flow of your kitchen. You want the island to support how you move around while cooking or entertaining. Positioning it where it can easily connect to the stove, sink, and refrigerator is a smart move.
Next, consider the size of your kitchen. In this image, the island fits perfectly, leaving room to navigate around. If your space is smaller, a compact island is a better fit. You’ll want it to feel like a natural part of the kitchen, not an obstacle.
Lighting is another factor. The pendant lights in the photo not only provide illumination but also create a cozy feel. Make sure your island is well-lit, so it’s inviting for cooking and gathering.
Lastly, think about what you’ll use the island for. Will it be for prep work, casual dining, or both? This will guide your decision on its placement. An island that encourages interaction can transform your kitchen into a lively gathering spot.
Finishing Touches: Paint and Stain Choices

Choosing the right paint or stain can make a huge difference in the look of your DIY kitchen island. In the image, you can see rich wood tones that add warmth and character to the space. This natural finish complements the overall kitchen aesthetic beautifully.
If you prefer a more modern look, consider painting your island in a bold color. Soft blues or greens can bring a fresh feel, while darker shades like navy or charcoal offer a sleek vibe. Make sure to test a small area first to see how the color fits with the other elements in your kitchen.
Staining is another great option. A clear stain can enhance the wood grain, while a darker stain adds depth. Look for stains that are easy to apply and will provide durability against spills and wear.
Whatever you choose, remember that the finishing touches can truly tie your kitchen together. Have fun with it and let your personality shine through!
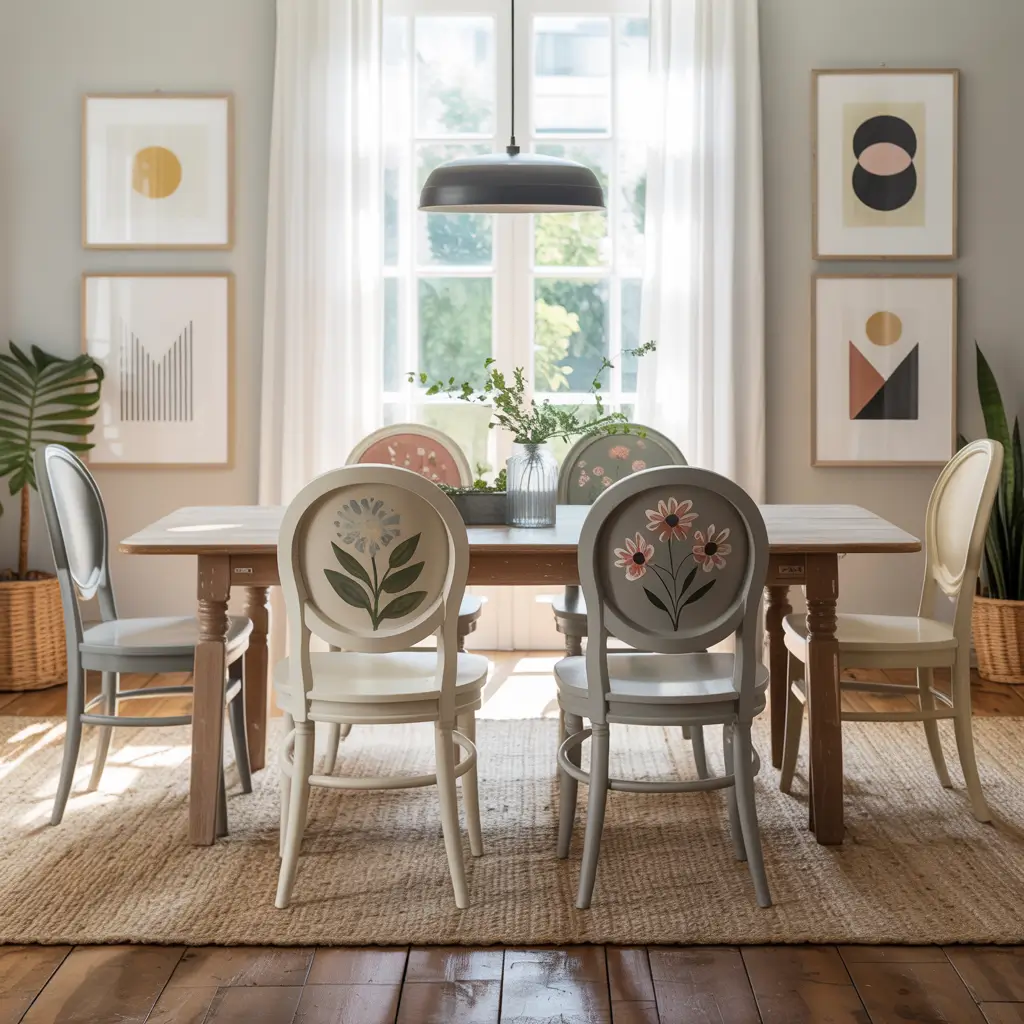
Utilizing Decorative Elements for Personal Flair
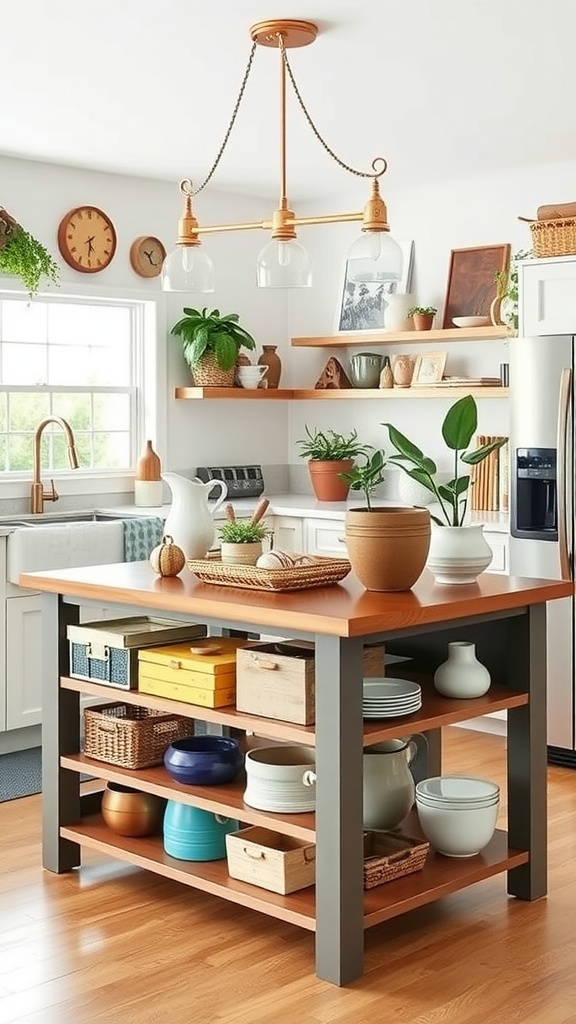
Your kitchen island can be a true reflection of your style. Decorative elements can transform it from just a functional space to a personal statement. In the image, we see a beautifully crafted kitchen island with a warm wooden top and a sturdy base. This combination adds both charm and practicality.
Notice the earthy pots and stylish baskets on top of the island. These details not only bring in color but also offer storage solutions. The varying shapes and textures create visual interest, making the space feel inviting. A few small decorative items, like the tiny pumpkins, add a seasonal touch that feels fresh.
The lighting above the island enhances the overall vibe. A stylish fixture illuminates the workspace while serving as a focal point. Pairing this with wall decor, like the framed photos and plants on the shelves, reinforces your personality in the kitchen.
Don’t forget about functionality! The open shelving beneath the island offers easy access to dishes, pots, and other kitchen essentials. Using mismatched containers for storage adds character and charm, ensuring your kitchen feels lived-in and loved.
Also Read: 14 Stunning Kitchen Lighting Ideas for Your Island
Maintaining and Caring for Your DIY Kitchen Island

Your DIY kitchen island can be a stylish and functional centerpiece in your cooking space. To keep it looking great, regular maintenance is key. Start by cleaning the surface with a damp cloth and mild soap. This simple routine helps remove stains and keeps the wood shiny.
Avoid using harsh chemicals or abrasive pads, as these can damage the finish. Instead, opt for natural cleaners to ensure your island stays in top shape. If you notice scratches or wear, consider applying a wood conditioner or a sealant to protect the surface and enhance its longevity.
For the storage areas, keep your items organized and avoid overloading the island. Regularly decluttering helps maintain a neat appearance and makes cooking easier. Wipe down the shelves and inside cabinets periodically to prevent dust accumulation.
If your island has wheels, check them occasionally to ensure they’re moving freely. Tighten any screws or bolts as needed to keep everything secure. With a bit of care, your DIY kitchen island will remain a beautiful and functional addition to your home for years to come!