15 Smart Built In Coffee Bar Ideas for Tiny Spaces
- Coffee Station Ideas
 Alina
Alina- 0
- 44 minutes read

You know that moment when you’re squinting at your kitchen, coffee mug in hand, wondering where the heck you’re supposed to fit a proper coffee station? Yeah, I’ve been there. Living in a compact space doesn’t mean you should sacrifice your morning coffee ritual—the sacred moment that transforms you from zombie to functional human being.
I get it. You’re scrolling through Pinterest at 2 AM (we’ve all done it), drooling over those massive kitchen coffee bars that could double as a small café. But here’s the thing: you don’t need a mansion to create a killer built-in coffee bar. With some clever planning and a dash of creativity, even the tiniest spaces can house your dream coffee setup.
Let me walk you through 15 smart built-in coffee bar ideas that actually work for small spaces. These aren’t just pretty pictures—they’re real solutions I’ve either tried myself or watched friends successfully implement without needing a second mortgage.
Small Kitchen Built In Coffee Bar
Let’s start with the obvious challenge: the small kitchen. You’re already playing Tetris with your appliances, and now you want to add a coffee bar? Absolutely.
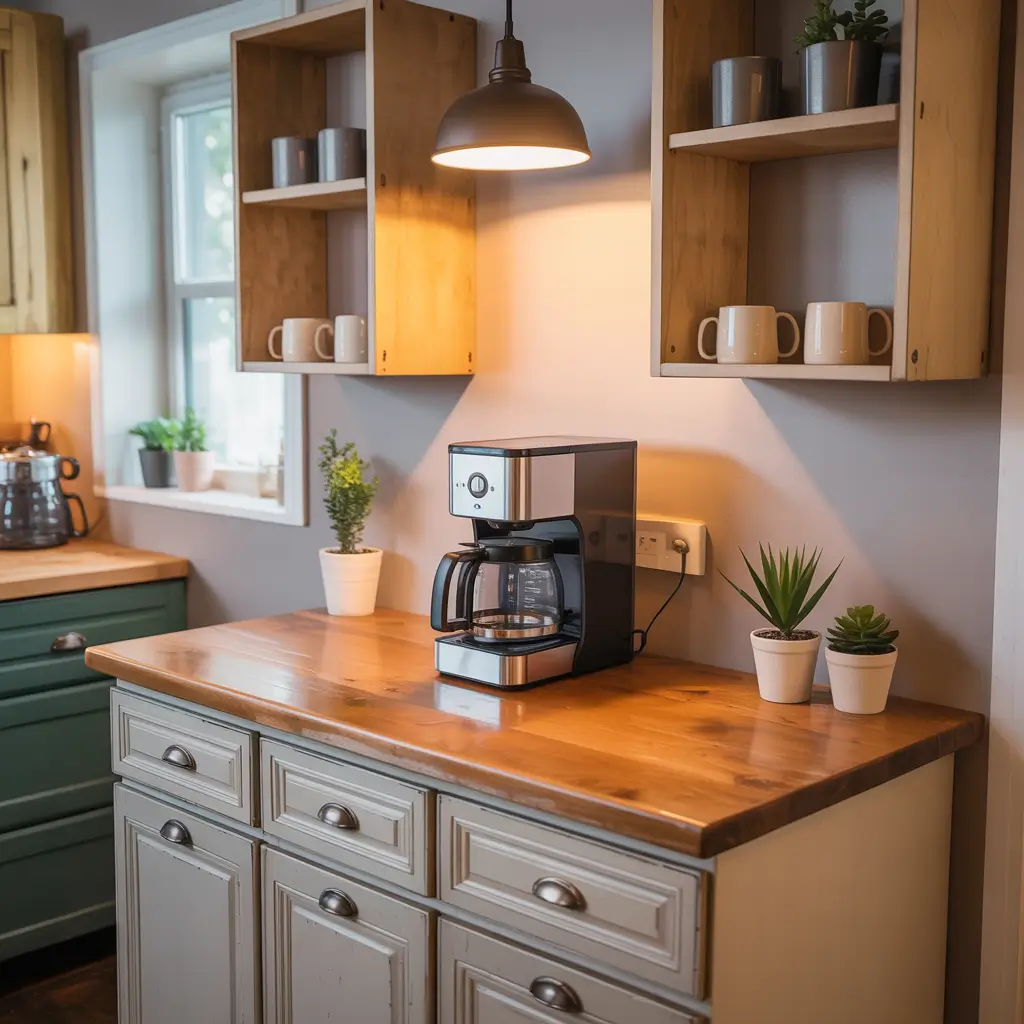
The trick here is vertical thinking. I converted a narrow 18-inch section of wall space between my fridge and pantry into a functional coffee bar, and honestly, it’s become my favorite kitchen feature. You need three essential components: a small countertop surface (even 12 inches deep works), storage above for mugs and coffee beans, and storage below for your machine and supplies.
Mount a small floating shelf or cabinet at chest height. This becomes your coffee prep zone. Below it, add a deeper cabinet base that can hold your coffee maker when you’re using it and tuck away when you’re not. Above? Install open shelving or a shallow cabinet for easy access to your daily essentials.
Here’s what you absolutely need to include:
- Power outlet positioned at counter height (trust me, extension cords are the enemy of aesthetic)
- Water-resistant countertop material because spills happen at 6 AM
- Dedicated coffee storage containers that keep beans fresh
- Mug hooks underneath the upper shelf for space-saving storage
Corner Built In Coffee Bar Cabinet
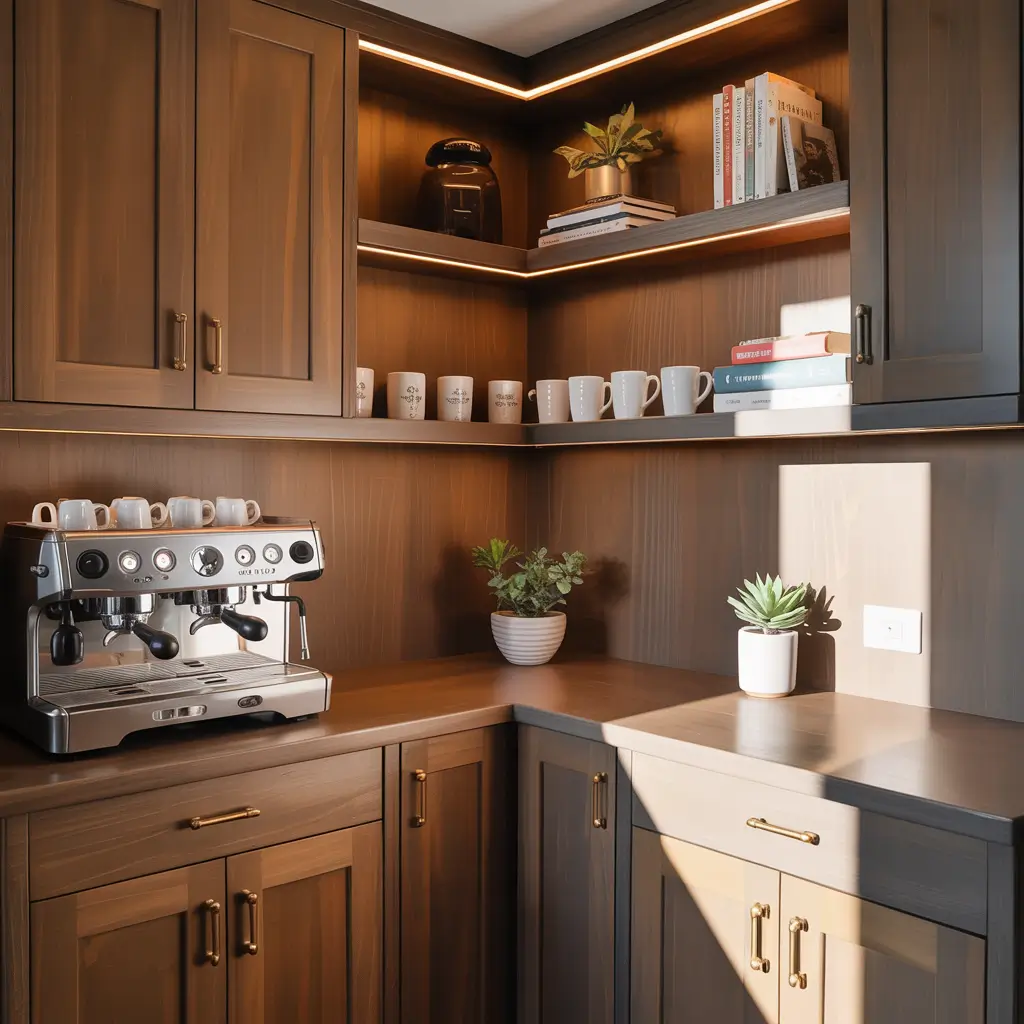
Corners are the forgotten real estate of small kitchens. Ever notice how that corner space just… exists? Time to put it to work.
I helped my sister install a corner coffee bar cabinet last year, and it completely transformed her awkward L-shaped kitchen. Corner cabinets maximize dead space that you’re probably not using effectively anyway. You can go two routes here: a diagonal corner cabinet or an L-shaped wraparound design.
The diagonal approach creates a cozy, café-style nook. Picture this: a corner cabinet with a countertop at standard height (about 36 inches), open shelving above displaying your prettiest mugs, and storage below for all your coffee gadgets. The angled design actually makes everything more accessible than those annoying lazy Susan corner cabinets.
For the L-shaped version, you run cabinetry along both walls meeting at the corner. This gives you more counter space—one side for your machine, the other for prep and staging. It’s like having a mini barista station.
Pro tip I learned the hard way: Install LED strip lighting underneath the upper cabinets. Morning coffee prep in a dark corner is not the vibe you want.
Modern Minimalist Built In Coffee Bar
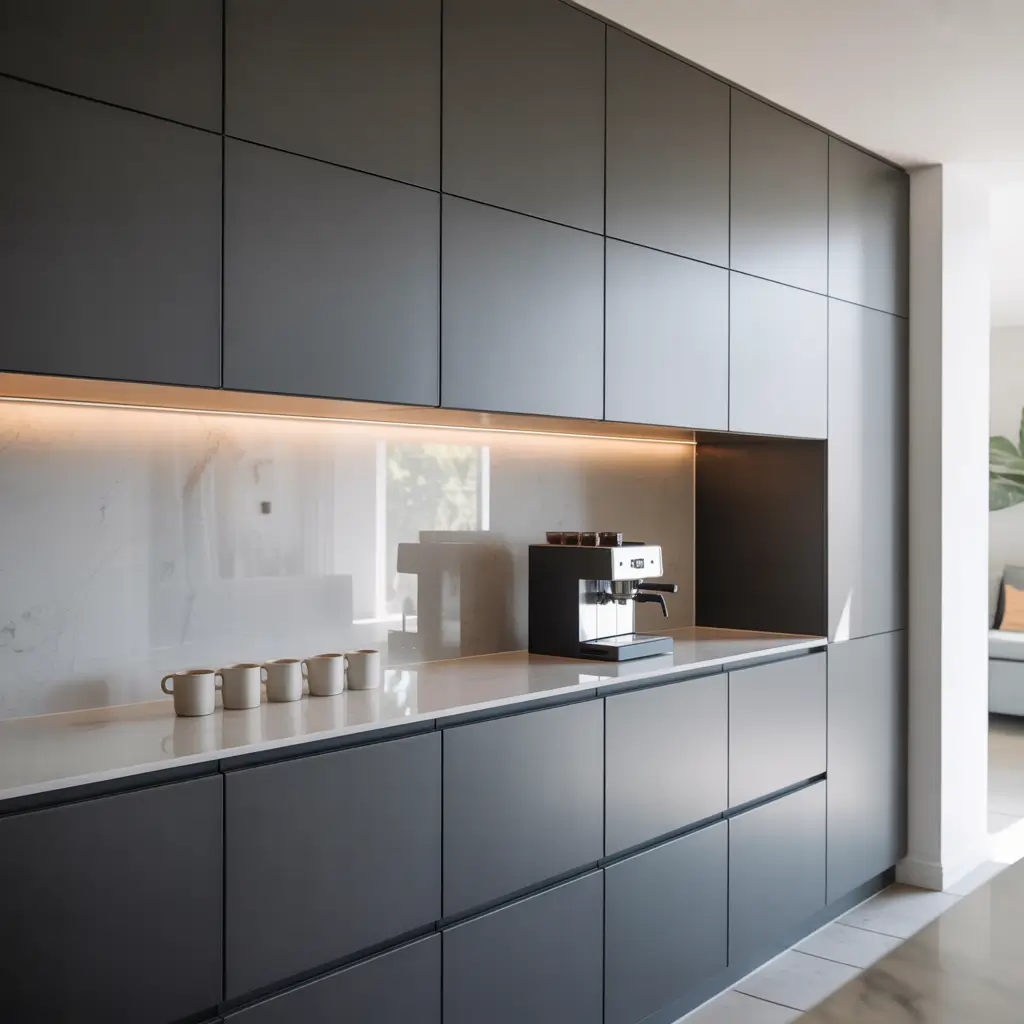
If you’re into that clean, sleek aesthetic (and who isn’t these days?), a minimalist coffee bar is your jam. The philosophy here is simple: less stuff, more function.
I’ve always been a fan of the “everything has its place” approach. For a modern minimalist built-in, you’re looking at handleless cabinets, a monochromatic color scheme, and hidden storage that keeps countertops completely clear. Think matte black or crisp white cabinets with push-to-open mechanisms.
Your coffee machine becomes the star of the show here. Invest in one sleek, high-quality machine rather than cluttering the space with multiple gadgets. Store it on a pull-out shelf so you can tuck it away when not in use, leaving nothing but clean lines visible.
Key elements for nailing this look:
- Integrated appliances that blend with cabinetry
- Concealed power outlets (they make pop-up versions now—game changer)
- Uniform containers for coffee, sugar, and other supplies in matching materials
- Single-color palette with maybe one metallic accent
The beauty of minimalist design? It makes small spaces feel bigger. Visual clutter shrinks a room faster than anything else.
Farmhouse Style Built In Coffee Bar
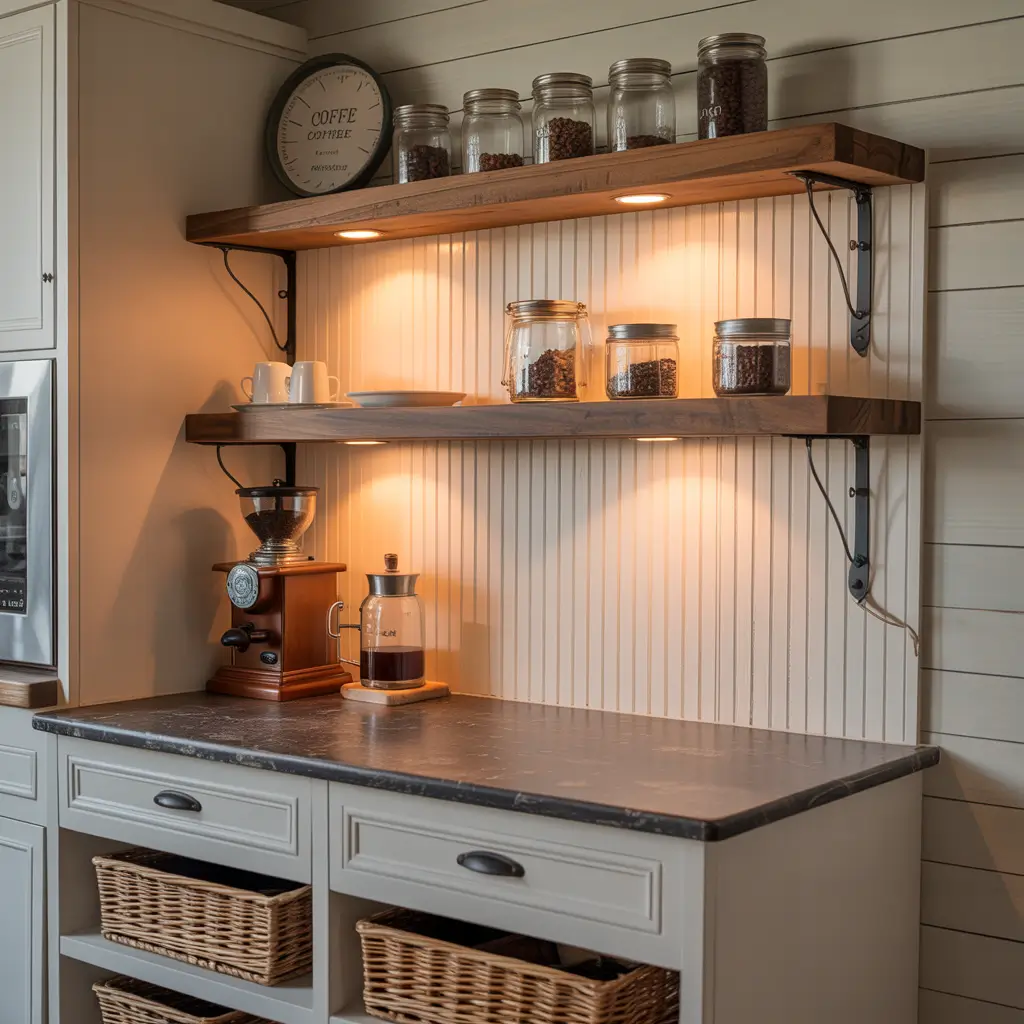
Okay, confession time: I wasn’t sold on the whole farmhouse trend until I saw what it could do for a coffee bar. There’s something about that rustic, cozy vibe that just fits perfectly with coffee culture.
Farmhouse coffee bars bring warmth to small spaces through texture and traditional materials. We’re talking reclaimed wood, shiplap backsplashes, open shelving with decorative brackets, and maybe a vintage-style coffee sign that’s just the right amount of cheesy 🙂
I built one using old barn wood (found at a salvage yard for cheap) as the countertop and painted the base cabinets in sage green. The contrast between rustic wood and painted cabinets creates visual interest without overwhelming a small space. Add some wire baskets for storage, a few mason jars for coffee beans, and you’ve got yourself an Instagram-worthy setup.
The key to farmhouse style in small spaces is editing. You want the cozy aesthetic without the cluttered flea market look. Choose 3-4 signature farmhouse elements and stick with them. Maybe that’s open wood shelves, a subway tile backsplash, and bronze hardware. Don’t try to incorporate every farmhouse trend—that’s how you end up on a home décor “what not to do” list.
Built In Coffee Bar With Floating Shelves
Floating shelves are the MVP of small space design. No joke—they’ve saved my kitchen situation more times than I can count.
Here’s why floating shelves work so brilliantly for built-in coffee bars: they provide storage without the visual weight of cabinets. Your space feels more open because you can see the wall behind them. Plus, they’re way easier to install than full cabinetry (I installed mine in about an hour with a level and a drill).
Create a coffee bar by mounting 2-3 floating shelves above a small counter or even a narrow console table. The bottom shelf holds your coffee machine and daily essentials. Middle shelf? Your mug collection and maybe some decorative coffee-related stuff. Top shelf can house things you use less frequently—that French press you break out for weekend brunch or special coffee beans.
Installation tips from someone who’s done this wrong before:
- Use heavy-duty brackets rated for more weight than you think you need
- Find the studs (seriously, drywall anchors aren’t enough for shelves holding coffee equipment)
- Space shelves 12-15 inches apart for functionality
- Go deeper rather than longer if you’re space-constrained (10-12 inch depth is ideal)
I love pairing floating shelves with a small butcher block countertop mounted at bar height. It creates a standing coffee station that takes up minimal floor space—perfect for tiny kitchens or studio apartments.
Also Read: 15 Creative DIY Coffee Bar Ideas for Small Spaces
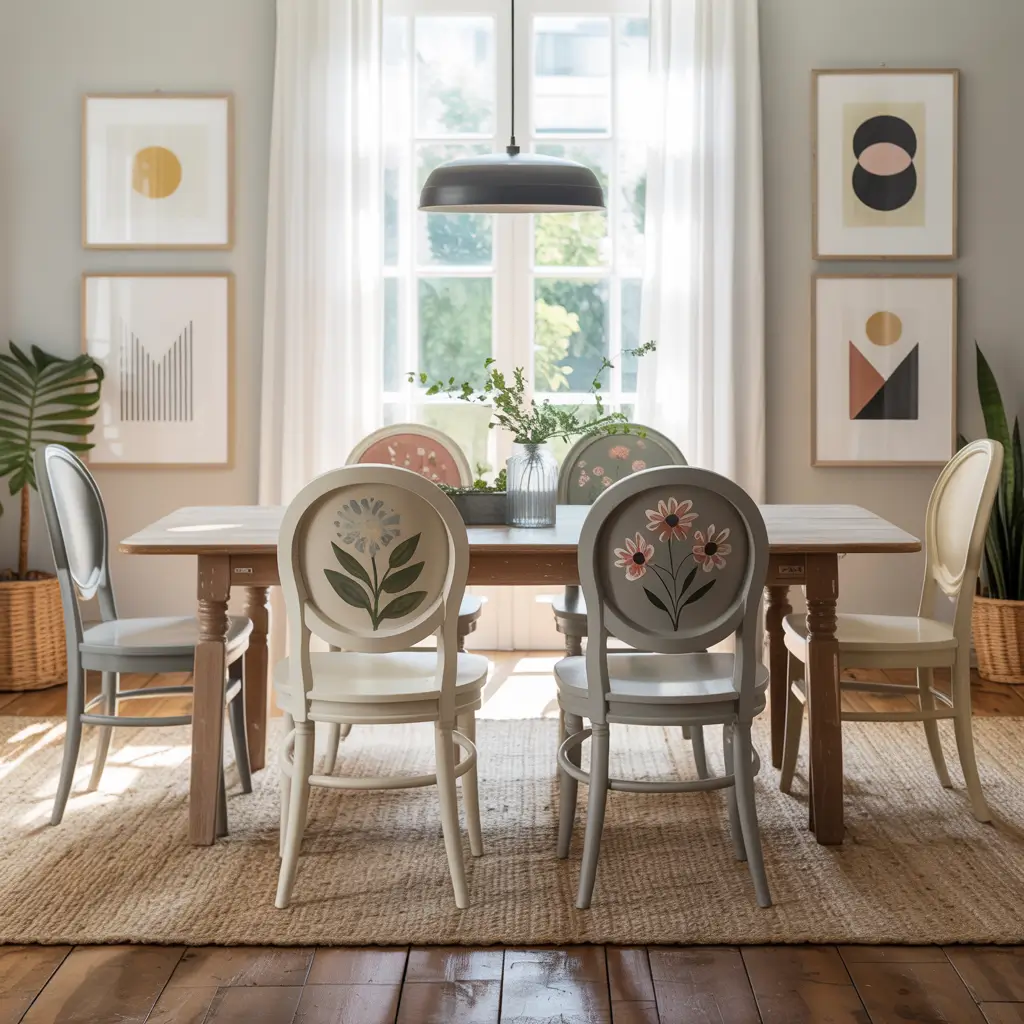
Hidden Built In Coffee Bar With Pocket Doors
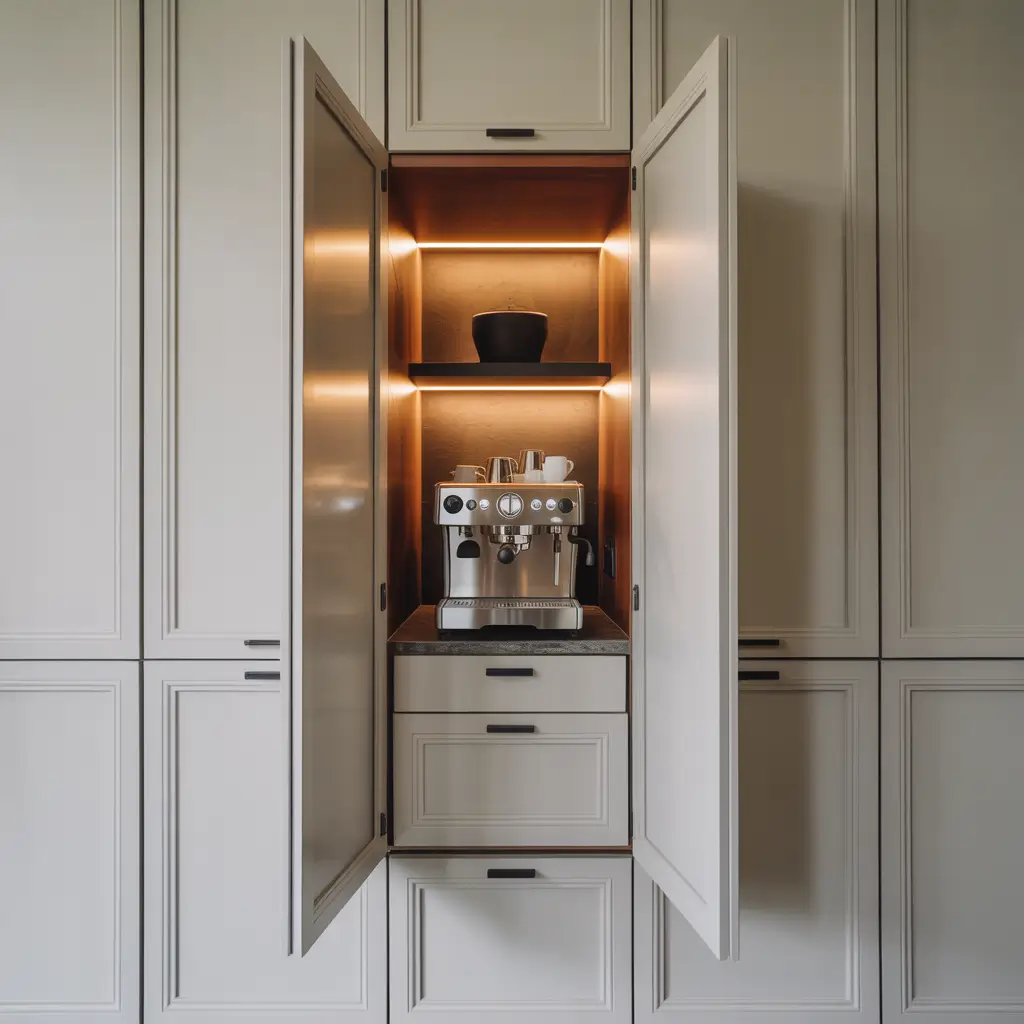
Want to know the coolest coffee bar trend? Making it disappear. Sounds like magic, right? That’s basically what pocket doors do.
Pocket doors transform your coffee bar from visible to invisible with one smooth motion. This is clutch when you’ve got a small space that needs to multiflex. Maybe your kitchen flows into your living area, and you don’t want guests staring at your coffee mess during dinner parties (we’ve all got that jumble of filters and random spoons that accumulates).
I installed a pocket door coffee bar in my dining room cabinet, and it’s become my favorite party trick. When closed, it looks like a regular built-in cabinet. Slide the doors into the cabinet walls, and boom—fully stocked coffee station. The doors literally disappear into the cabinet frame.
For tiny spaces, this works exceptionally well because you can close everything away when not in use. Your small kitchen doesn’t feel permanently cluttered with coffee equipment. You open it when you need it, use it, and tuck it away.
Here’s what makes this setup work:
- Pocket door hardware that slides smoothly (don’t cheap out here)
- Interior lighting so the cabinet is functional when open
- Electrical outlet inside the cabinet
- Adequate cabinet depth (at least 24 inches to accommodate your machine and the pocket door mechanism)
FYI, the pocket door system adds about 2-3 inches to your cabinet depth requirements, so plan accordingly.
Built In Coffee Bar With Mini Fridge
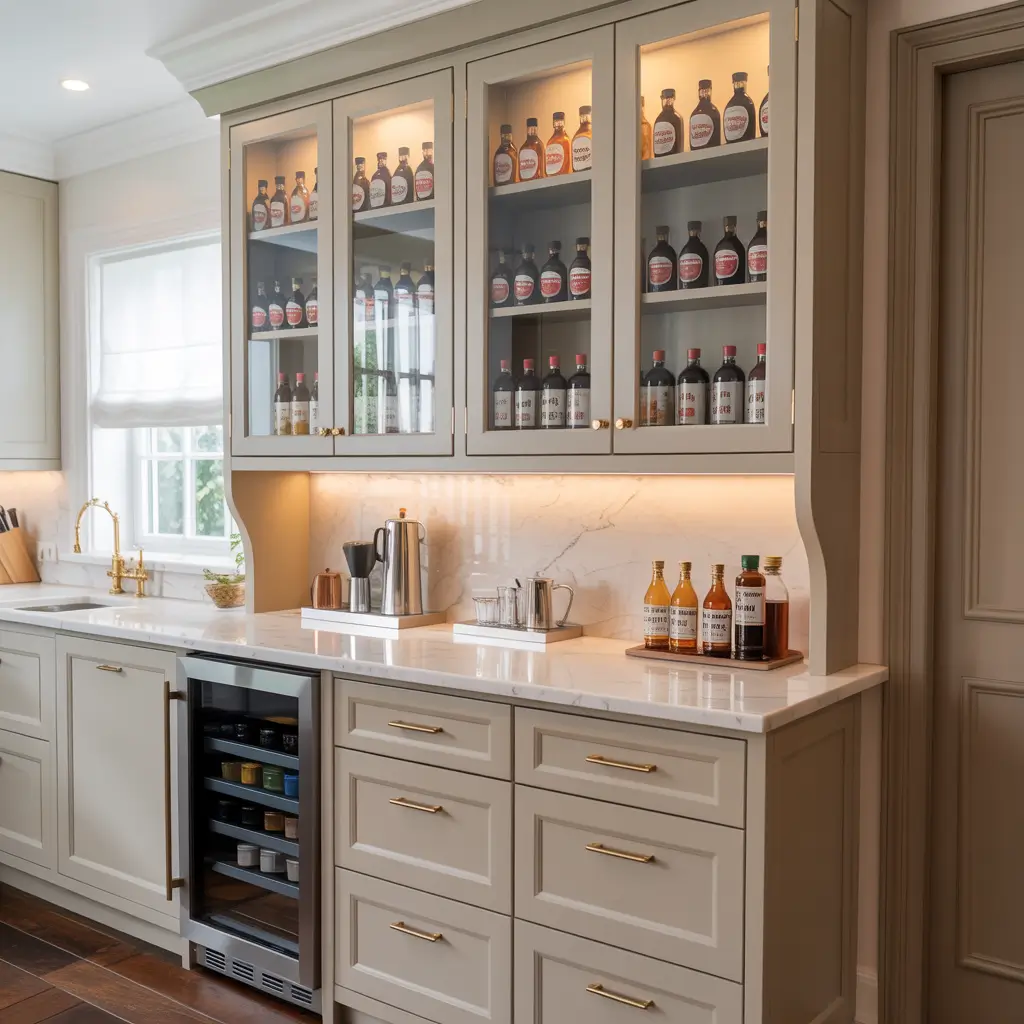
Ever stood in front of your main fridge at 6 AM, half-asleep, grabbing milk while the cold air wakes you up before the coffee does? A mini fridge in your coffee bar changes the game entirely.
I added a compact fridge to my coffee station last year, and it’s cut my morning routine time in half. Everything I need lives in one 4-foot section of my kitchen. The mini fridge stores milk, creamer, cold brew, and even some breakfast items. No more shuffling around the kitchen in my zombie state.
For built-in designs, you integrate the mini fridge into your lower cabinetry. Most compact fridges (the good ones, anyway) are designed to fit standard cabinet dimensions—usually 24 inches wide and 34 inches tall. This slides perfectly under a standard countertop with your coffee maker sitting above.
Budget matters here. You can grab a basic mini fridge for under $150, but if you want it to actually look built-in, consider these options:
- Panel-ready models that accept cabinet fronts (they blend seamlessly but cost more)
- Undercounter beverage fridges with glass doors (so pretty, but pricey)
- Basic mini fridges with custom trim around them to match your cabinetry (budget-friendly compromise)
Make sure you factor in ventilation requirements. Most fridges need a few inches of clearance for airflow. Built-in models have front ventilation, but standard mini fridges vent from the back or sides.
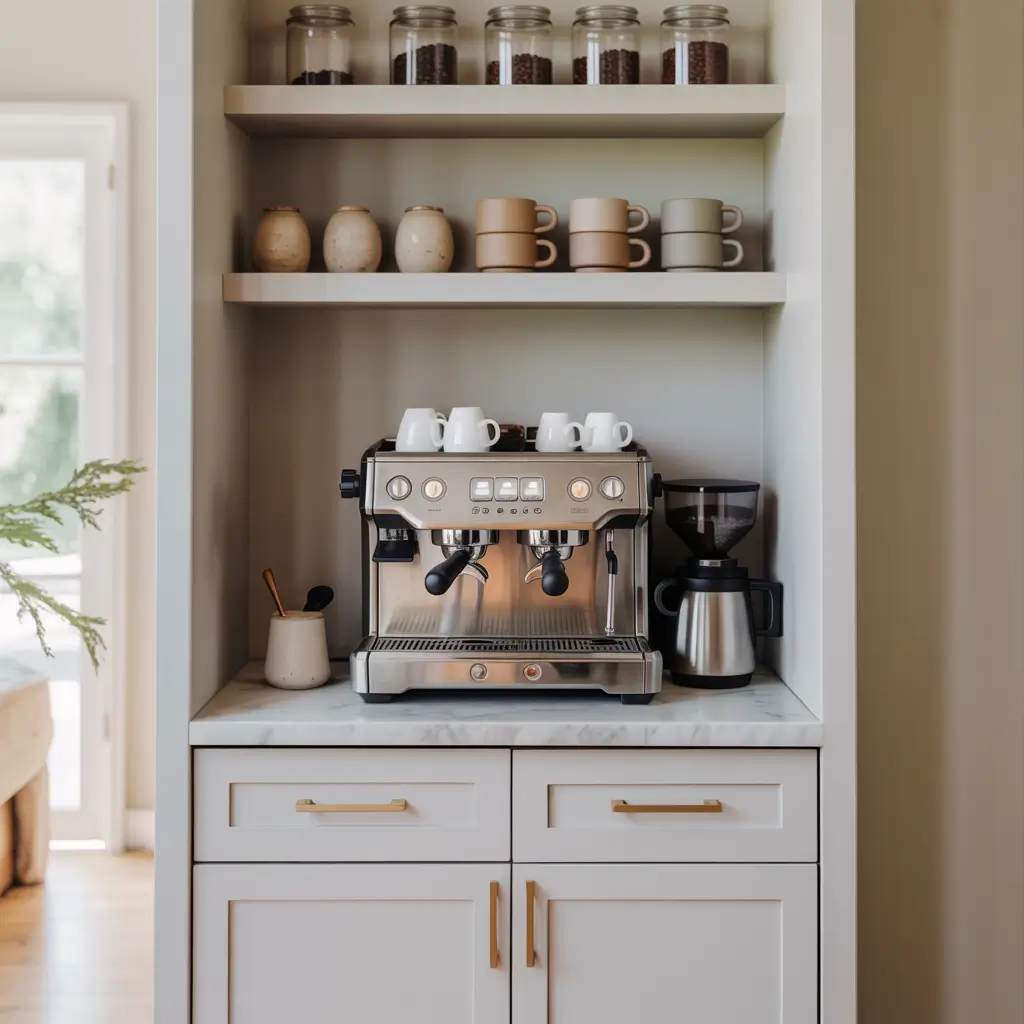
Butler’s Pantry Built In Coffee Bar
“But I don’t have a butler’s pantry!” Yeah, I hear you. Most of us don’t. But you might have something that can function like one—a hallway nook, a pass-through between rooms, or even a converted closet.
The butler’s pantry concept is essentially a dedicated service area between your kitchen and dining space. Even a 3-foot-wide hallway can become a butler’s pantry-style coffee bar with the right approach. I’ve seen people convert coat closets into stunning coffee stations by removing the door, adding a countertop at standard height, and installing cabinets above and below.
What makes this work for small spaces is the contained nature. Everything coffee-related lives in this one defined area, keeping your actual kitchen free for cooking. You’re creating a destination spot specifically for beverages.
The build-out typically includes:
- Counter-depth lower cabinets (12-18 inches deep to avoid blocking the hallway)
- Wall-mounted upper storage for mugs and supplies
- Backsplash treatment that defines the space (even just paint in a different color works)
- Dedicated lighting like a pendant or sconce
One friend converted the dead space under her stairs into a butler’s pantry coffee bar, and honestly, it’s genius. The sloped ceiling creates a cozy, tucked-away feel that’s perfect for a morning coffee moment.
Built In Coffee Bar With Glass Cabinet Doors
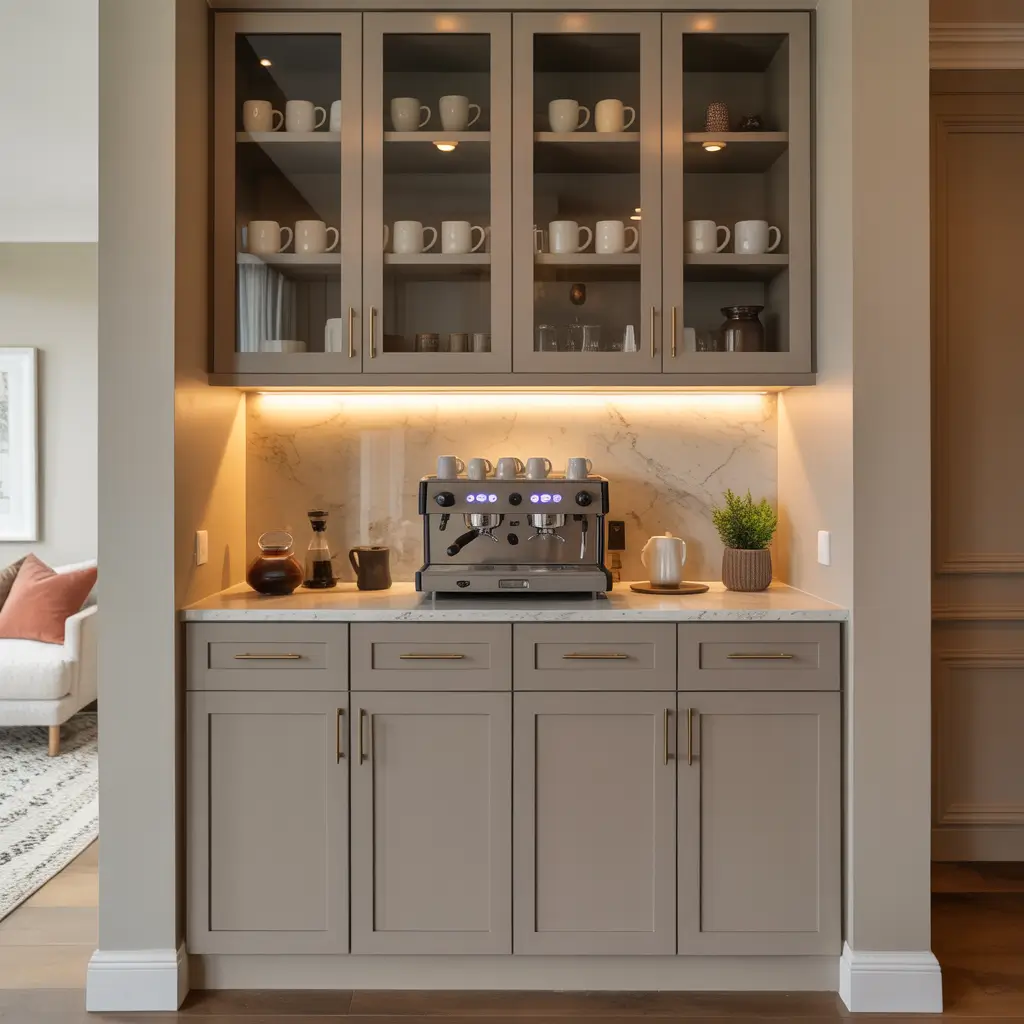
Glass cabinet doors are polarizing. Some people love the open, airy feel. Others stress about keeping everything inside looking perfect. I fall somewhere in the middle, but for coffee bars? Glass doors are actually brilliant.
Glass fronts showcase your mug collection and coffee accessories while protecting them from dust and kitchen grease. It’s the best of both worlds—the openness of shelving with the protection of cabinets. Plus, glass-front cabinets reflect light, which makes small spaces feel larger.
I installed frosted glass doors on my upper coffee bar cabinets, and the slightly obscured view means things don’t need to be perfectly arranged 24/7. You get the light-reflecting benefits without the pressure of museum-quality organization. Regular clear glass works if you’re naturally neat (I am not, so frosted was my salvation).
For tiny spaces, consider these glass door approaches:
- Full-height glass doors on upper cabinets for maximum light
- Glass inserts in just the center of cabinet doors for a traditional look
- Seeded or textured glass for visual interest with some obscurity
- LED lighting inside glass cabinets to create a display effect
Pro tip: Use the glass cabinets to display only your prettiest stuff. Mismatched mugs, random coffee filters, and that weird coffee gadget you never use? Those go behind solid doors or in drawers. Curate what’s visible.
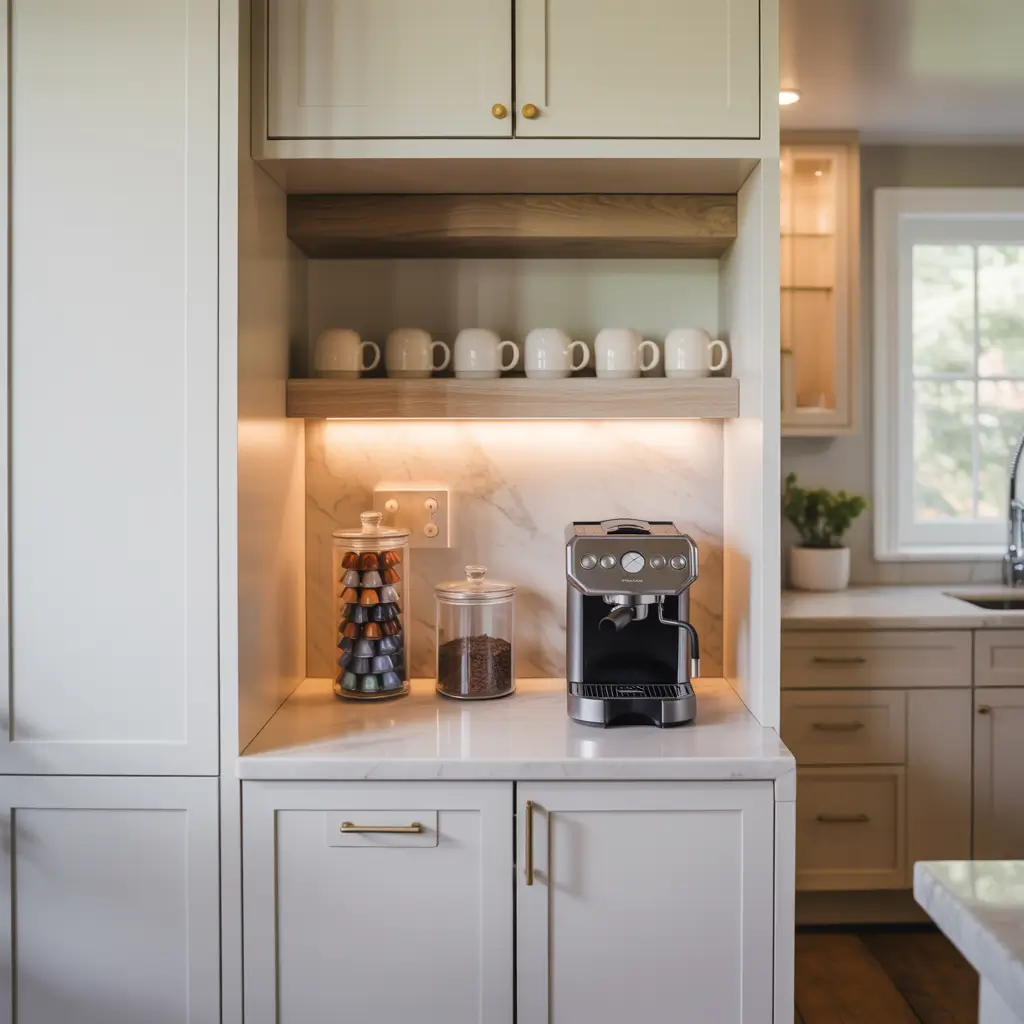
Budget Friendly DIY Built In Coffee Bar
Look, not everyone has thousands to drop on custom cabinetry. I certainly didn’t when I built my first coffee bar, and it turned out great anyway.
DIY built-in coffee bars can look custom for a fraction of the price if you’re willing to put in some sweat equity. The secret? Stock cabinets, creativity, and some basic carpentry skills (or a friend with tools and beer payment).
Here’s my formula for DIY coffee bars on a budget:
Start with ready-to-assemble (RTA) cabinets from big box stores. These run about 60-70% cheaper than custom. Pick simple shaker-style doors in white or a neutral color—they look high-end and timeless. Install a base cabinet (24 inches wide works for most small spaces) and mount a wall cabinet above it.
For the countertop, skip granite and go with butcher block, laminate, or even a floating shelf. I used a 6-foot butcher block from IKEA, cut it down to 4 feet, sealed it with food-safe mineral oil, and boom—gorgeous countertop for under $80.
The backsplash is where you can get creative on the cheap:
- Peel-and-stick tile has come a long way (seriously, some of it looks real)
- Paint in a contrasting color costs maybe $30
- Beadboard wallpaper for a cottage feel runs about $40 for a whole room
- Leftover tile from other projects (I used extra subway tile from my bathroom renovation)
Total cost for my DIY coffee bar? About $400 including everything. Could I tell it wasn’t custom when I finished? Nope. And neither could anyone else.
Also Read: 15 Cozy Small Coffee Bar Ideas for Small Kitchens
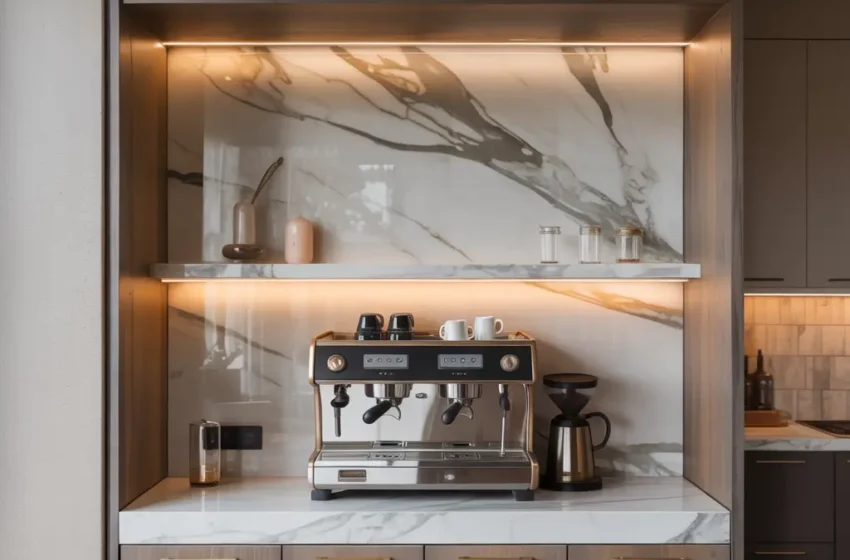
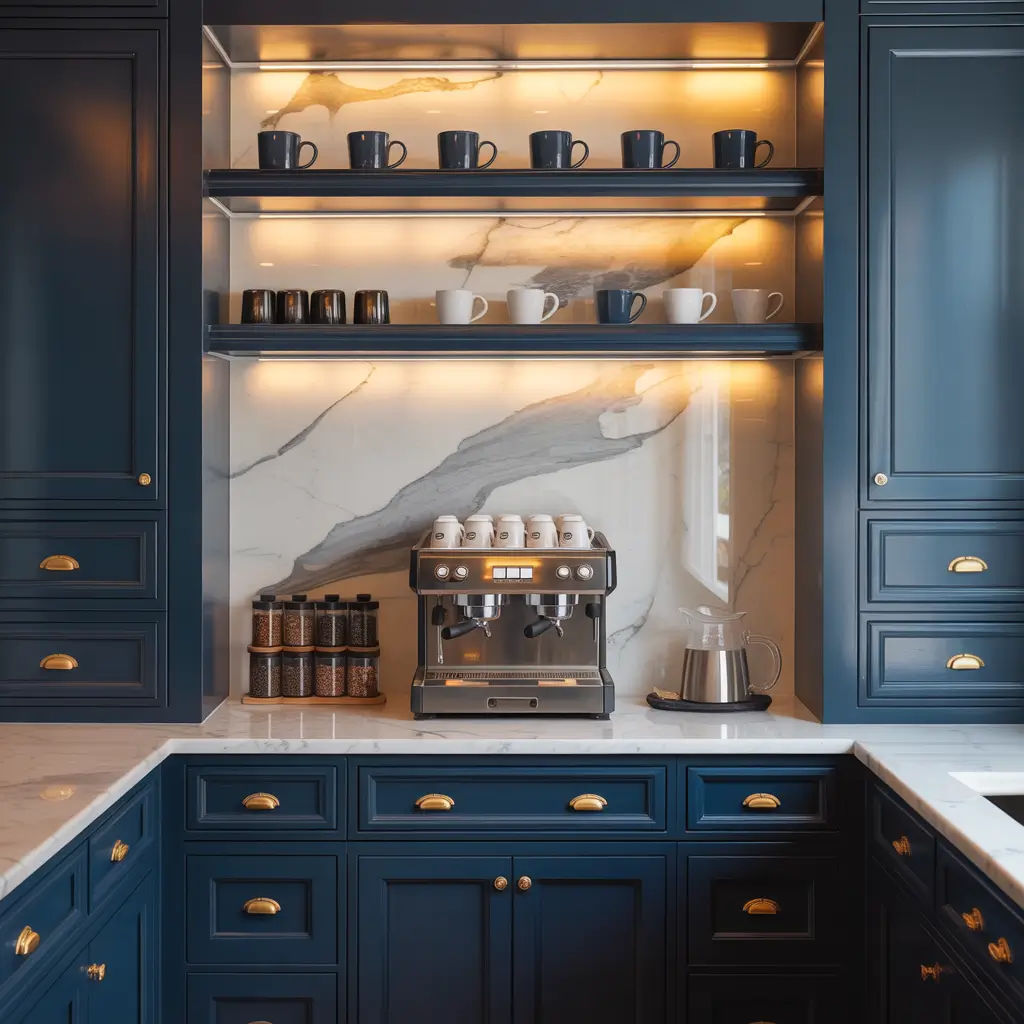
Luxury Marble Built In Coffee Bar

Okay, so we’ve talked budget. Now let’s talk bougie. Because sometimes you want your coffee bar to feel like a luxury hotel experience, and there’s nothing wrong with that.
Marble countertops instantly elevate any coffee bar from basic to breathtaking. The natural veining, the cool smooth surface, the way it catches light—marble just hits differently. I splurged on a marble remnant for a coffee bar project, and every morning I feel like I’m at a five-star hotel making my coffee.
For small spaces, you don’t need much marble to make an impact. A remnant piece (leftover from someone’s larger project) costs a fraction of full slabs. I scored a 3-foot piece of Carrara marble for $200 from a fabricator’s discount bin. They were thrilled to clear out the scrap, and I got luxury material at DIY prices.
The luxury coffee bar approach includes:
- Marble or quartz countertops in classic white or dramatic black
- High-end cabinet hardware (brass, gold, or matte black finishes)
- Integrated task lighting like under-cabinet strips or puck lights
- Premium appliances (this is where you invest in that expensive espresso machine)
IMO, if you’re going luxury, commit to quality over quantity. One stunning material choice matters more than multiple mediocre ones. Choose either gorgeous marble or beautiful custom cabinets or a showstopper light fixture. Let that element shine and keep everything else simple.
Marble does require maintenance (it stains, it etches, it needs sealing), but for a coffee bar? The minimal food contact means it’s way more practical than a kitchen counter.
Built In Coffee Bar With Mug Display Wall
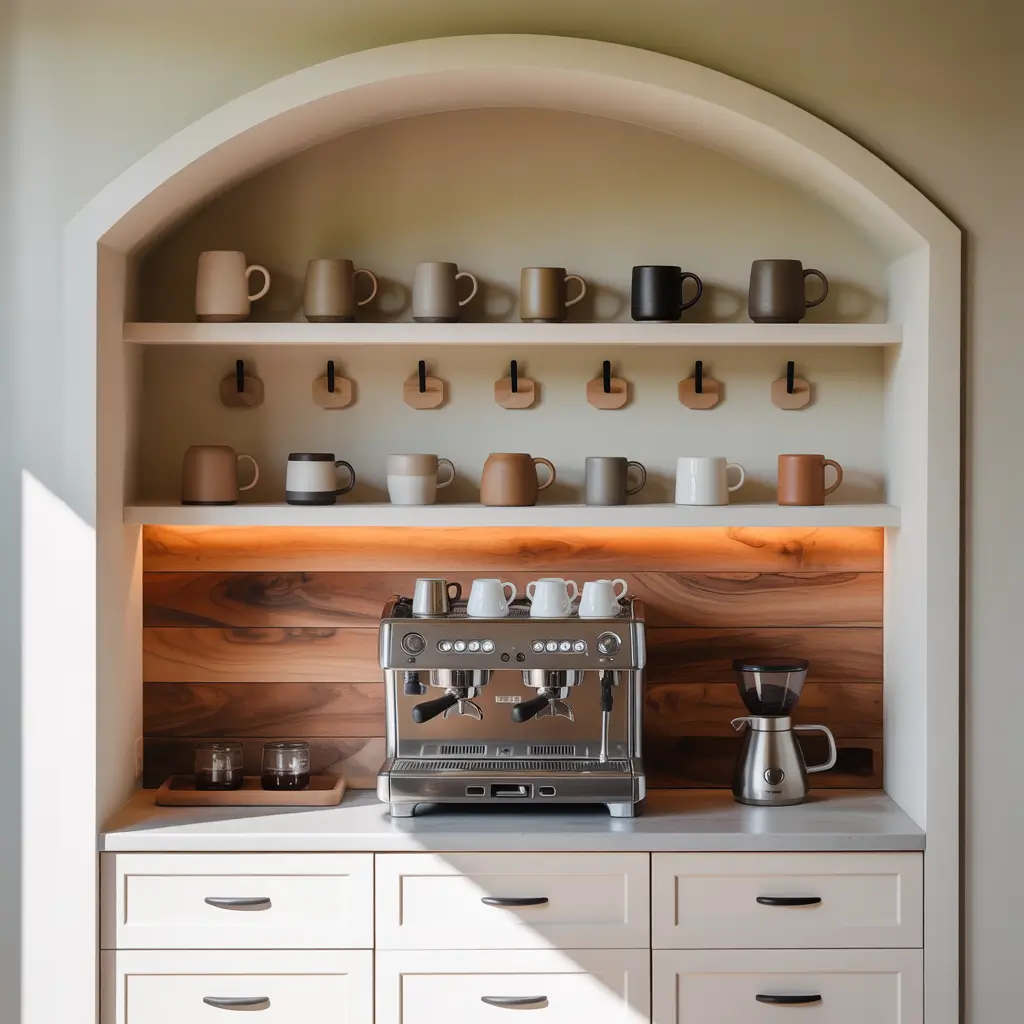
If you’re a mug collector (guilty as charged), why hide them in cabinets? A display wall turns your collection into functional art.
I mounted a pegboard wall system behind my coffee bar, and it completely changed how I interact with my morning coffee. Every mug is visible and accessible. Plus, let’s be honest—half the joy of mug collecting is seeing them on display, not stacking them where no one can appreciate them.
The mug display wall works brilliantly in tiny spaces because it uses vertical real estate you’re probably wasting. The wall behind your coffee station is just… there. Make it work harder.
Display options for small spaces include:
- Pegboard with hooks (adjustable and super functional)
- Floating shelves in varying lengths for visual interest
- Metal grid panels for an industrial look
- Traditional mug hooks mounted directly to the wall in organized rows
Space them about 4-6 inches apart to prevent overcrowding. I learned this the hard way when I hung hooks too close together and couldn’t actually remove mugs without a three-point turn maneuver :/
The key is editing your collection. Display your favorite 12-15 mugs and rotate them seasonally. Store the rest elsewhere. A wall completely covered in mugs reads as cluttered, not curated. Strategic gaps and breathing room make the display intentional rather than chaotic.
Built In Coffee Bar Under Stair Nook
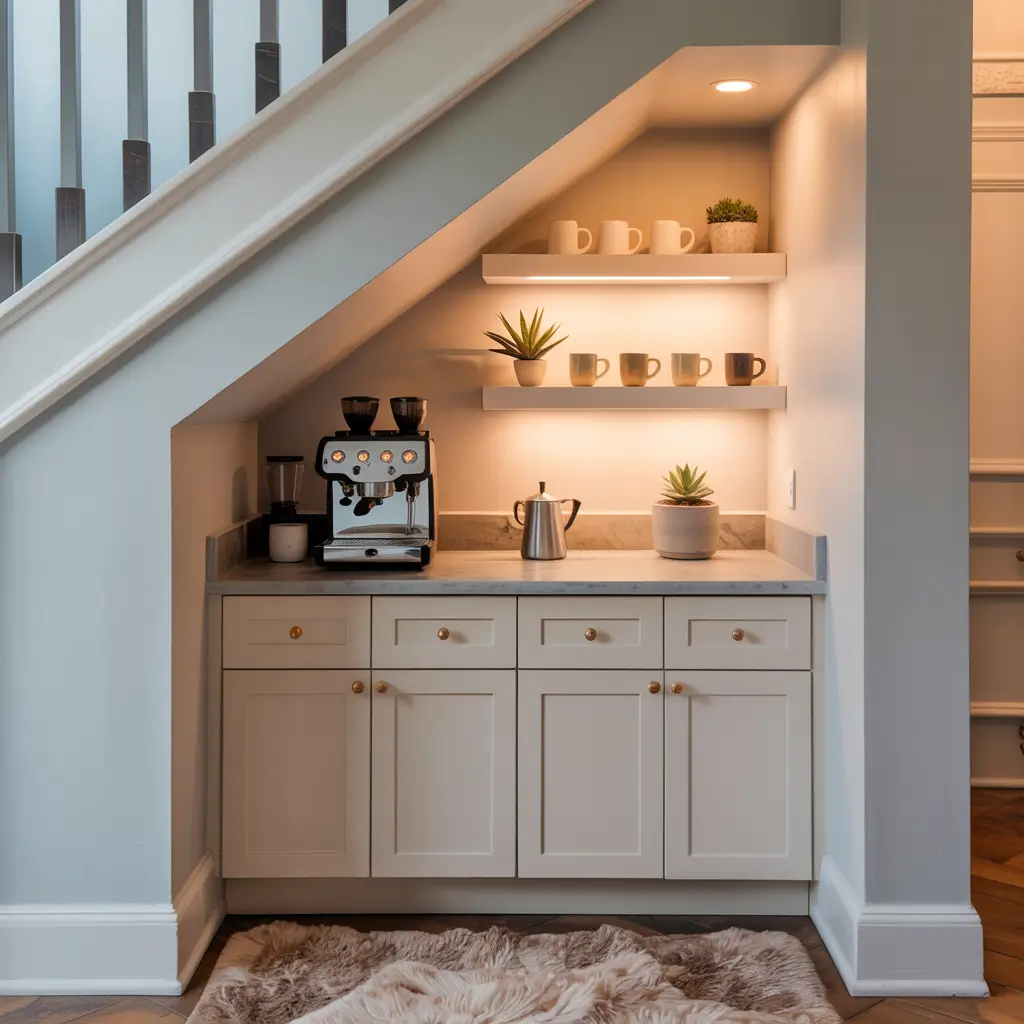
Under-stair spaces are the Cinderella of home design—underestimated and overlooked until someone shows their potential. I’m telling you, that awkward triangular space under your stairs is perfect for a built-in coffee bar.
The sloped ceiling of under-stair nooks creates a cozy, tucked-away feeling that’s actually perfect for a coffee station. You don’t need full ceiling height to make coffee—you need just enough room to stand comfortably and reach your machine. Most under-stair spaces offer 5-7 feet of headroom at the tallest point, which is plenty.
I helped a friend convert her under-stair closet into a coffee bar last summer. We removed the door, built a counter at standard height along the back wall, and installed open shelving that followed the slope of the stairs above. The angled shelving actually added character instead of looking awkward.
Planning considerations for under-stair coffee bars:
- Measure headroom carefully before committing (you don’t want to smack your head every morning)
- Maximize the tallest section for standing and operating your machine
- Use the low-clearance areas for storage and display
- Add lighting because under-stair spaces tend to be dark
- Consider sliding or pocket doors if you want to close it off
The biggest challenge? Running electrical and plumbing to a space that might not have easy access to utilities. This might require professional help unless you’re comfortable with DIY electrical work (I’m not, so I hired out).
Built In Coffee Bar With Pull Out Drawers
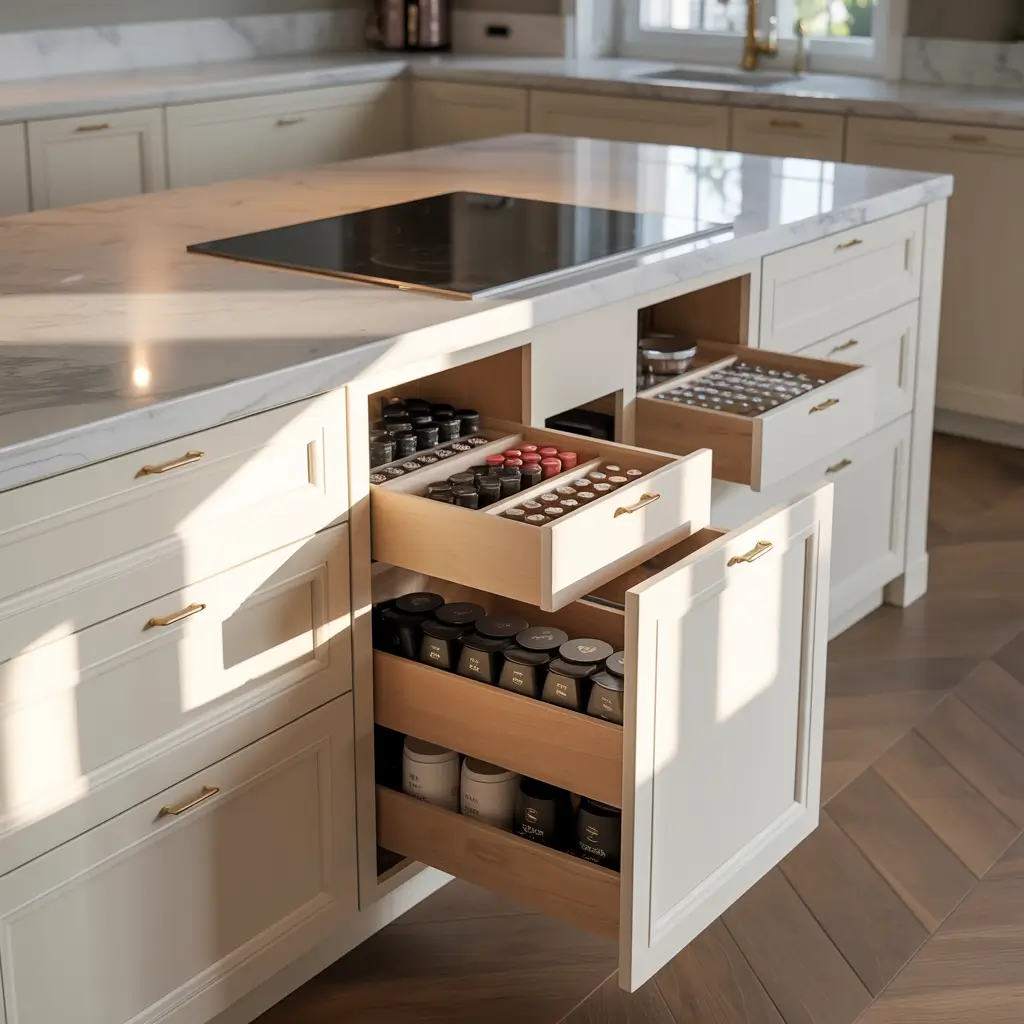
Drawers are criminally underused in coffee bar design. Everyone defaults to cabinets, but drawers offer so much more functionality in small spaces.
Think about it: pull-out drawers give you complete visibility and access to everything inside. No more digging through cabinet corners trying to find that bag of coffee beans or the filters you know are in there somewhere. Everything lives in organized drawer sections that you can see at a glance.
I redesigned my coffee bar with mostly drawers instead of traditional cabinets, and my morning routine became so much smoother. Top drawer holds coffee beans, filters, and daily essentials. Middle drawer stores backup supplies. Bottom drawer houses less-used items like my pour-over equipment and French press.
The best setup I’ve found includes:
- One appliance garage drawer for the coffee maker (yes, they make drawers strong enough for this)
- Shallow drawers for pods, filters, stirrers, and small items
- Deep drawers for bulk coffee storage and backup supplies
- Divider inserts to keep everything organized and prevent the junk drawer effect
Pull-out drawers work exceptionally well in narrow spaces where cabinet depth is limited. A 12-inch deep drawer is way more functional than a 12-inch deep cabinet because you can actually see and reach everything inside.
The investment in quality drawer slides is worth it. Soft-close mechanisms aren’t just about luxury—they prevent the coffee station from sounding like a drum solo every morning when you’re grabbing supplies.
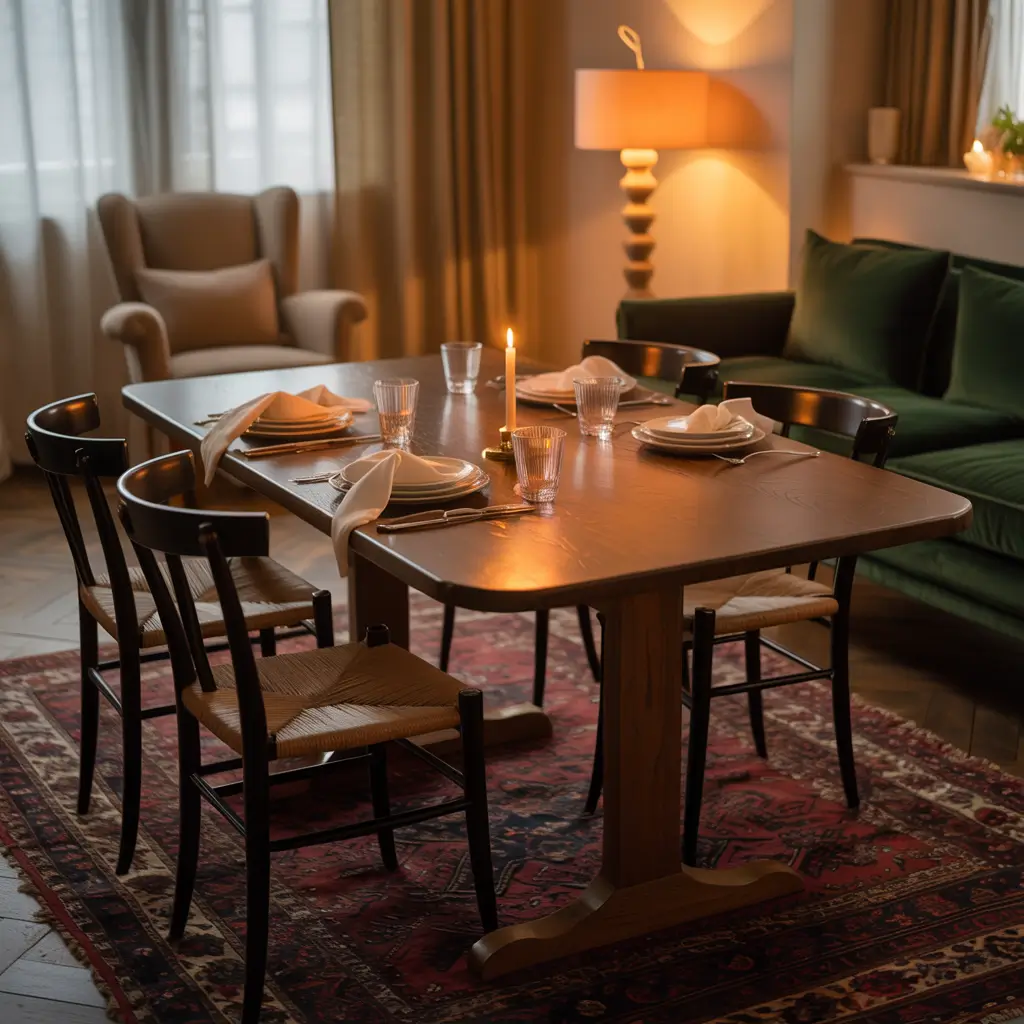
Dark Wood Built In Coffee Bar Station
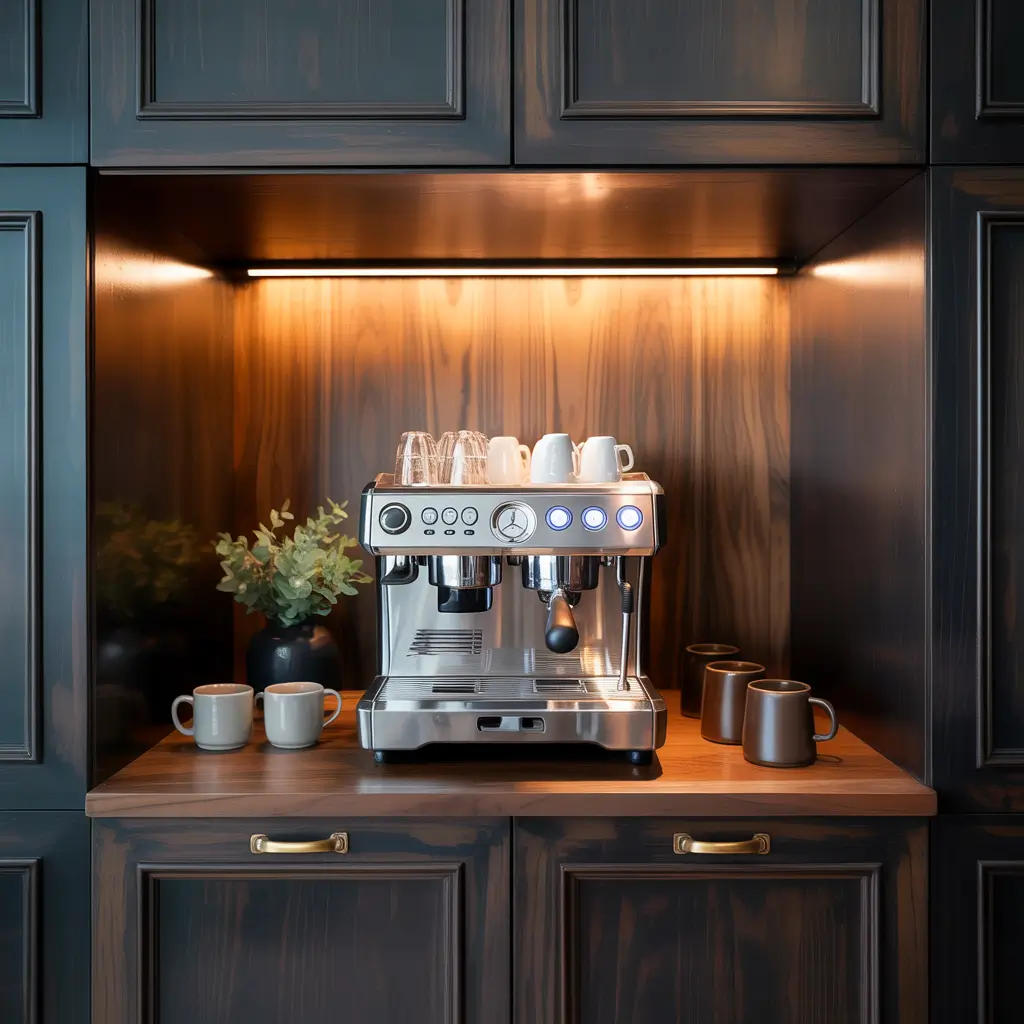
While everyone’s painting everything white and gray, dark wood is making a serious comeback. And you know what? Dark wood coffee bars bring richness and sophistication to small spaces when done right.
I recently installed a walnut-stained built-in coffee bar in my dining room, and the dramatic contrast against white walls creates a focal point that actually makes the room feel more intentional and designed. Dark wood grounds a space and adds warmth that painted cabinets just can’t match.
The trick with dark wood in small spaces is balance. You’re not trying to make everything dark—you’re using dark wood as an accent that defines your coffee zone. Pair it with lighter elements to prevent the space from feeling cave-like.
Winning combinations for dark wood coffee bars:
- Dark walnut or espresso-stained cabinets with white or marble countertops
- Dark base cabinets with open shelving or glass uppers to maintain airiness
- Dark wood floating shelves against light-colored walls
- Natural dark wood like cherry or mahogany left unsealed for organic beauty
Make sure you add adequate lighting when working with dark materials. Under-cabinet LED strips are non-negotiable here—they illuminate your workspace and create contrast that prevents the dark wood from absorbing all the light.
I won’t lie, dark wood shows dust and water spots more than light finishes. But a quick wipe-down daily (which you should be doing anyway around a coffee station) keeps it looking sharp. The maintenance is worth the sophisticated aesthetic it brings.
Wrapping This Up
Here’s the truth about built-in coffee bars in tiny spaces: they’re about working smarter, not bigger. You don’t need a sprawling kitchen or unlimited budget to create a coffee station that makes your mornings better.
I’ve tried half these approaches myself (and messed up a few of them before getting it right). The common thread? Every successful small-space coffee bar maximizes vertical storage, keeps essentials accessible, and reflects the user’s actual coffee habits rather than Pinterest fantasies.
Start by honestly assessing your space and coffee routine. Are you a single-serve pod person or a pour-over enthusiast? Do you need storage for 30 mugs or just your 3 favorites? How much counter space do you actually need versus want?
Pick one or two ideas from this list that genuinely fit your space and lifestyle. Mix elements if that works better—there’s no rule saying you can’t combine floating shelves with a mini fridge and dark wood accents. Your coffee bar should serve you, not stress you out.
The best coffee bar is the one you’ll actually use every morning. Make it functional first, beautiful second, and exactly right for your tiny space.