15 Creative DIY Coffee Bar Ideas for Small Spaces
- Coffee Station Ideas
 Alina
Alina- 0
- 39 minutes read

Look, I get it. You’re living in a space roughly the size of a shoebox, but you’re also a coffee enthusiast who refuses to compromise on your morning ritual. Your studio apartment shouldn’t mean you have to sacrifice your barista dreams, right? I’ve been there—cramming coffee makers, grinders, and an embarrassing collection of mugs into whatever corner I could find.
Here’s the thing: creating a dedicated coffee bar in a small space isn’t just possible; it’s actually kind of fun. You don’t need a massive kitchen or a ton of money to make it happen. What you need is creativity, a little elbow grease, and maybe a weekend afternoon. I’ve rounded up 15 DIY coffee bar ideas that actually work in tiny spaces because I’ve either tried them myself or know someone who has. No fluff, no impossible Pinterest fantasies—just real solutions for real coffee lovers dealing with real space constraints.
1. Small Corner DIY Coffee Bar
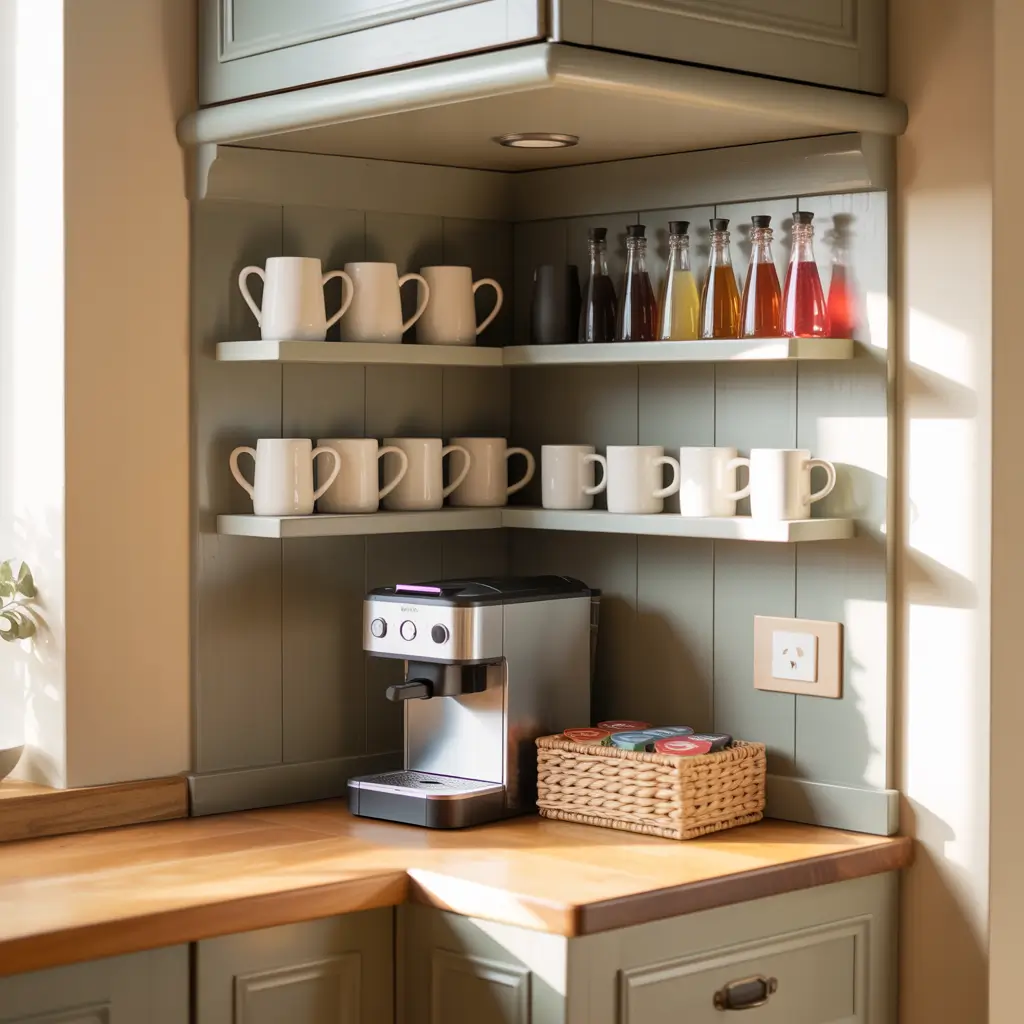
Corners are basically the forgotten real estate of small apartments. You walk past them every day, and they just sit there collecting dust or maybe a sad houseplant you keep forgetting to water. But guess what? That corner could be your coffee headquarters.
I transformed my kitchen corner into a coffee station using a simple two-tier corner shelf from IKEA. The beauty of corner setups is they use vertical space instead of stealing precious counter area. You can stack your coffee maker on the bottom shelf and keep your mugs, beans, and syrups on the upper tier.
Making It Work
Start by measuring your corner space—seriously, measure it. I learned this the hard way after buying shelves that were three inches too wide. Once you’ve got your measurements, look for corner shelving units specifically designed for tight spaces. You want something with at least two levels to maximize storage.
Pro tip: Add a small lazy Susan on one of the shelves for your coffee pods, sugar, or flavored syrups. You can spin it to grab what you need without playing Jenga with your entire setup. I added adhesive hooks on the wall beside mine to hang my favorite mugs, which freed up even more shelf space and looked pretty cute, IMO.
2. Dollar Store DIY Coffee Bar
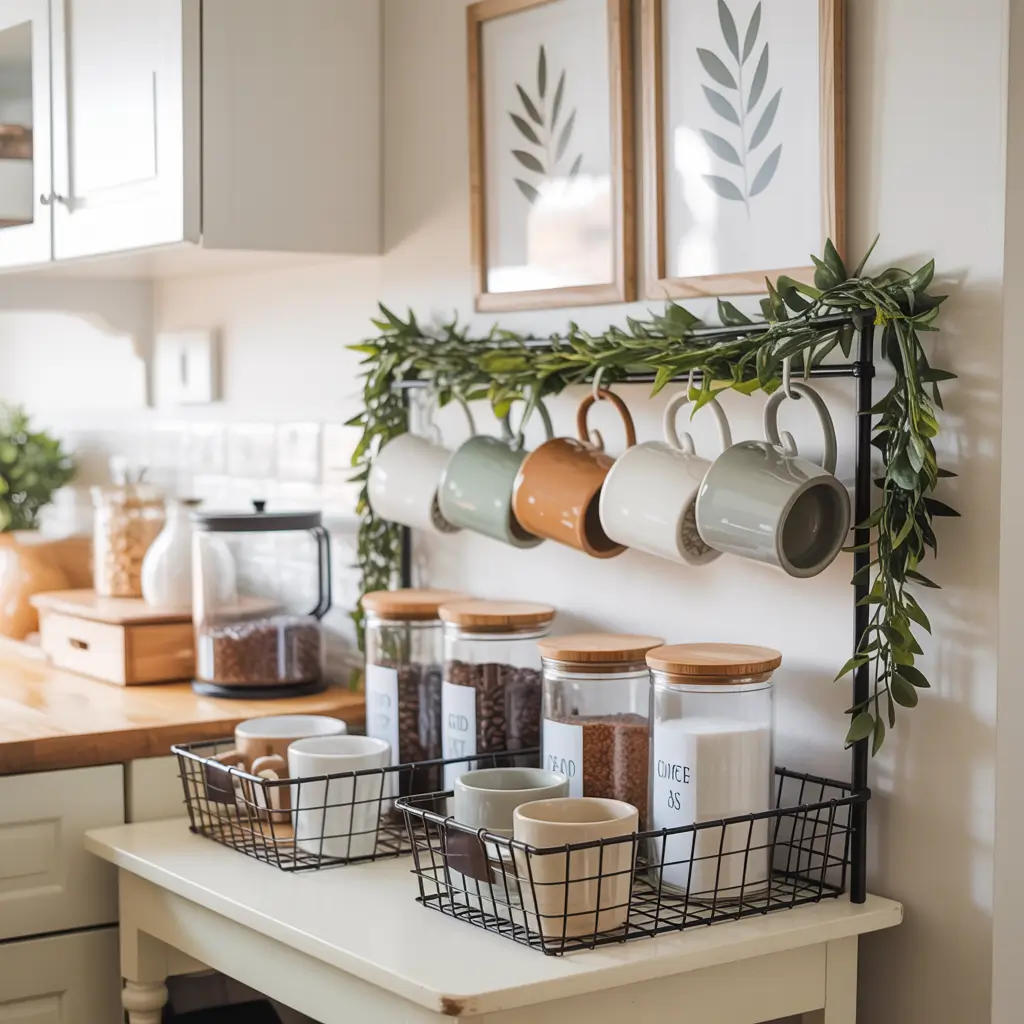
Anyone who says you need to drop serious cash on a coffee bar setup hasn’t discovered the magic of dollar stores. I’m talking full-on coffee station for under $30. Yeah, you read that right.
Your dollar store carries wire baskets, small organizers, decorative trays, and even decent-looking canisters. I picked up three wire baskets, a wooden tray, and some glass jars during one shopping trip. The total came to $18, and I had enough supplies to create a functional coffee bar on my countertop.
Assembly Game Plan
Use the wooden tray as your base—this defines your coffee bar space and keeps everything contained. Arrange your coffee maker on one side of the tray. Fill the wire baskets with coffee pods, tea bags, and stir sticks. Use the glass jars for coffee beans, sugar, and creamer packets.
The trick is making dollar store finds look intentional. Add some chalk labels to your jars (also from the dollar store), and suddenly your budget setup looks like it came from a fancy home goods store. Nobody needs to know you spent less than the cost of three lattes at Starbucks.
3. Farmhouse Style DIY Coffee Bar
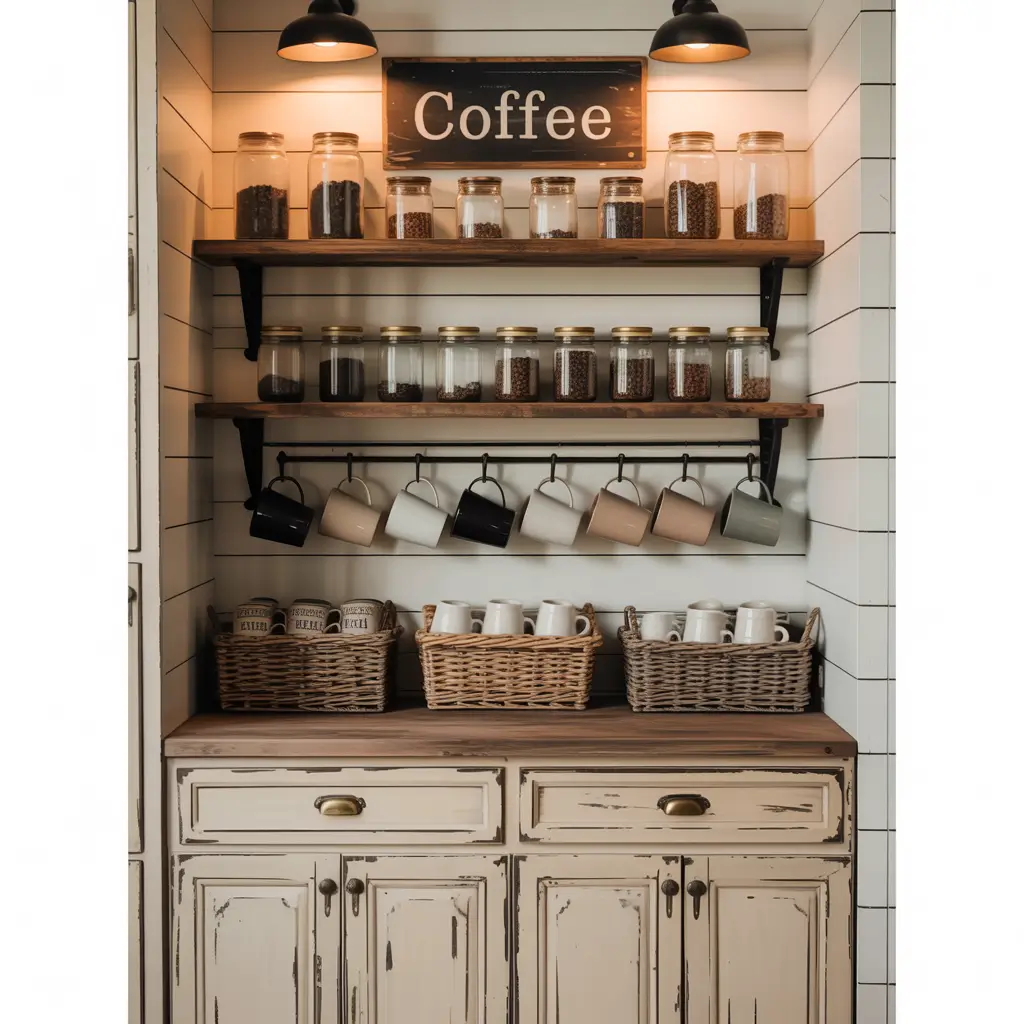
Farmhouse style refuses to die, and honestly, I’m not mad about it. There’s something comforting about that rustic, cozy vibe—especially when you’re half-asleep and desperately need caffeine.
Creating a farmhouse coffee bar in a small space means focusing on key elements: wood tones, white or neutral colors, and vintage-inspired accessories. I snagged an old wooden crate from a garage sale for $5, painted it white, distressed it slightly with sandpaper, and mounted it on my wall as a shelf.
Farmhouse Touches That Matter
You don’t need a ton of stuff to nail this aesthetic. Focus on these elements:
- Wooden accents: Use a small wooden tray or cutting board as your base
- Enamelware: White enamel containers for coffee and sugar look perfectly farmhouse
- Mason jars: Yes, they’re cliché, but they work for storing coffee supplies
- Simple signage: A small “But First, Coffee” sign (you can DIY with a wood slice and paint pen)
- Neutral colors: Stick to whites, creams, and natural wood tones
I added a small galvanized metal bucket to hold wooden stir sticks and a vintage-looking spoon rest. The whole setup takes up maybe 18 inches of counter space but delivers maximum cozy vibes.
4. Minimalist Floating Shelf Coffee Bar
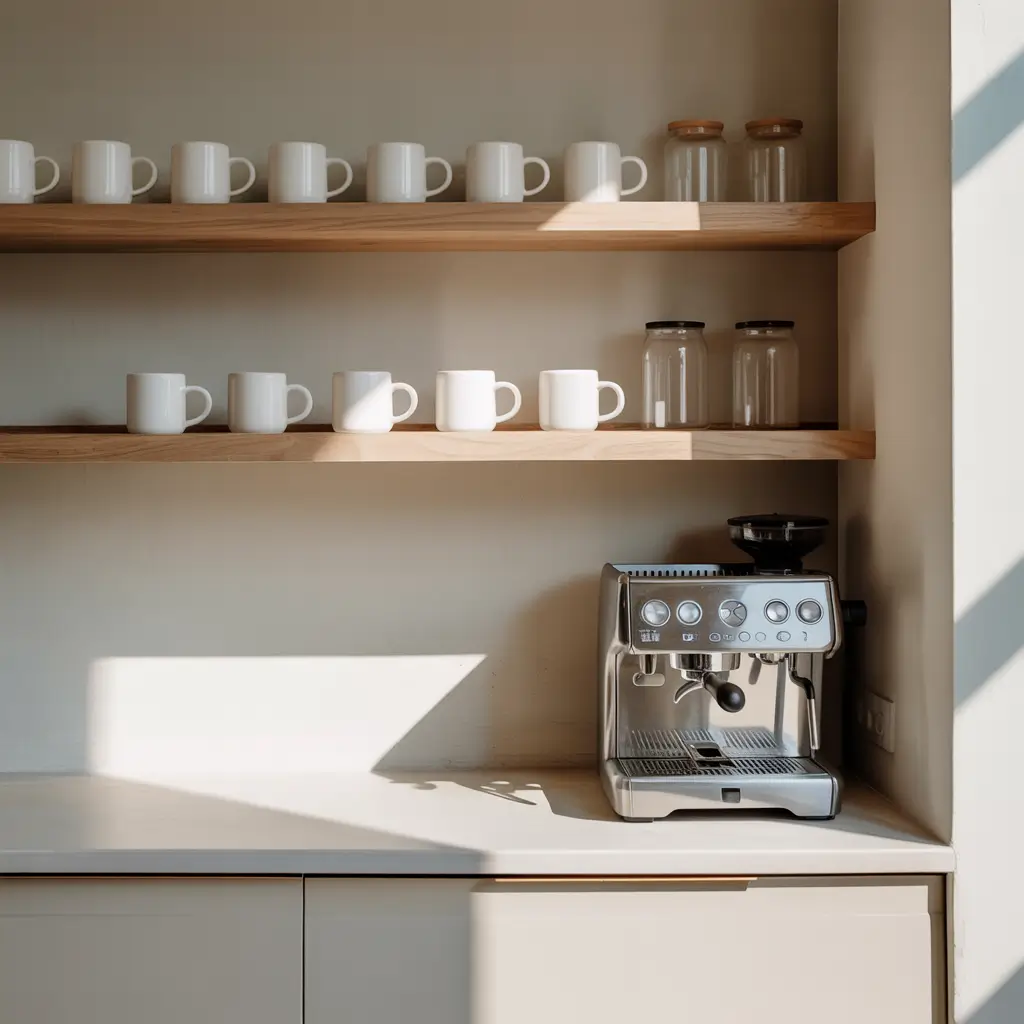
For my fellow minimalists out there—the people who get anxiety from too much visual clutter—the floating shelf approach is your best friend. Clean lines, minimal items, maximum function.
I installed two 24-inch floating shelves (one above the other) on an empty wall beside my fridge. The bottom shelf holds my coffee maker and nothing else. The top shelf has exactly four items: a small succulent, my coffee bean canister, a sugar container, and one decorative piece.
The Minimalist Rules
Minimalism isn’t about deprivation; it’s about intentionality. Here’s how I make it work:
Keep only what you actually use daily on display. Everything else goes in a cabinet. Choose items in a cohesive color scheme—I went with all white and natural wood. Your coffee maker becomes a design element, so pick one that looks good.
The floating shelf setup works brilliantly in small spaces because it literally floats—there’s no bulky furniture taking up floor space. You can walk right up to it, make your coffee, and go. I have friends who’ve done this in their studio apartments, and it’s a game-changer for maintaining an open, airy feeling.
Also Read: 15 Cozy Small Coffee Bar Ideas for Small Kitchens
5. Coffee Bar Cart on Wheels
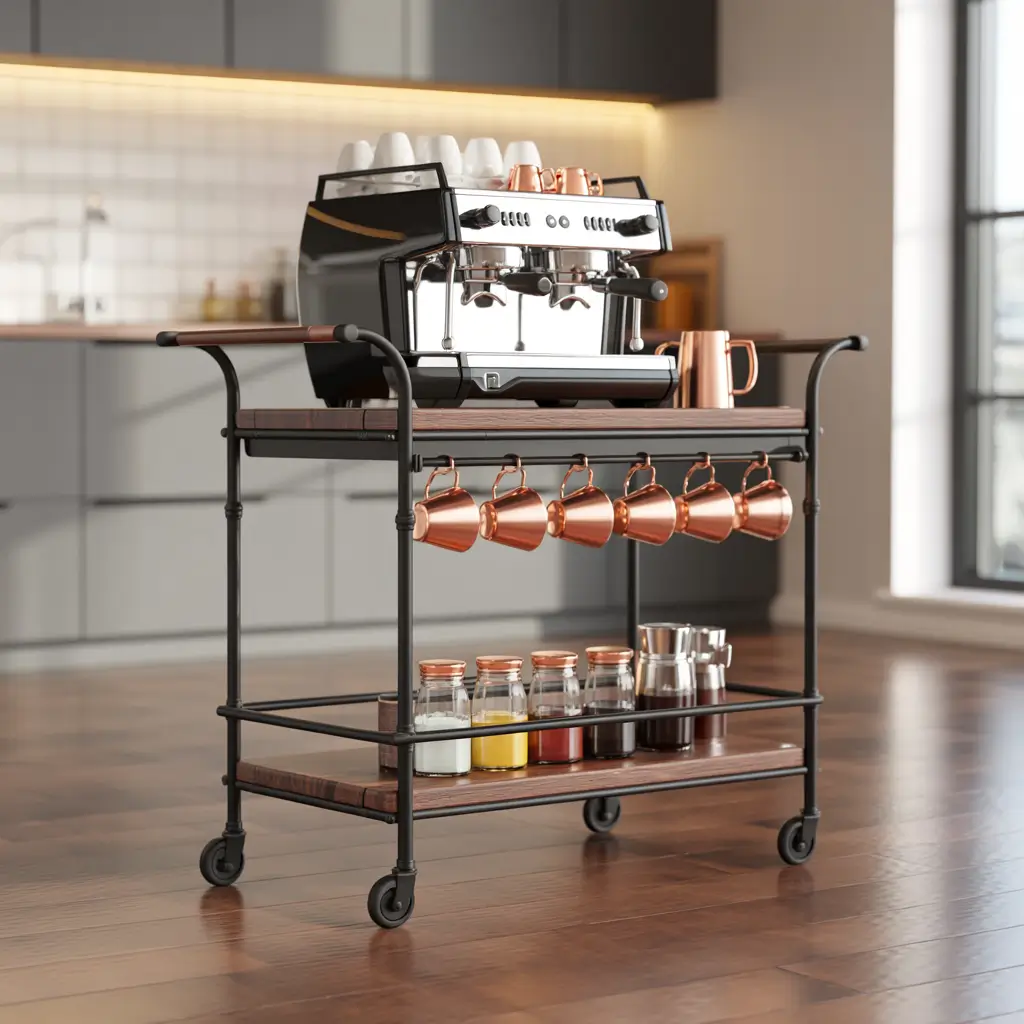
Ever wish your coffee bar could just… move? Maybe you want it by the window for Sunday morning coffee, but during the week, you need it tucked away? That’s where bar carts come in, and they’re perfect for small spaces.
I bought a basic metal bar cart (the IKEA RÅSKOG, if you want specifics) and converted it into a mobile coffee station. The three-tier design gives you tons of storage, and the wheels mean you can roll it wherever you need it.
Cart Setup Strategy
Top tier: Your coffee maker (make sure it’s not too heavy for the cart). Middle tier: Mugs hanging from adhesive hooks on the side, plus your coffee supplies in small containers. Bottom tier: Extra supplies, napkins, or even your coffee bean grinder.
The mobility factor is seriously underrated. I roll mine out of the way when I need counter space for cooking. When friends come over, I wheel it into the living room so people can help themselves. It’s like having a portable café in your apartment 🙂
6. Cabinet Turned Coffee Station
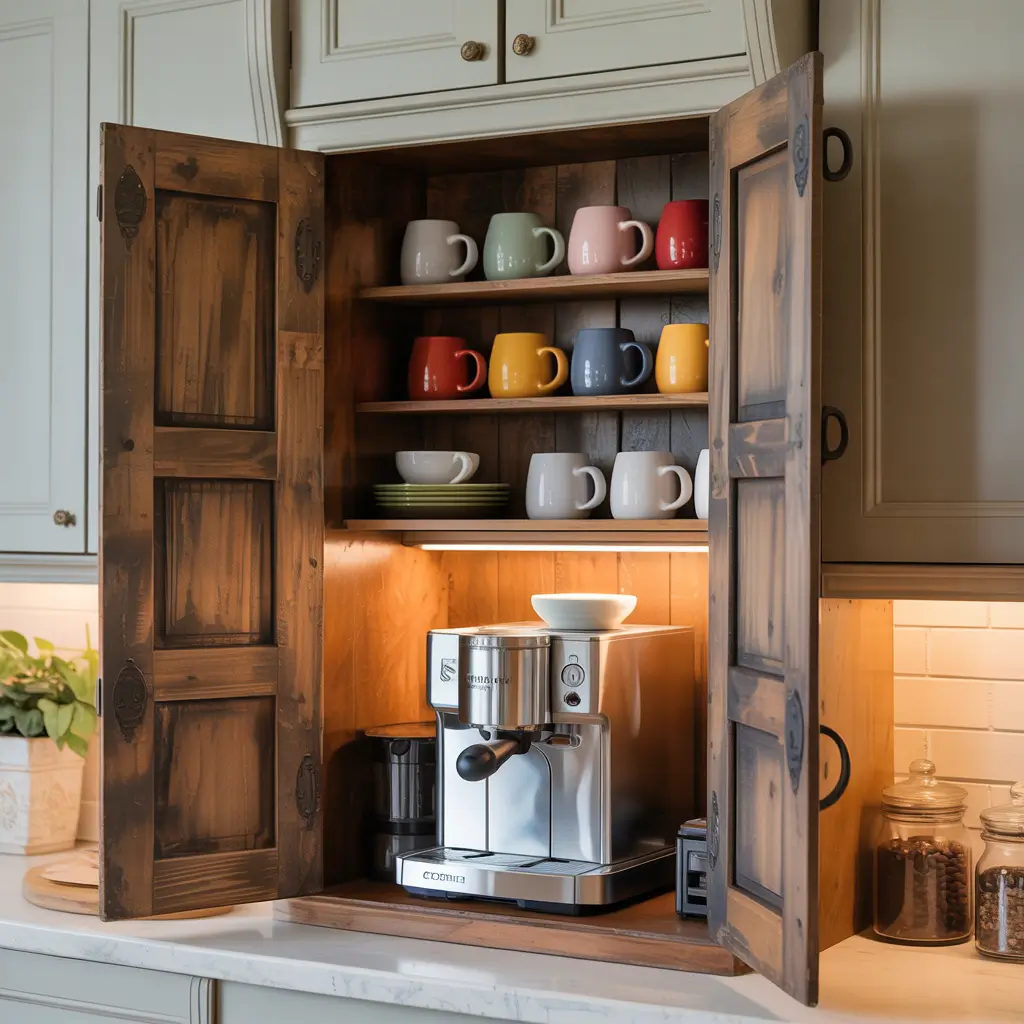
You know that awkward cabinet in your kitchen that’s too small to be useful but too big to ignore? I converted mine into a dedicated coffee station, and it’s probably my favorite hack on this list.
The beauty of a cabinet coffee station is everything stays hidden behind closed doors. Your kitchen looks clean and organized, but you’ve got a fully stocked coffee bar waiting inside. I removed the middle shelf in my cabinet to accommodate my coffee maker’s height and added some command strips inside the door to hang measuring spoons.
Cabinet Conversion Tips
Measure the interior of your cabinet before committing to this idea. Your coffee maker needs to fit comfortably with the door closed (or at least able to close when not in use). Add a small power strip inside if you don’t have an outlet nearby—though keep fire safety in mind.
Install small adhesive organizers on the inside of the cabinet door for coffee pods, filters, or tea bags. Use drawer organizers inside to separate different coffee supplies. Add a pull-out shelf or lazy Susan if your cabinet is deep—you don’t want to knock everything over reaching for something in the back.
I line the bottom with a pretty kitchen towel that I can throw in the wash when coffee inevitably spills. Because it will spill. We both know it will.
7. Rustic Pallet Wood Coffee Bar
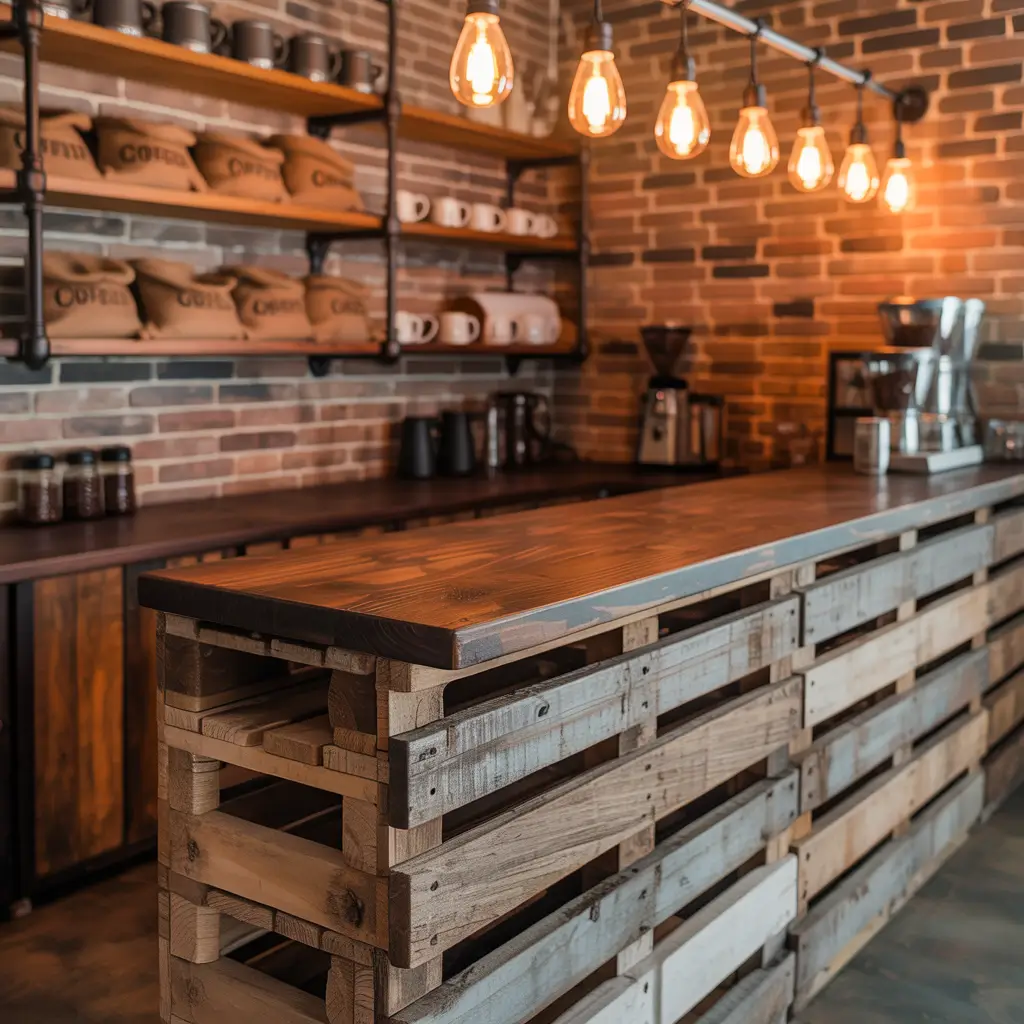
Pallet wood projects are either your jam or your nightmare—there’s really no in-between. But if you’re into the rustic, DIY aesthetic and you’ve got a free weekend, this one’s worth considering.
I built a small wall-mounted shelf from reclaimed pallet wood, and honestly, it turned out way better than I expected. The rough, weathered look of pallet wood adds character and warmth to your space, and the price (free if you find pallets) can’t be beat.
Pallet Project Basics
First, source clean pallets—check behind stores or look on Craigslist/Facebook Marketplace. Avoid any with chemical smells or stains. Disassemble the pallet carefully and sand down the wood to avoid splinters (learned that one the hard way).
Cut the wood to your desired shelf length. I made mine 30 inches to fit a specific wall space. Attach a support bracket to the wall studs—pallet wood is heavier than you think, especially once you load it with coffee equipment. Seal or stain the wood if you want, though I left mine natural for that authentic rustic vibe.
Mount it at a comfortable height where you can easily reach your coffee supplies. I added some industrial-style pipe brackets underneath mine for extra support and visual interest. The whole project cost me about $25 in brackets and screws.
8. Apartment Countertop Coffee Nook
Sometimes you don’t have walls to mount things on (hello, rental agreements), and you don’t have extra space for furniture. What you do have is about two feet of countertop that’s currently wasted. Let’s fix that.
Creating a countertop coffee nook is all about defining the space and using vertical stackable storage. I use a bamboo drawer organizer turned on its side to create a two-level coffee station. The bottom level holds my coffee maker, and the top level has my mugs and supplies.
Maximizing Your Nook
Use stackable organizers to build upward instead of outward. Those tiered organizers meant for spices? Perfect for coffee pods or small jars of supplies. A utensil holder works great for stir sticks, spoons, and even coffee scoops.
Add a small tray underneath everything to define the space and catch any drips or spills. I use a 24-inch bamboo tray that I can wipe clean easily. The tray psychologically marks this as “coffee territory” and keeps the rest of your counter clear.
Consider a small wall-mounted magazine rack beside your nook to hold coffee filters, napkins, or even coffee-related magazines (because apparently those exist, and I have three of them).
9. Built-In Closet Coffee Bar Makeover
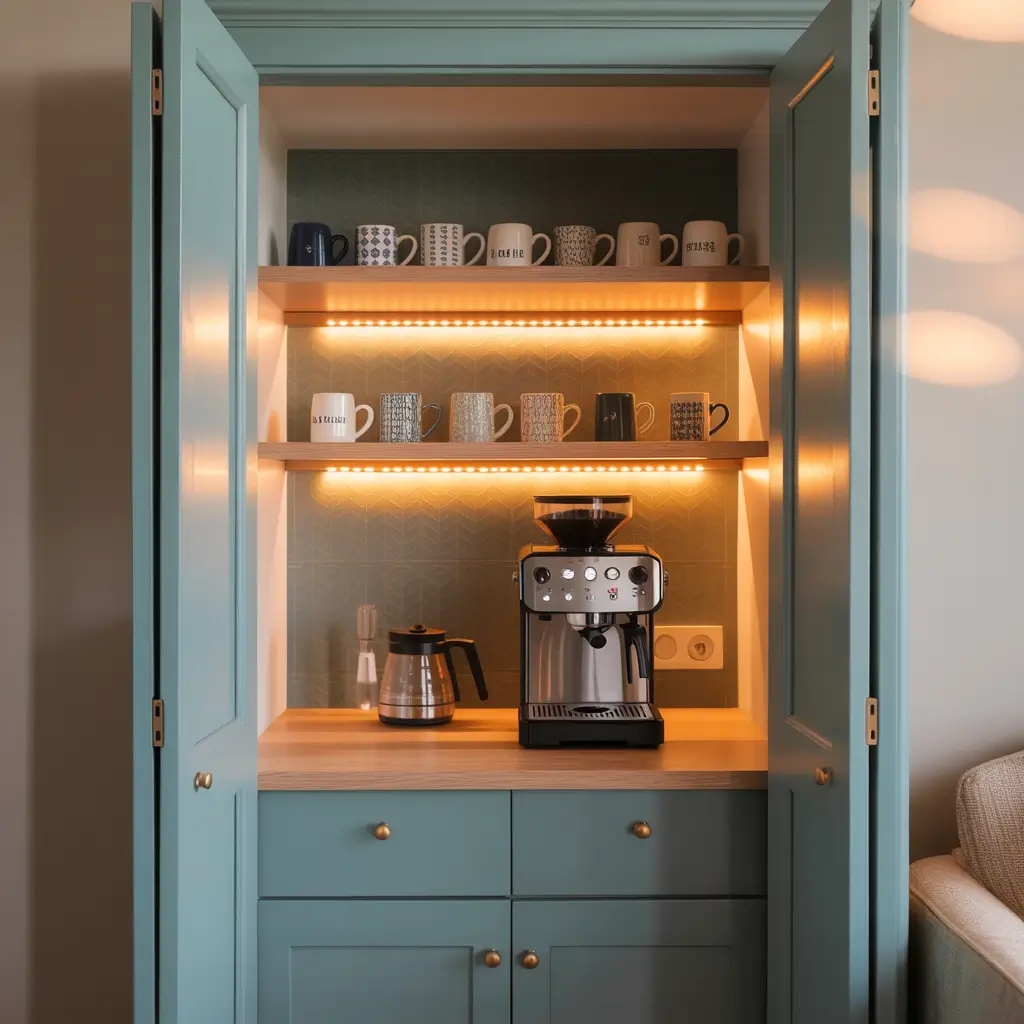
This one requires a bit more commitment, but if you have a small closet you’re not fully using—maybe a coat closet in your entryway or a linen closet with wasted space—you can transform it into a hidden coffee bar.
My friend converted her small hallway closet into a coffee station, and I was genuinely impressed. She removed the closet door, painted the interior a fun color (mint green), and installed shelves at various heights. The result looks like a trendy coffee shop nook built right into her apartment.
Closet Coffee Conversion
Start by emptying the closet completely and deciding whether you want to remove the door (for an open coffee bar look) or keep it (for a hidden option). If you keep the door, you’ll need to measure carefully so everything fits when it closes.
Install an outlet inside if one isn’t already there (hire an electrician for this—don’t DIY electrical work unless you know what you’re doing). Add shelving at heights that make sense for your equipment. The bottom might hold your coffee maker, middle shelves for supplies and mugs, and top shelf for items you use less frequently.
Paint or wallpaper the interior to make it feel special and intentional. Add some adhesive LED strip lights along the top shelf so you can see what you’re doing during those dark winter mornings. My friend added a small decorative rug at the base and some framed coffee prints on the back wall—it looks legit.
10. Modern Black and White Coffee Bar
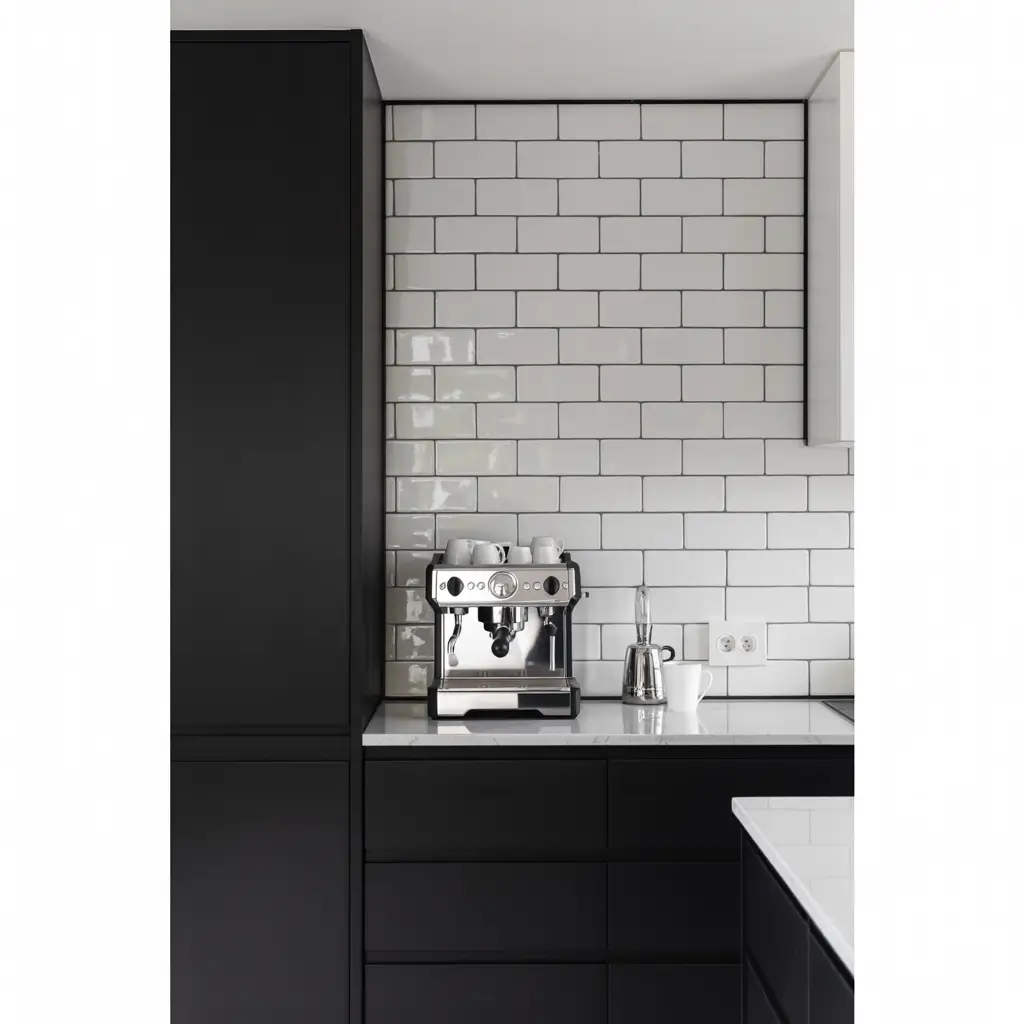
Clean, crisp, and effortlessly cool—that’s the black and white aesthetic. If your place already leans modern, this coffee bar style will fit right in.
I created mine using exclusively black and white items, and the cohesive color scheme makes even a small space look intentional and designed. Black coffee maker, white ceramic canisters, black tray, white mugs—you get the idea.
Nailing the Monochrome Look
The key here is contrast and consistency. Choose items that are either pure black or pure white—no gray zone (pun intended). The stark contrast creates visual interest without the chaos of multiple colors.
I use:
- Black metal wall-mounted shelf
- White ceramic containers for coffee, sugar, and tea
- Black coffee maker and grinder
- White mugs with black interiors
- Black and white geometric tray as the base
Add one or two green plants to break up the monochrome and add life. I have a small pothos on my coffee bar that trails down nicely and doesn’t require much attention (perfect for someone who forgets to water plants regularly—no judgment).
The modern aesthetic works especially well in small spaces because the clean lines and simple color palette don’t overwhelm the eye. Everything feels calm and organized, which is exactly what you need before you’ve had your morning coffee.
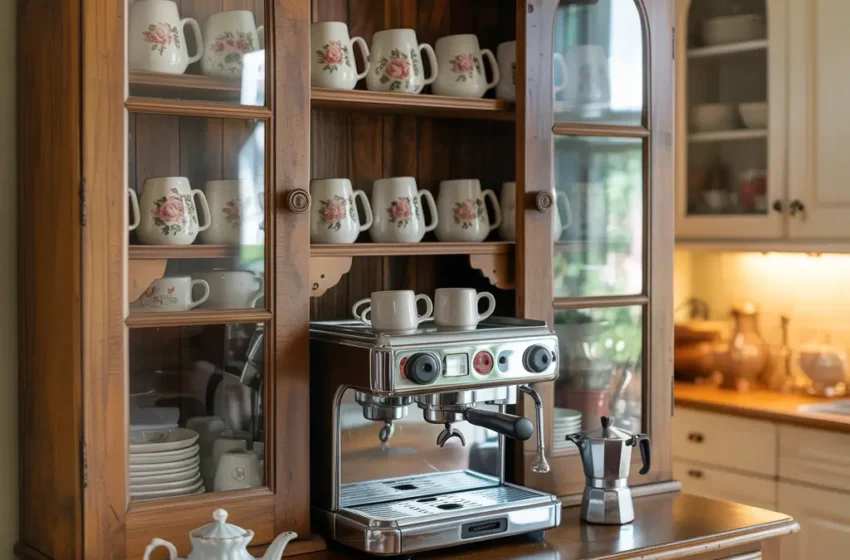
11. Vintage Hutch Coffee Bar Setup
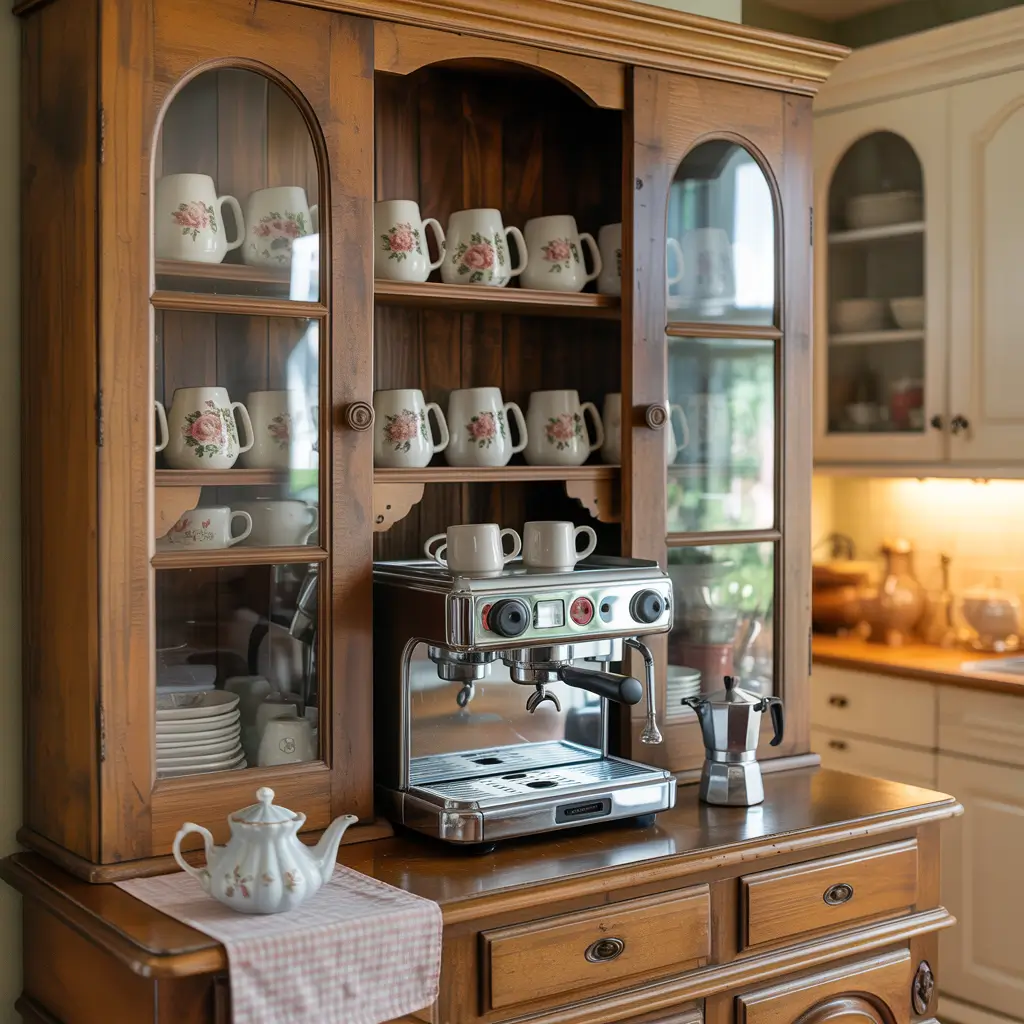
Vintage hutches and small cabinets pop up at thrift stores, estate sales, and Facebook Marketplace all the time. I scored a 1960s hutch for $40, cleaned it up, and turned it into the cutest coffee bar setup.
The advantage of a vintage piece is character—it adds personality to your space in a way that new furniture just doesn’t. Plus, hutches often have built-in storage, shelves, and display areas that are perfect for coffee bar organization.
Working with Vintage Furniture
When you’re shopping for a vintage piece, measure your space first. Vintage furniture comes in all sizes, and you need to know what will actually fit in your apartment. Look for pieces with multiple levels—upper cabinets with glass doors are great for displaying mugs, and lower cabinets can hide less attractive items like extra filters and cleaning supplies.
Don’t be afraid of pieces that need a little work. A fresh coat of paint can completely transform a dated hutch. I painted mine a soft sage green, and it went from grandma’s house to trendy coffee bar in an afternoon.
Keep the original hardware if it’s in good shape—vintage knobs and pulls add to the charm. If it’s damaged, replace it with vintage-inspired hardware from the hardware store. Position your coffee maker on the main surface and use the shelves above for mugs and decorative items.
Also Read: 15 Smart Coffee Bar Ideas for Modern Homes
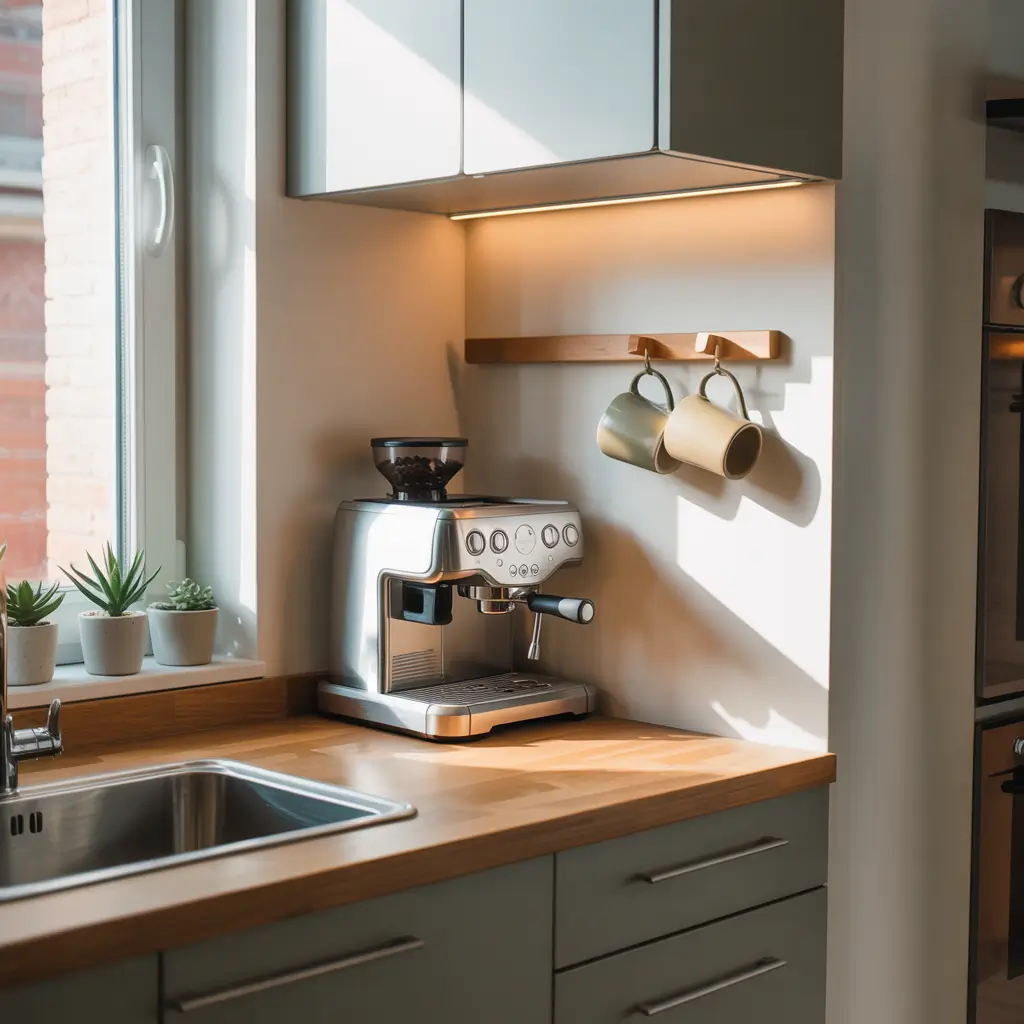
12. Under-Cabinet Coffee Bar Station
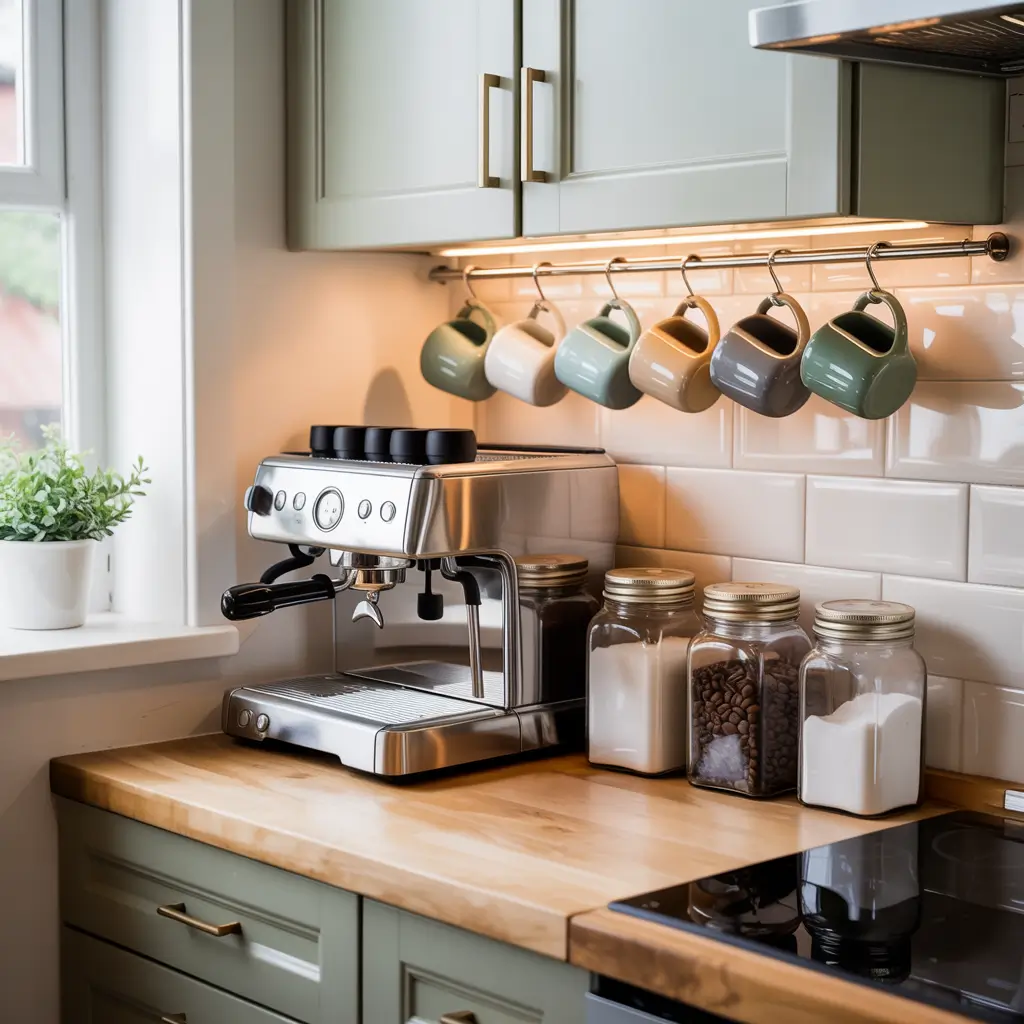
The space underneath your upper kitchen cabinets is prime real estate that most people completely waste. I installed a small under-cabinet coffee setup that uses literally zero counter space when not in use.
Under-cabinet coffee makers exist specifically for this purpose, but you can also create this setup with a regular small coffee maker and some strategic placement. I mounted a small shelf directly under my cabinet that holds my coffee maker and swings down when I need it, then tucks back up out of the way.
Under-Cabinet Installation
You’ll need to check the clearance between your counter and upper cabinets—most kitchens have 18-24 inches, which is usually enough for a compact coffee maker. Mount a fold-down shelf if you want the ultimate space-saver, or use a permanent shelf if you have a dedicated spot.
Keep your coffee supplies in the cabinet directly above your coffee maker. This creates a vertical coffee station where everything lives in one zone. I use a small drawer organizer inside the cabinet to keep pods, filters, and supplies organized.
Add adhesive hooks under the cabinet to hang mugs—this keeps them accessible but off your counter. I hung a small basket under the cabinet using command hooks to hold sugar packets and stirrers. The whole setup is completely self-contained and doesn’t interfere with the rest of my counter space.
13. Boho Style DIY Coffee Bar
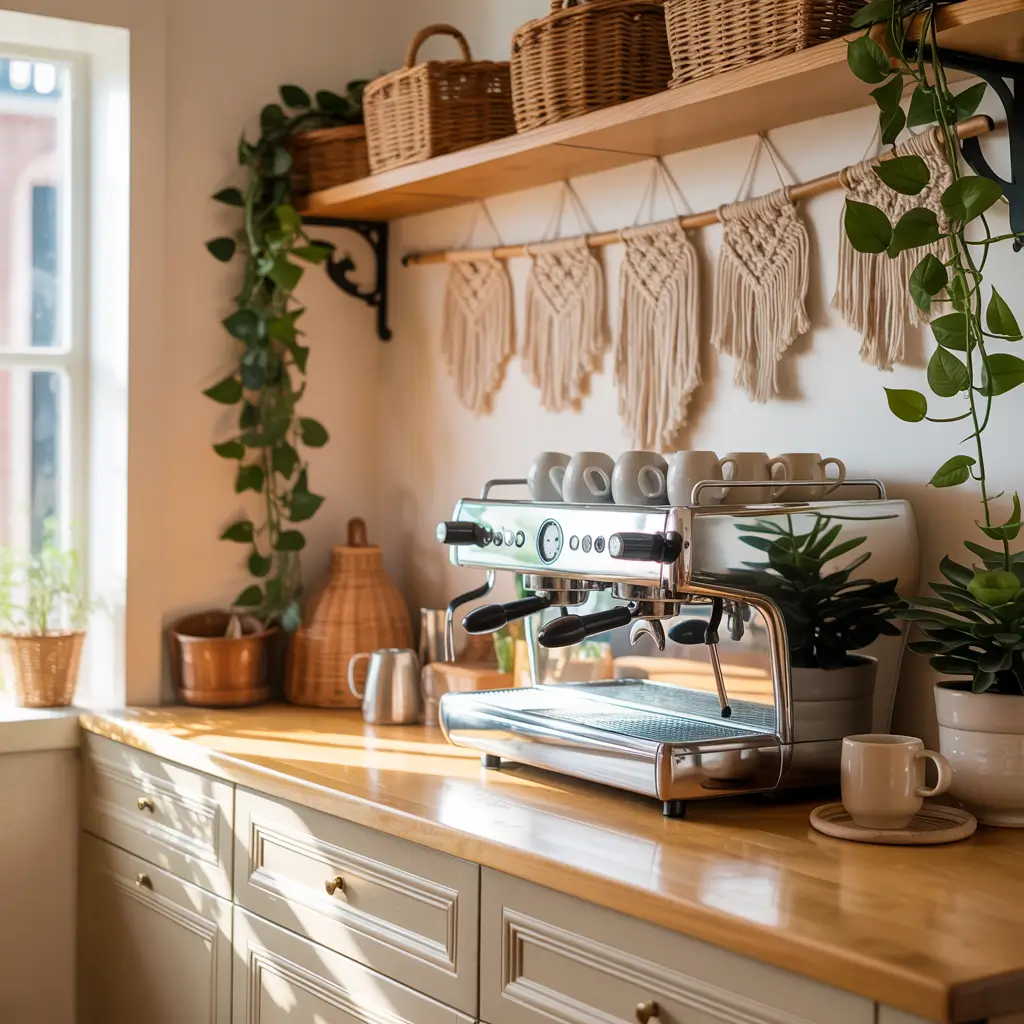
Boho style is basically the “more is more” approach to decorating, which sounds counterintuitive for small spaces—but hear me out. When done right, boho coffee bars feel cozy and personal without looking cluttered.
I created mine on a small wooden console table (thrifted for $20) and layered it with textures, plants, and warm tones. Think macramé, rattan, plants, and natural materials mixed with your coffee equipment.
Achieving Boho Vibes
Start with a base in natural wood or rattan. I use a bamboo tray as my foundation. Add woven baskets for storage—they hide coffee supplies while adding texture. Use ceramic or clay containers instead of plastic or metal.
Plants are essential for boho style. I have three small plants on my coffee bar: a pothos, a small snake plant, and some dried pampas grass in a vase. They add life and color without taking up much space.
Layer in some macramé—maybe a small wall hanging above your coffee bar or a macramé plant hanger beside it. Use mugs in earthy tones like terracotta, cream, and sage green. Add a small vintage rug or fabric runner under your coffee setup to define the space.
The key is making it feel collected and personal, not like you bought everything in one shopping trip. Mix old and new, handmade and store-bought, and don’t worry too much about things matching perfectly.
14. Coffee Bar with Mug Wall Display
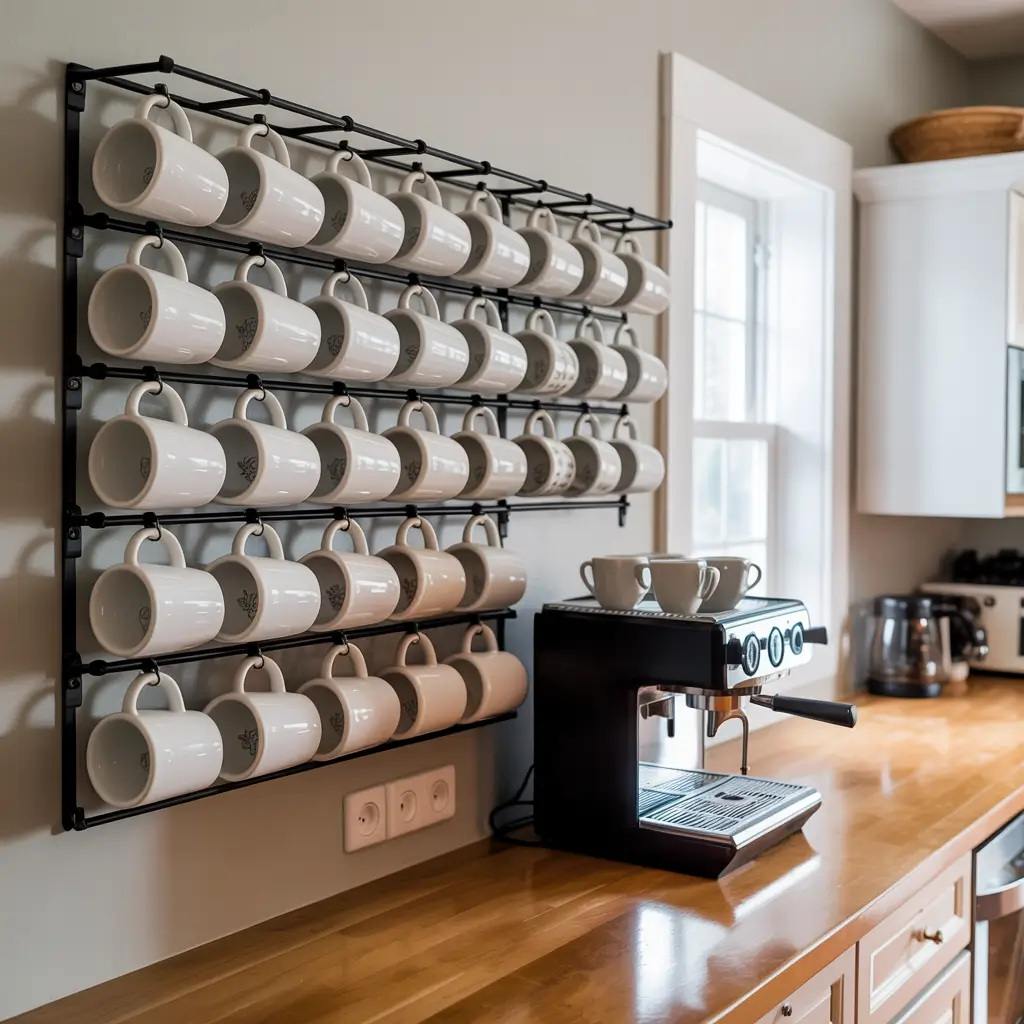
If you’re a mug collector (guilty as charged), why hide them in a cabinet? A mug wall display doubles as storage and decoration, and it’s perfect for small spaces because it uses vertical wall space.
I installed a simple rail system with hooks on my kitchen wall and hung my favorite mugs. Every morning, I choose a mug based on my mood, and the wall display makes me genuinely happy to look at. Plus, it freed up an entire cabinet for other storage.
Creating Your Mug Display
You can go several routes here:
- Rail system: A simple wooden or metal rail with S-hooks
- Pegboard: A small pegboard section with pegs for mugs
- Individual hooks: Adhesive or screwed-in hooks in a pattern
- Floating shelves: Shallow shelves specifically for mug display
I chose the rail system because I rent, and it only required drilling two holes (which I can patch later). I arranged my mugs by color gradient—white to cream to pink to red—because I’m extra like that. FYI, arranging by size or style works just as well and looks equally good.
Place your mug wall above or beside your coffee bar so everything stays in one zone. I can reach up, grab a mug, and immediately make coffee without moving from my spot. It’s both practical and pretty, which is the sweet spot for small-space design.
15. Hidden Coffee Bar Inside Pantry
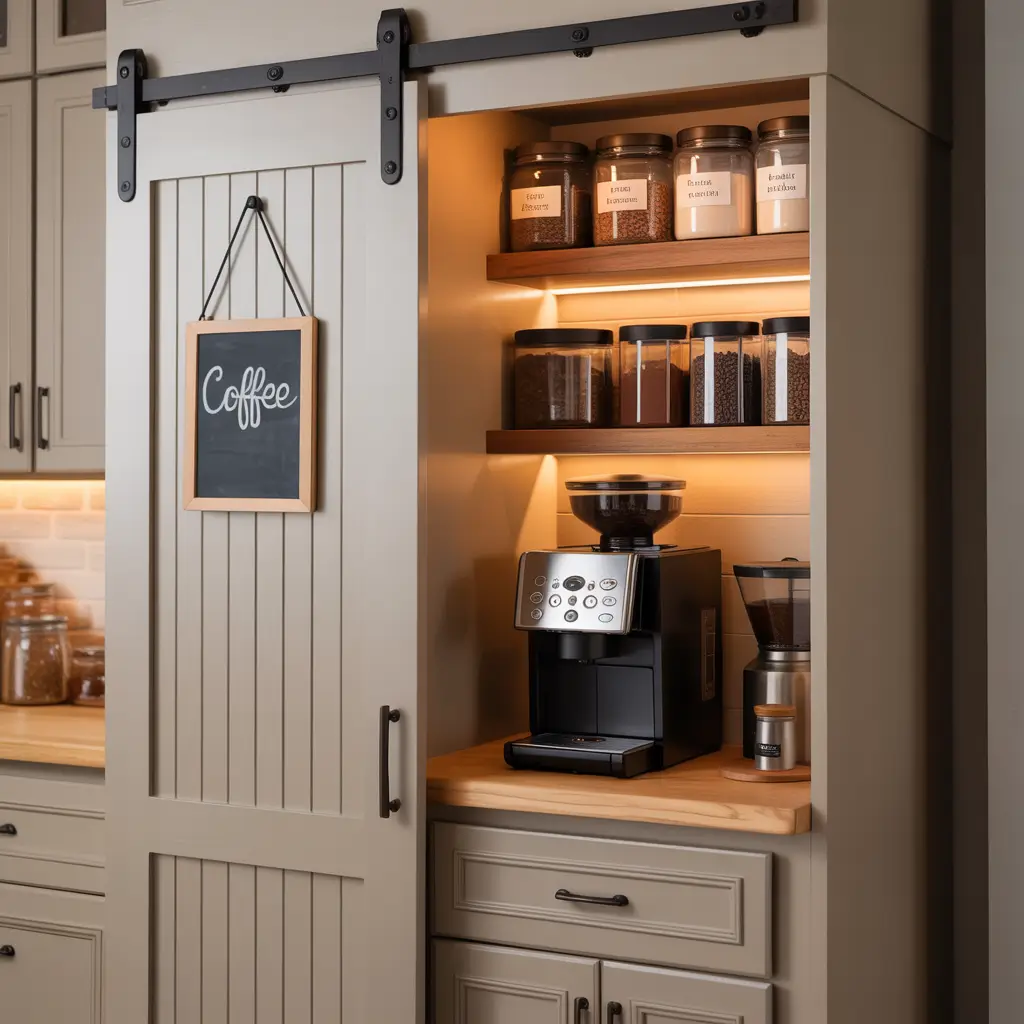
Your pantry probably has some space that’s not being used efficiently. I converted one section of my pantry into a hidden coffee bar, and it’s honestly brilliant for keeping my kitchen looking clean.
The pantry coffee bar concept means all your coffee stuff lives behind a closed door. When guests come over, you close the pantry, and your kitchen looks immaculate. When you need coffee, you open it up, and everything’s right there.
Pantry Coffee Setup
Clear out one section of your pantry—ideally a spot near an outlet or where you can safely run an extension cord. Install a small shelf at a comfortable height for your coffee maker. Use the shelves above for mugs and supplies.
Add a small tension rod between pantry shelves to hang mugs if you don’t have space for them on shelves. Use drawer organizers or small bins to corral coffee pods, filters, and accessories. Label everything so you can quickly find what you need.
I added a small battery-operated push light inside mine because pantries are notoriously dark, and I refuse to make coffee in the dark (I’ve made that mistake—ended up with salt in my coffee instead of sugar :/). A small lazy Susan on one shelf holds syrups and creamers so I can spin to grab what I need.
The pantry approach works especially well if you have multiple people in a small space. When someone’s cooking in the kitchen, you can still access your coffee bar without getting in their way. It’s like having a separate coffee room without actually having the space for one.
Making Your Small Space Work for You
Look, small space living comes with challenges—I’m not going to pretend otherwise. But creating a dedicated coffee bar, no matter how tiny, legitimately improves your daily routine. There’s something about having a specific spot for your morning ritual that just feels good.
You don’t need to spend a fortune or have serious DIY skills to make any of these ideas work. Start with what you have, add pieces slowly, and don’t stress about making it perfect. My first coffee bar setup was a cutting board on my counter with a coffee maker and three mugs. It evolved over time as I figured out what I actually needed versus what just looked cute on Pinterest.
The best coffee bar is the one you’ll actually use. Choose a style that fits your aesthetic, your space, and your actual coffee-drinking habits. If you’re a simple black coffee person, you don’t need a fancy syrup collection. If you make elaborate lattes every morning, plan for storage accordingly.
Small spaces force you to be creative and intentional, and honestly, that’s not a bad thing. These 15 ideas prove you can have a functional, beautiful coffee bar without needing a massive kitchen or a huge budget.