How to Build a Worm Composting Bin (Easy DIY Guide)
- Gardening Tips
 Alina
Alina- 0
- 24 minutes read


You throw away food scraps every day, and deep down you know it feels wrong. All that waste could turn into rich, amazing compost instead of rotting in a landfill. The good news? You can fix that with a simple worm composting bin.
I built my first bin thinking it would smell terrible and attract every bug in existence. Spoiler, it didn’t. It actually became one of the easiest and most satisfying DIY projects I’ve ever done.
So if you want a low effort, eco friendly way to recycle kitchen waste, let’s get you started.
What Is Worm Composting and Why Should You Care
The basics in plain English
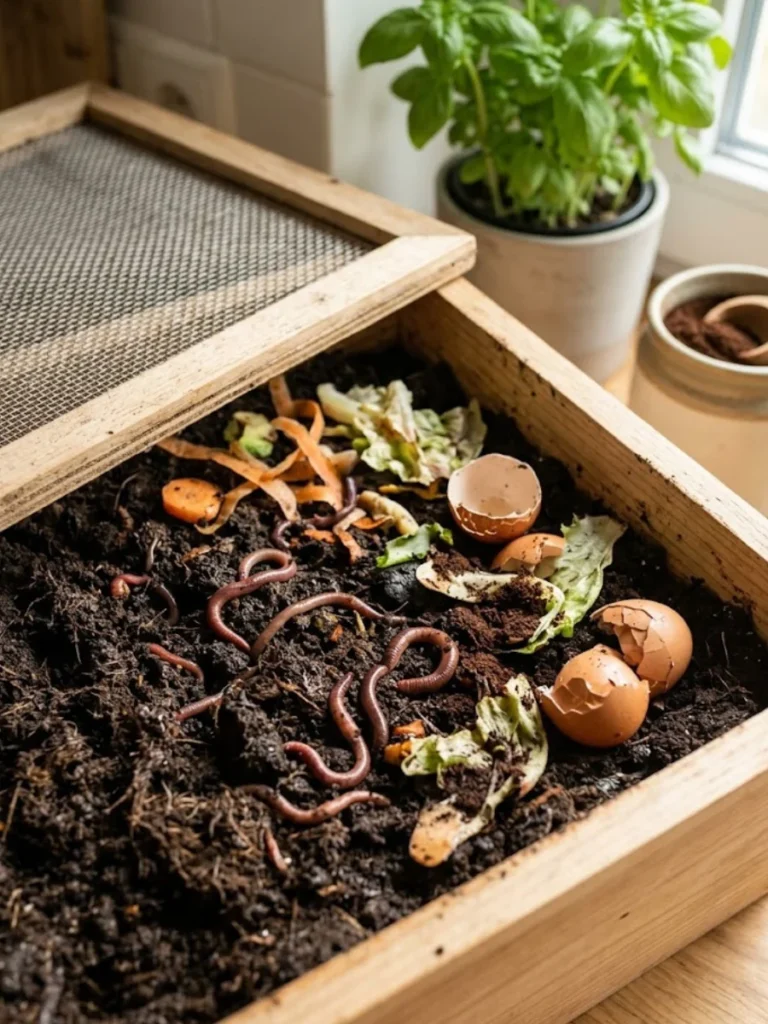
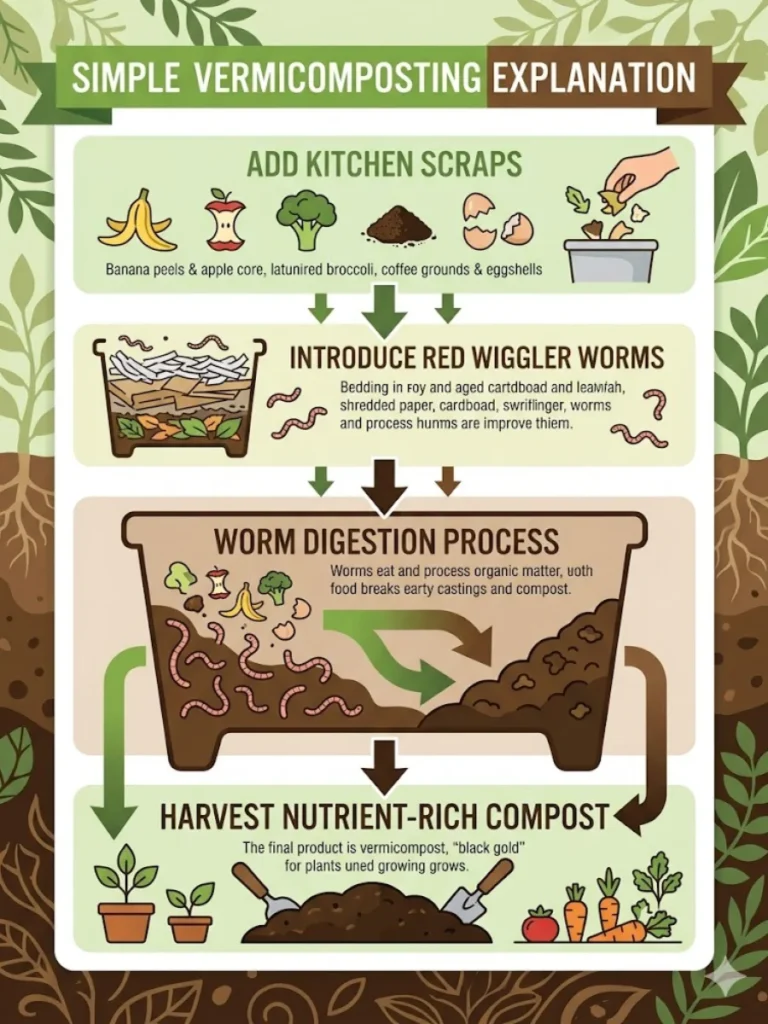
Worm composting, also called vermicomposting, uses worms to break down organic waste into nutrient rich compost. The worms eat your scraps and produce what gardeners call black gold.
Sounds a bit weird at first, right? But once you see how fast it works, you’ll get hooked.
Why it’s actually worth it
Here’s why I recommend this to almost everyone:
- Reduces kitchen waste significantly
- Creates high quality compost for plants
- Takes very little space
- Works indoors or outdoors
Ever wondered why your plants struggle even when you water them regularly? Soil quality usually causes the problem. Worm compost fixes that fast.
What You Need to Build a Worm Composting Bin
Keep it simple and budget friendly
You don’t need fancy equipment. I built mine with basic items lying around the house.
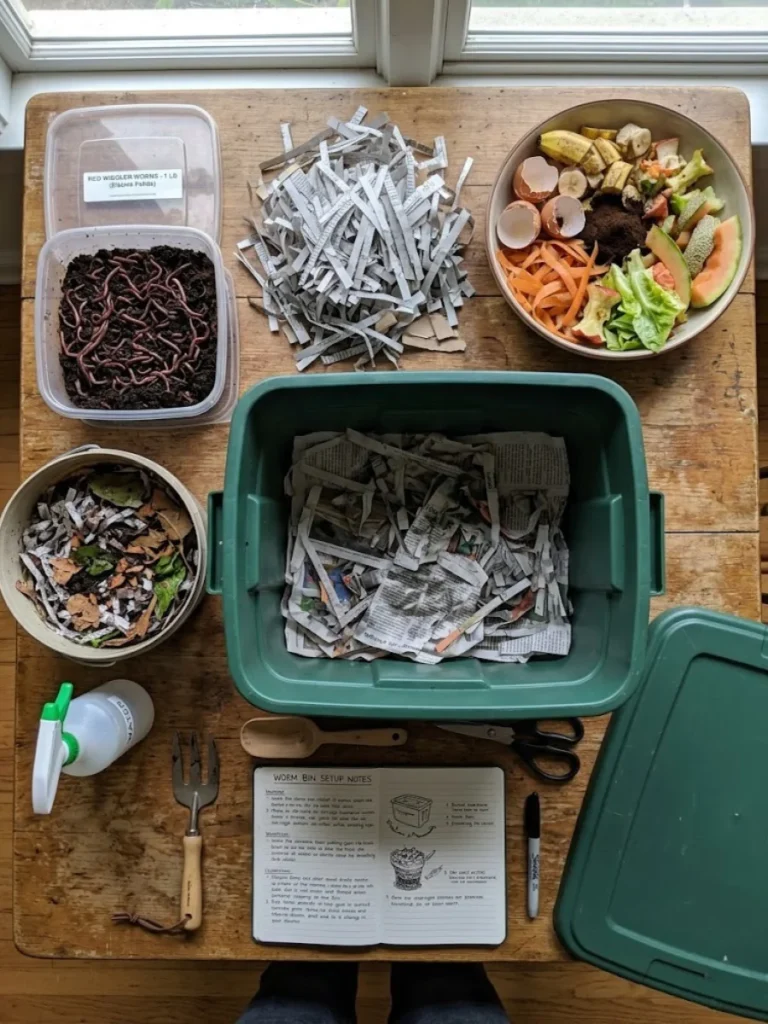
Essential materials:
- Plastic storage bin with lid
- Drill or sharp tool for holes
- Bedding material like shredded newspaper or cardboard
- Red wiggler worms
- Food scraps
That’s it. No expensive setup, no complicated tools.
Choosing the right worms
Not all worms work the same way. You want red wigglers, not the big earthworms you find in your garden.
Why?
- Red wigglers eat faster
- They thrive in small spaces
- They handle food waste better
I tried regular garden worms once. They basically went on strike. Lesson learned.
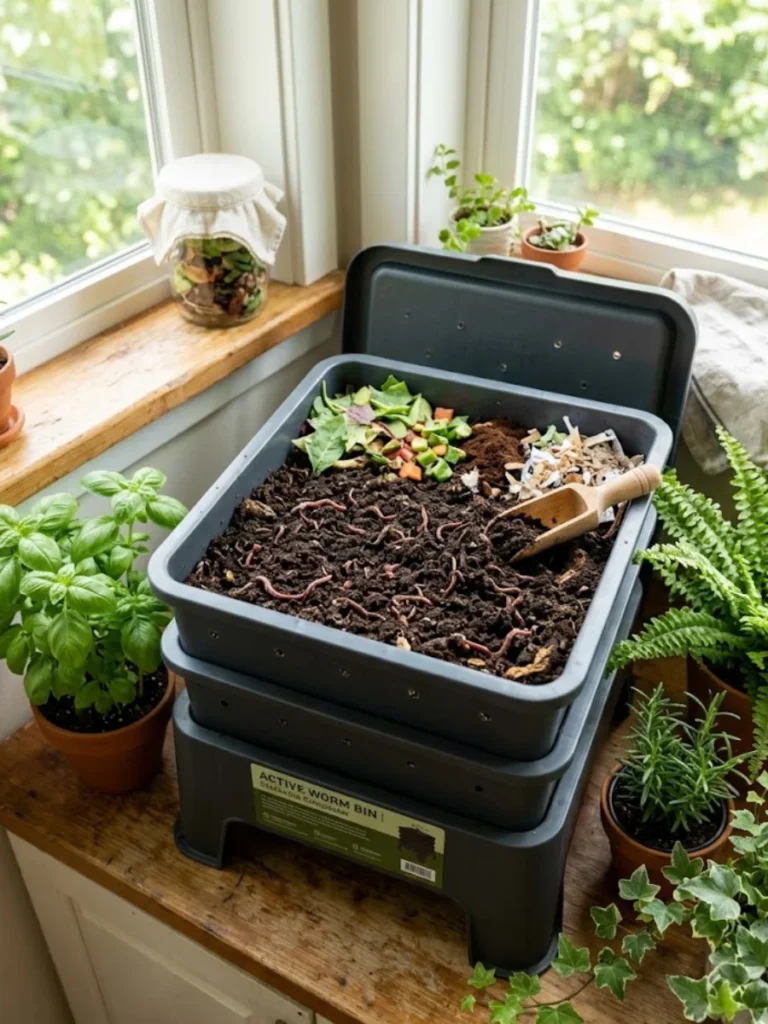
Step by Step Guide to Building Your Worm Bin
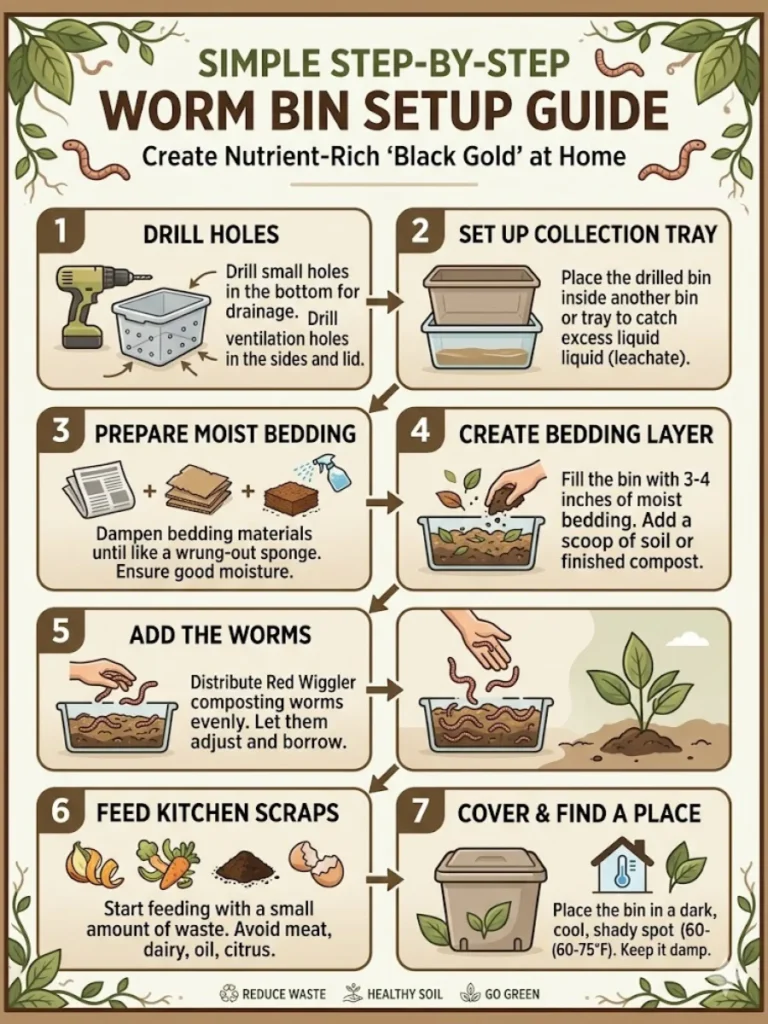
Step 1 Prepare the bin
Start with a plastic container and drill small holes in the lid and sides. These holes allow airflow and prevent moisture buildup.
Also drill a few holes at the bottom for drainage. Place a tray underneath to catch any liquid.
Key tip: Don’t skip ventilation. Your worms need oxygen just like you do.
Step 2 Add bedding
Next, create a comfortable home for your worms.
Use:
- Shredded newspaper
- Cardboard pieces
- Dry leaves
Lightly dampen the bedding until it feels like a wrung out sponge. Not soaking wet, not dry.
Step 3 Add worms
Now comes the fun part. Add your worms to the bin and let them settle in.
Give them a day or two before feeding them. They need time to adjust to their new home.
Yes, it feels weird at first. You get used to it quickly 🙂
Step 4 Start feeding
Add small amounts of food scraps and bury them under the bedding.
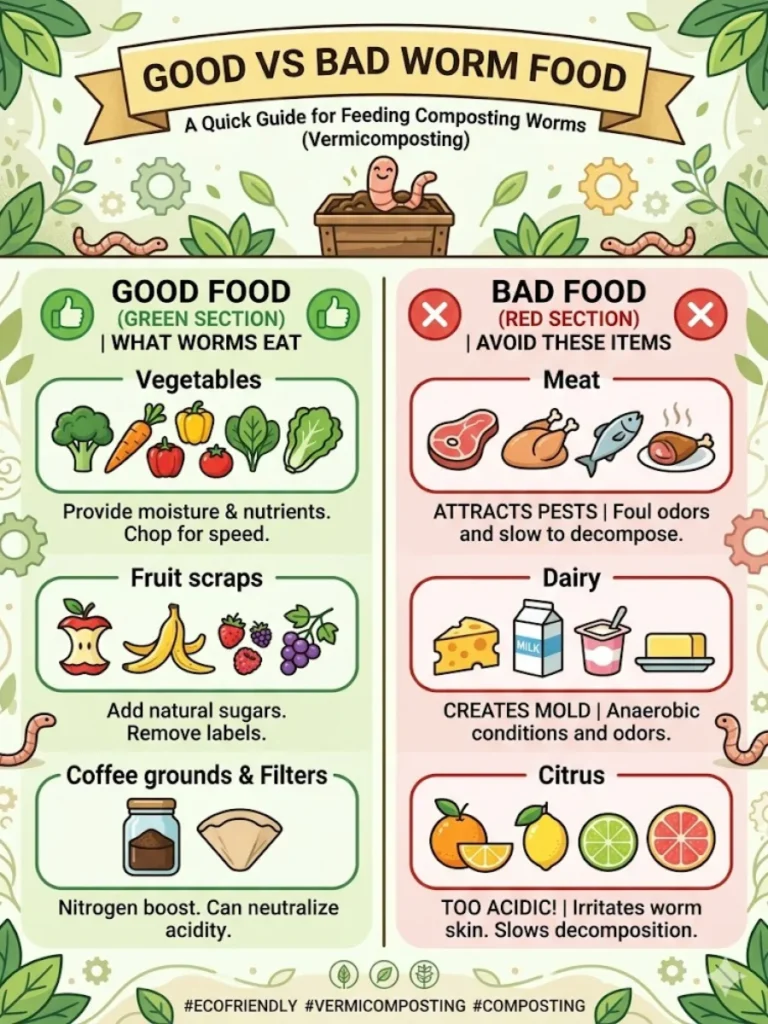
Good food options:
- Fruit and vegetable scraps
- Coffee grounds
- Tea bags
Avoid these:
- Meat
- Dairy
- Oily foods
Trust me, adding the wrong stuff turns your bin into a disaster fast.
Step 5 Maintain the bin
Keep the bin in a cool, shaded area. Check moisture levels regularly and fluff the bedding occasionally.
Feed your worms every few days, but don’t overdo it.
Ever seen uneaten scraps pile up? That’s your sign to slow down.
What to Feed Your Worms
The good stuff
Worms aren’t picky, but they do have preferences.
Best foods for worms:
- Banana peels
- Apple cores
- Vegetable peels
- Crushed eggshells
These break down quickly and keep your bin balanced.
What to avoid at all costs
Some foods cause odors, pests, or unhappy worms.
Avoid:
- Citrus in large amounts
- Spicy food
- Processed leftovers
I once added too many orange peels. The worms basically protested. Not dramatic at all.
Common Mistakes and How to Avoid Them
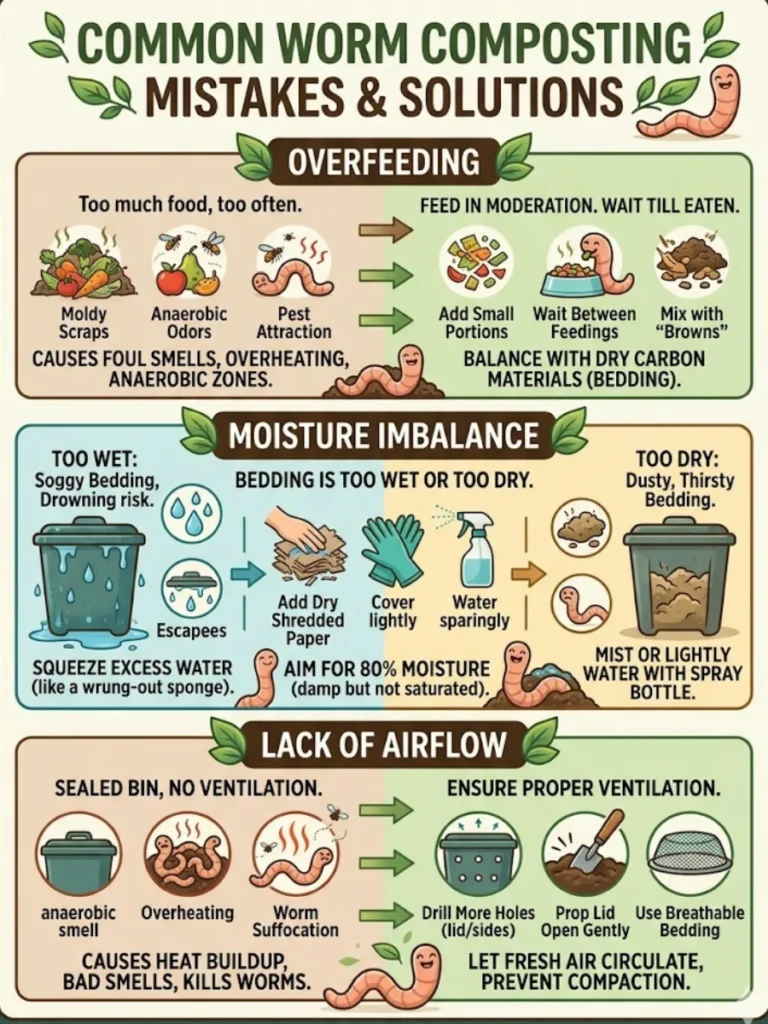
Overfeeding
People think more food equals faster compost. It doesn’t.
Too much food leads to:
- Bad smells
- Mold growth
- Unhappy worms
Feed small amounts and observe.
Too much moisture
A soggy bin smells terrible and harms your worms.
Fix it by:
- Adding dry bedding
- Increasing airflow
Balance matters here.
Ignoring the bin
Worm composting doesn’t need constant attention, but it does need occasional care.
Check it weekly. That’s enough.
How to Harvest Your Compost
When is it ready
After a few weeks, you’ll notice dark, crumbly material forming. That’s your compost.
It should smell earthy, not rotten.
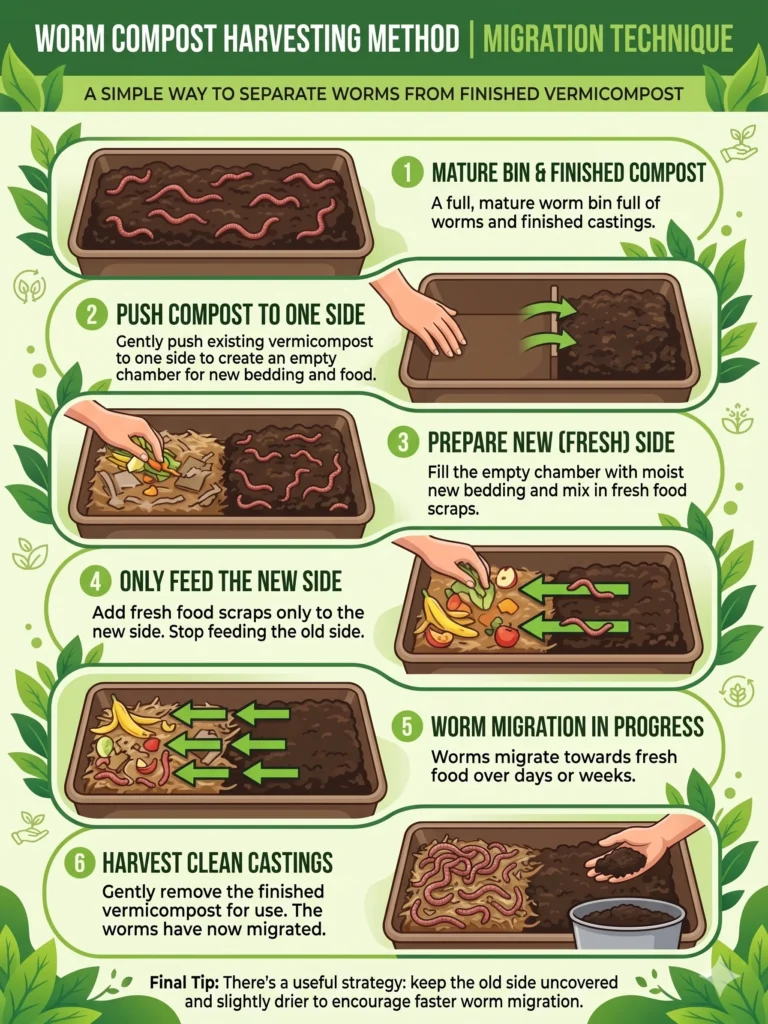
Easy harvesting method
Push all contents to one side of the bin and add fresh bedding and food to the other side.
The worms will migrate toward the fresh food, leaving compost behind.
Then you can collect the finished compost easily.
Indoor vs Outdoor Worm Bins
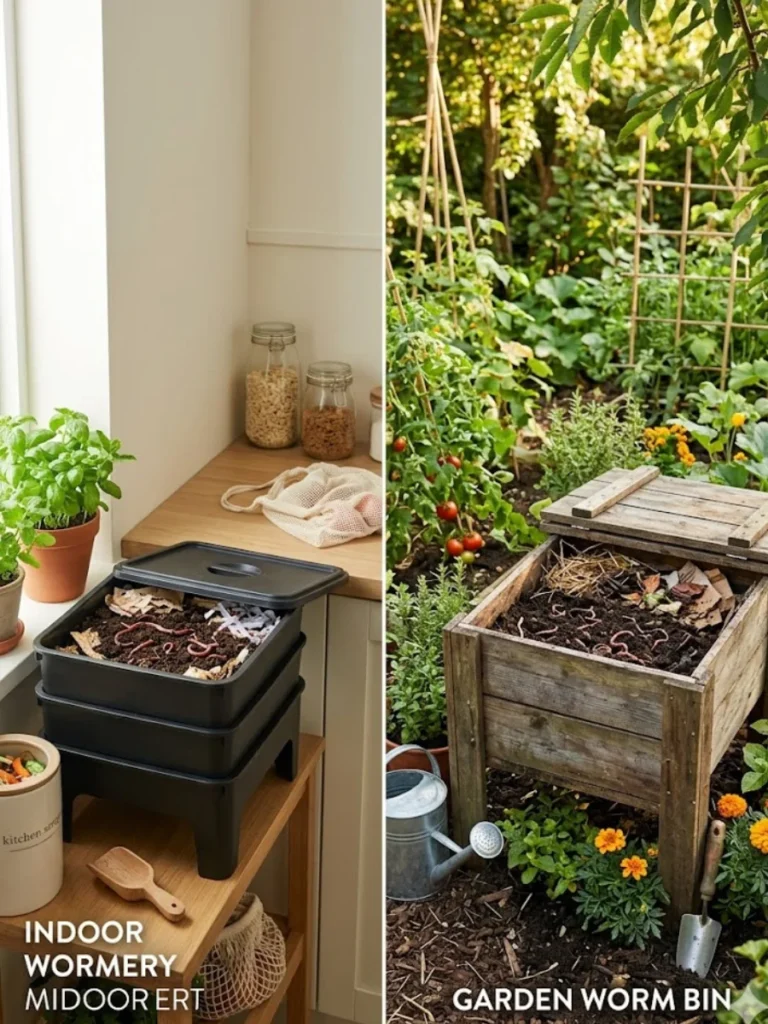
Which one works better
Both options work, but your lifestyle matters.
Indoor bins:
- Convenient
- Protected from weather
- Easy to monitor
Outdoor bins:
- Handle larger volumes
- Require less concern about space
- Depend on climate
I prefer indoor bins because they stay consistent year round. IMO, they’re easier to manage.
Why Your Worm Bin Doesn’t Smell
Let’s clear this up
Most people avoid worm composting because they expect a horrible smell.
A healthy bin smells like soil. That’s it.
If your bin smells bad, something went wrong.
Fixing odor issues
- Remove excess food
- Add dry bedding
- Improve airflow
Simple fixes, big difference.
Quick Tips for Success
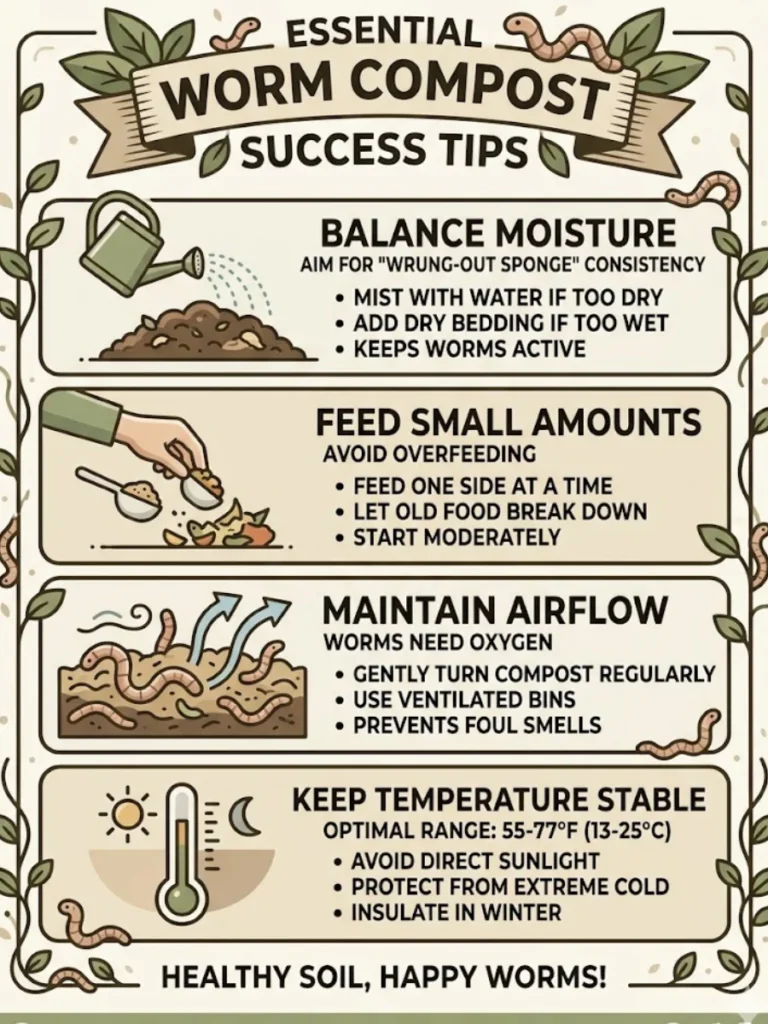
Let’s keep this practical.
- Chop food scraps into small pieces
- Keep a balance of wet and dry materials
- Store the bin in a stable temperature area
- Be patient and let worms do their job
You don’t need perfection. You need consistency.
Final Thoughts
Building a worm composting bin sounds complicated, but it’s actually one of the easiest DIY projects you can try. You set it up once, and it keeps working with minimal effort.
You reduce waste, improve your soil, and feel slightly more responsible as a human being. Not a bad deal, right?
Start small, keep it simple, and learn as you go. And if you feel weird about handling worms at first, don’t worry. Everyone does.
So, are you ready to turn your kitchen scraps into something useful?


