Outside String Lights Ideas That Won’t Sag by Week Two
- Outdoor Spaces
 Alina
Alina- 0
- 26 minutes read


We’ve all seen it, and most of us have done it. You string up outdoor lights on a Saturday, they look magical that first night, and within a week or two they’ve drooped into a sad, saggy mess scraping the top of everyone’s head. The lights aren’t the problem. The way they were hung is. Hang them directly post to post with nothing supporting them, and gravity plus a little wind will win every single time.
The fix that professionals swear by is almost embarrassingly simple, and once you know it, you’ll never hang lights the droopy way again. Below are the ideas, techniques, and layout options that keep outdoor string lights looking crisp all season, starting with the single most important one.
1. The golden rule: hang lights from a guide wire, not each other
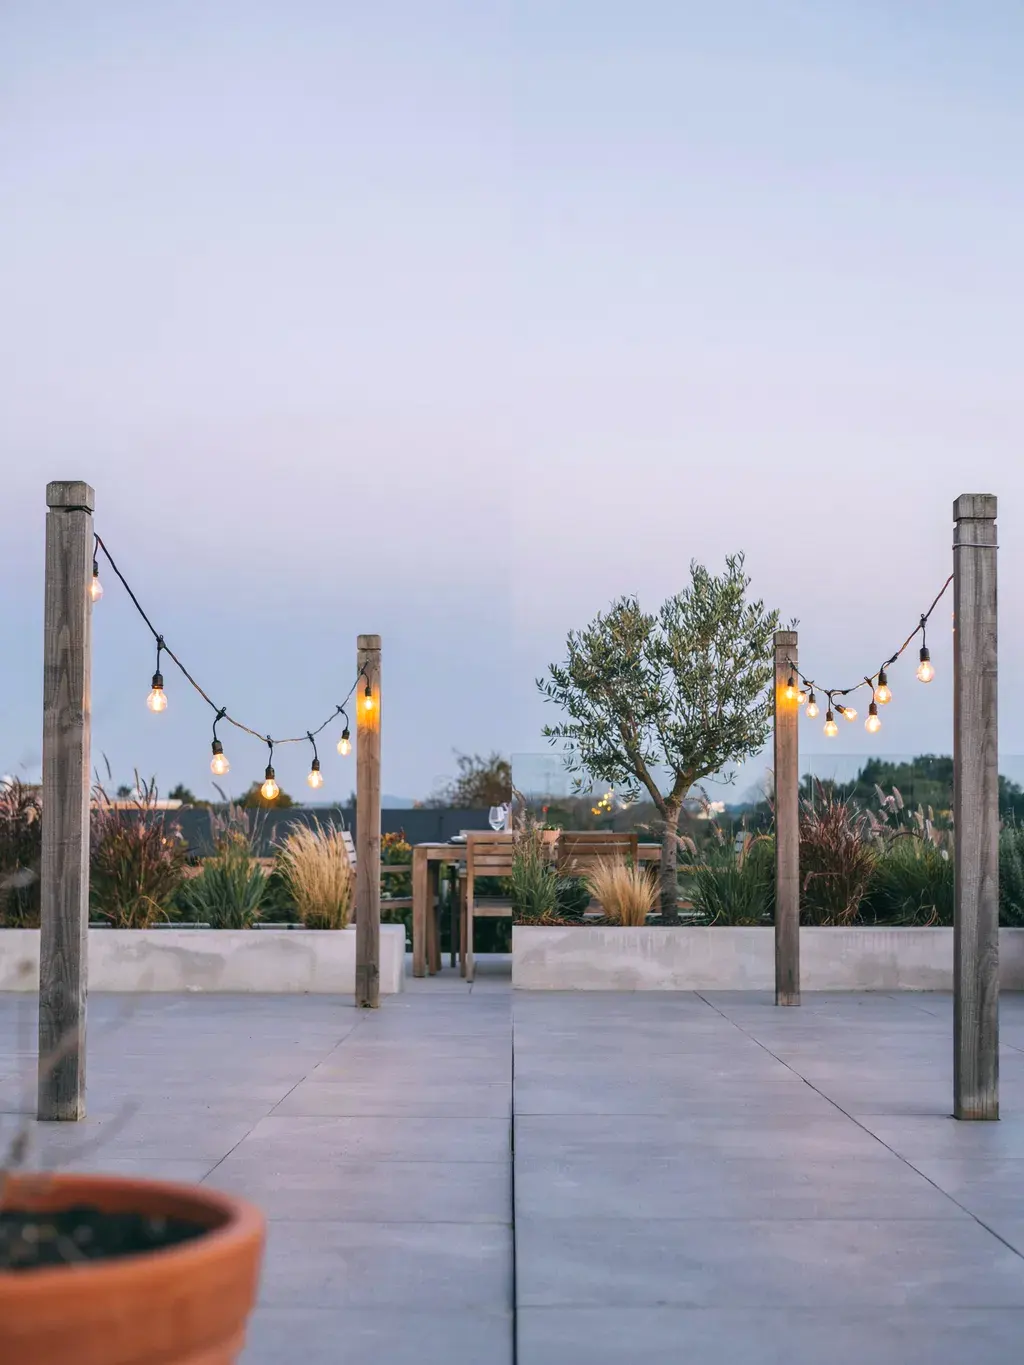
If you take one thing from this whole article, make it this. The number-one cause of sagging is hanging the light strand directly between two points so the electrical cord itself bears all the weight. That cord is not designed to hold tension over a span, so it stretches and droops fast. Instead, run a taut steel guide wire (also called a guide cable or catenary wire) between your anchors first, then clip the lights onto that. The wire holds the load, the lights just hang along for the ride.
This single step is the difference between a droopy mess and a clean, professional-looking install that lasts all season. Every pro does it, and it’s the trick most first-timers skip.
2. Use the right cable: stainless or galvanized aircraft wire
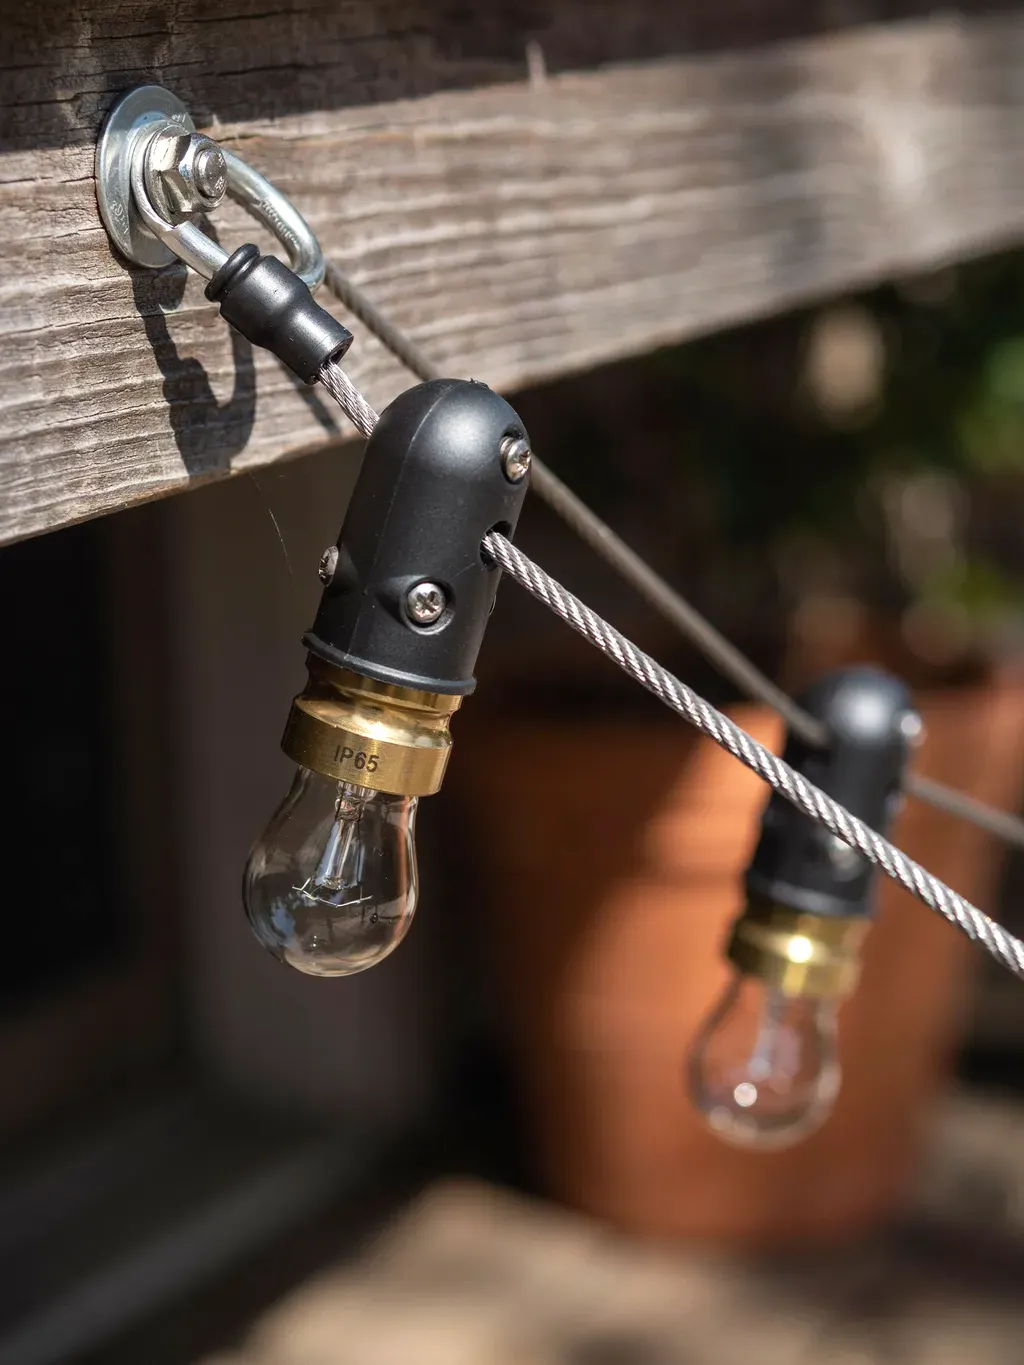
Not any old wire will do. Use a weather-resistant steel cable, stainless steel or galvanized aircraft cable, at least 1/16 inch thick (3/32 inch for longer or heavier runs). Vinyl-coated versions resist rust and hide against the sky.
Skip thin picture wire or twine as your main support, because they’ll stretch or snap under load and put you right back to sagging. The cable is the backbone of the whole system, so it’s worth getting a proper one. Kits that bundle the cable, hooks, and turnbuckles together are cheap and save you sourcing parts separately.
3. Add a turnbuckle so you can retighten anytime
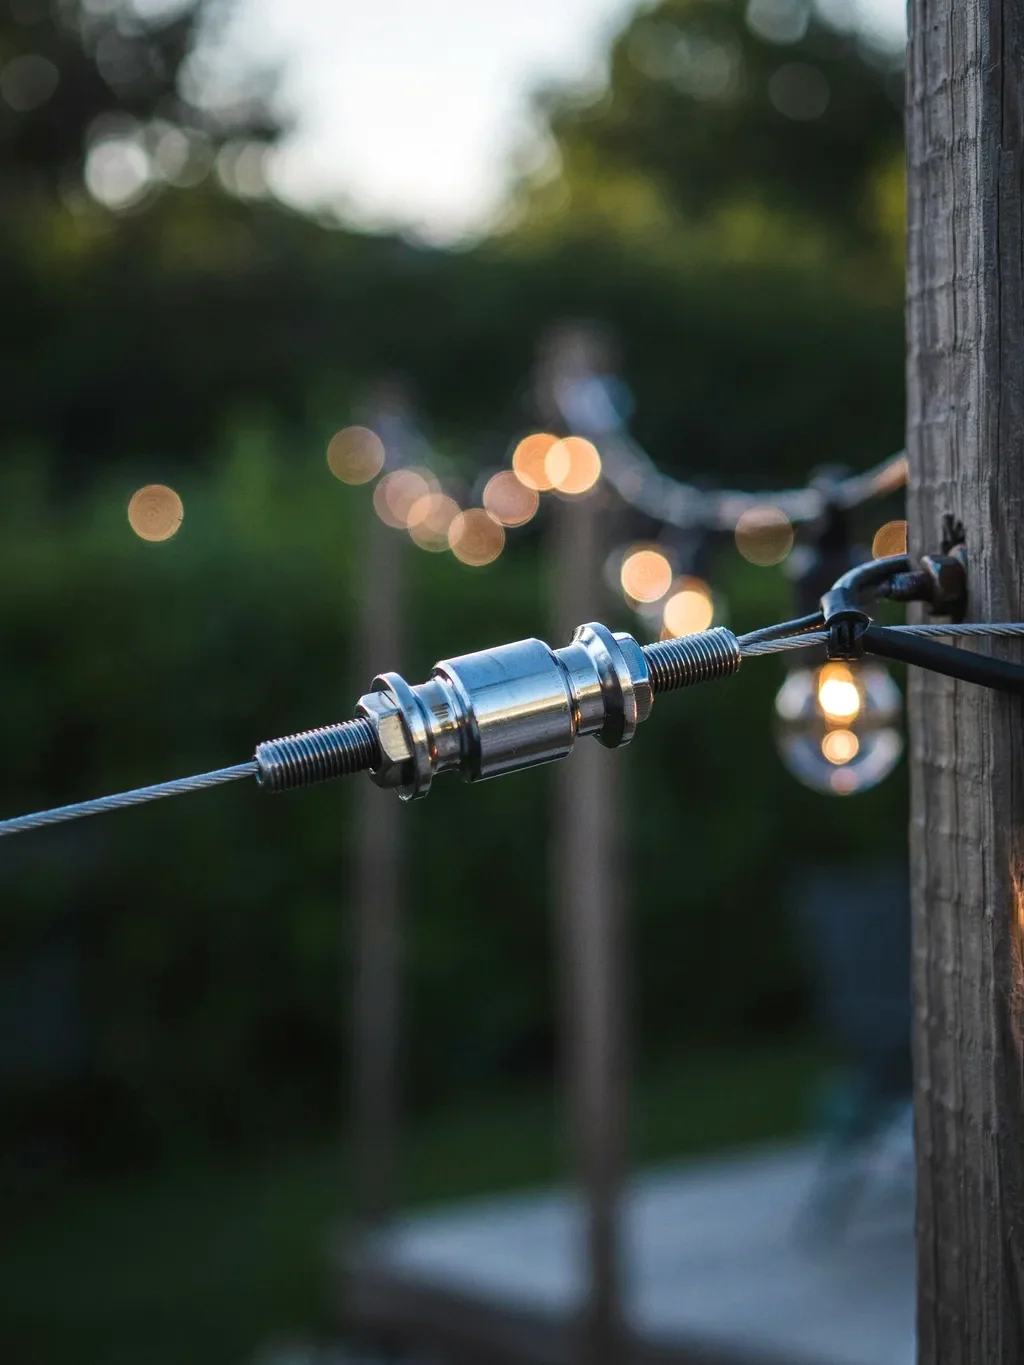
A turnbuckle is the small adjustable tensioner that connects one end of your cable to its anchor, and it’s the unsung hero of a sag-free setup. As you turn it, it pulls the cable drum-tight, pulling out the slack that causes drooping.
The real magic is later: when the cable inevitably relaxes a touch after a week or two (they all do), you don’t re-hang anything, you just give the turnbuckle a few twists to re-tension the whole run in about five minutes. It turns sagging from a re-do into a quick tweak.
4. Choose seriously strong anchor points
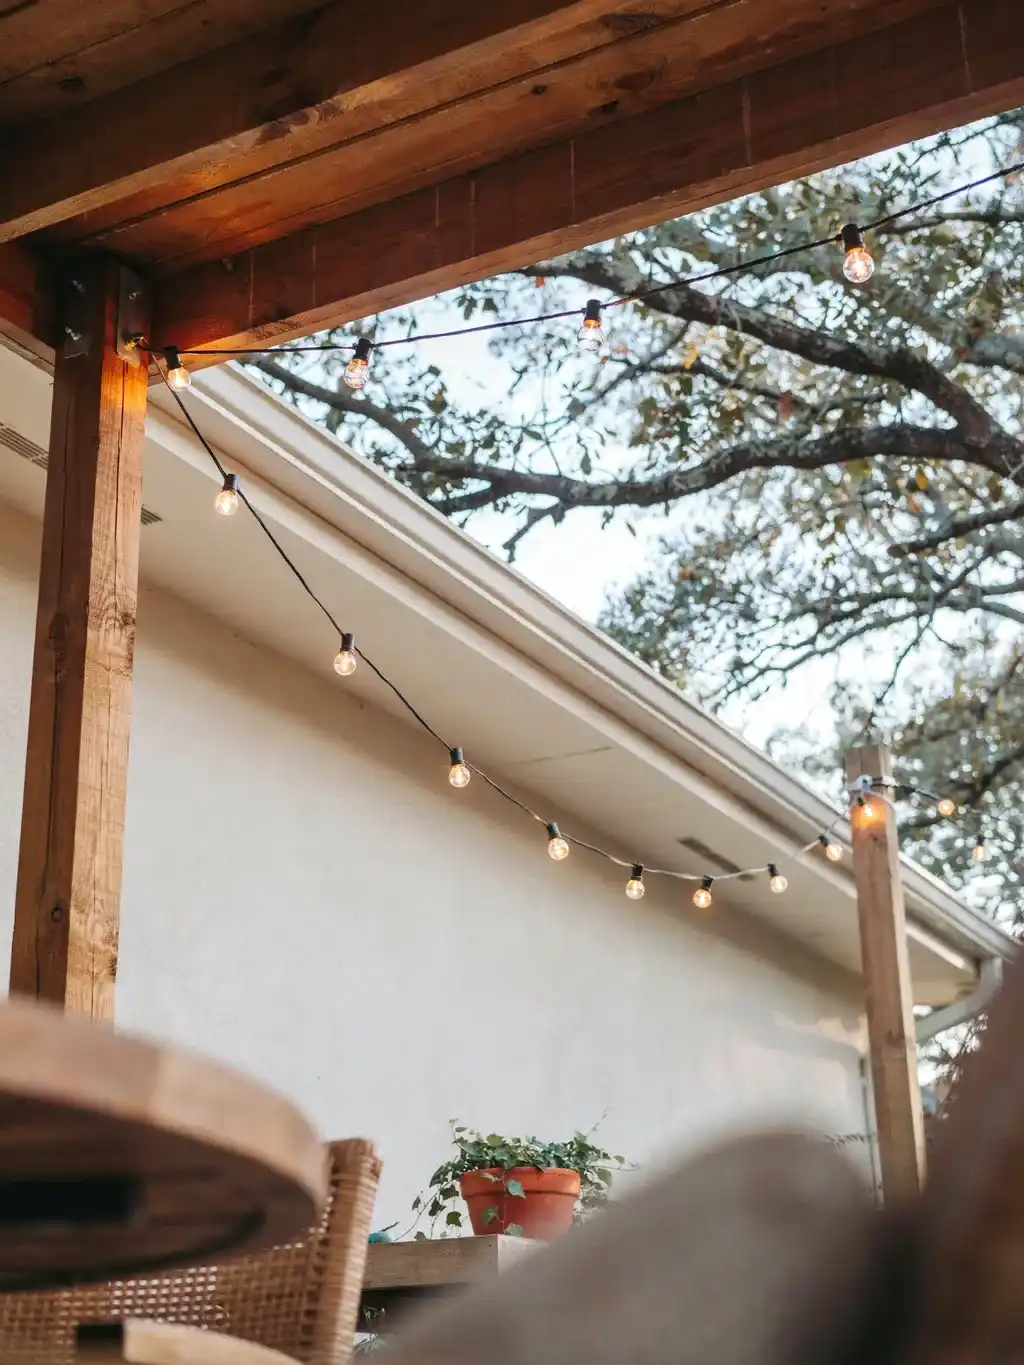
A guide wire is only as good as what it’s tied to. Your two end anchors take real tension, so use something sturdy: a house wall (into studs or fascia), a solid fence post, a mature tree, a pergola beam. As a rule, each anchor should be able to handle at least 15 pounds of pull.
The most common mistake is anchoring to something flimsy, a gutter, thin trellis, or a weak bracket, that bends or pulls loose under load. If your anchor moves, your lights sag no matter how tight the cable. Pick the solid stuff.
5. If you’re setting posts, go 6×6 and sink them properly
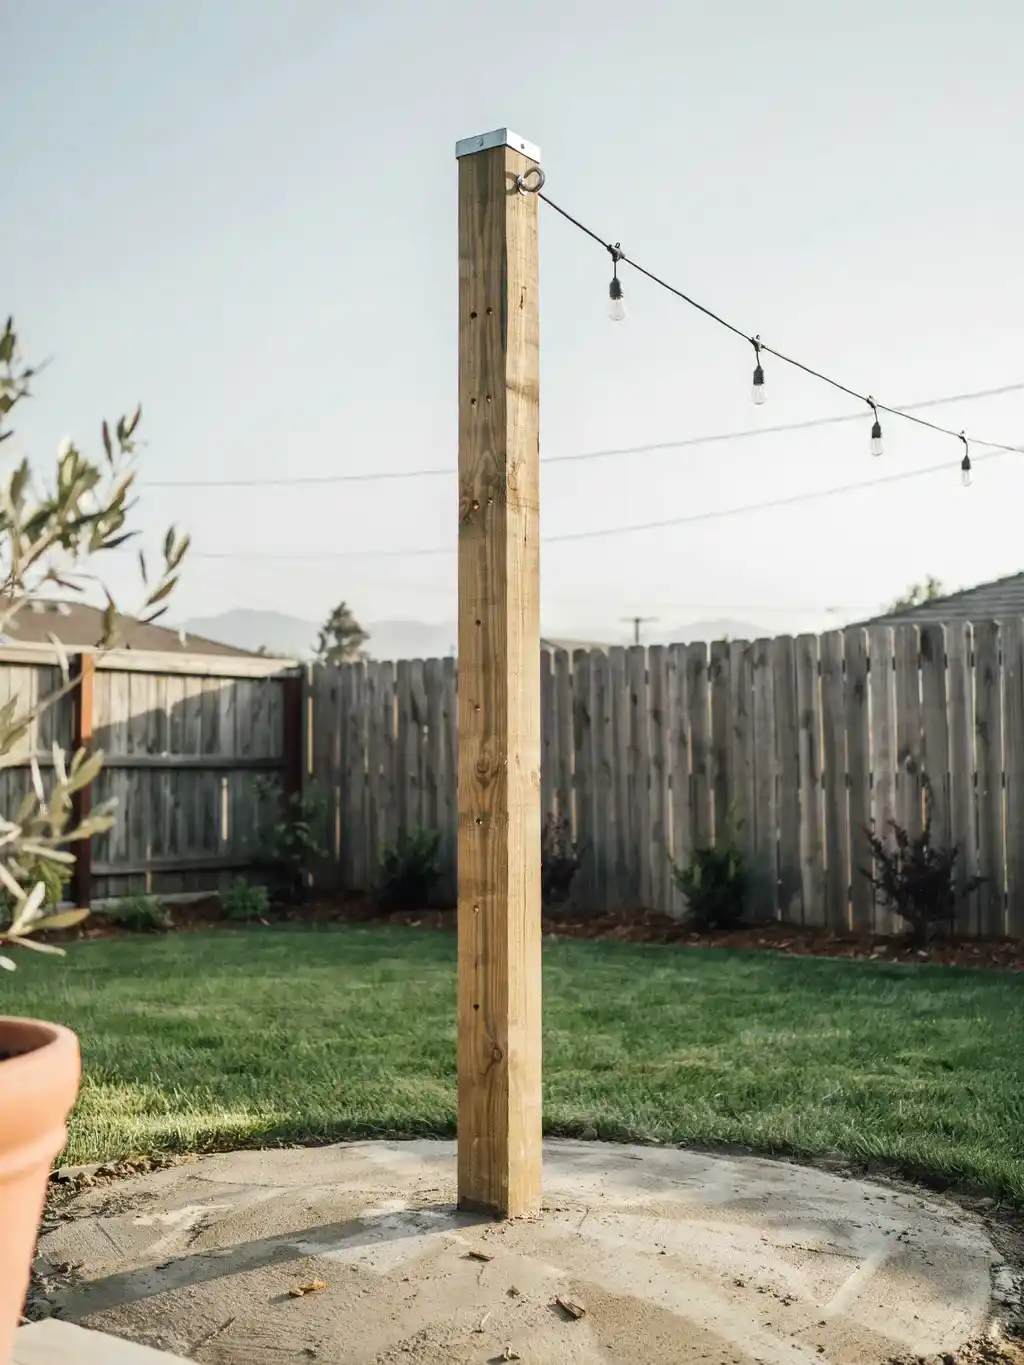
No existing anchors where you need them? You’ll set your own posts, and this is where people under-build. Skip the flimsy 4x4s that bend like a paperclip in the first storm. Use 6×6 pressure-treated posts for anything carrying real weight, set them at least 2 feet deep (roughly a third of the post’s height for tall ones), and secure them with a full bag of concrete around the base.
An under-set post leans a little more each week until your lights droop and your whole run looks crooked. A properly concreted 6×6 doesn’t budge for years. Do this once, do it right.
6. Space your anchors 10 to 15 feet apart
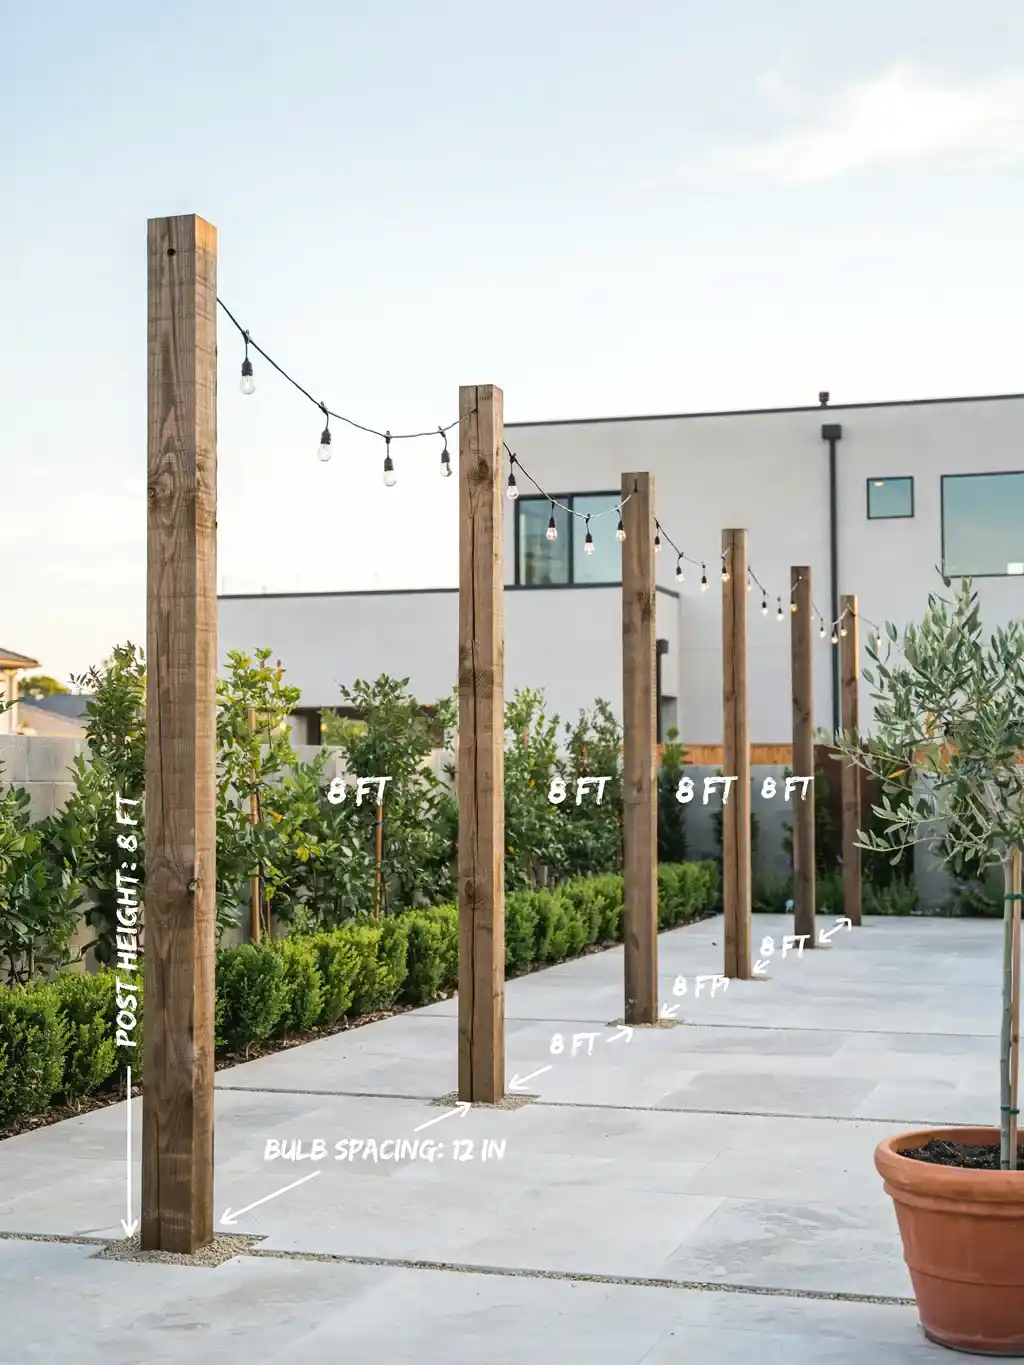
The further apart your support points, the more the wire (and lights) will sag in the middle. For most setups, place anchors or intermediate supports every 15 to 25 feet; for heavier commercial-grade bulbs or windy, exposed yards, tighten that to every 10 to 15 feet.
For any span longer than about 15 to 20 feet, a guide wire isn’t optional, it’s essential. And on really long runs, drop in an intermediate support post partway across to break the span and kill the sag before it starts.
7. Clip the lights on, then zip-tie between the clips
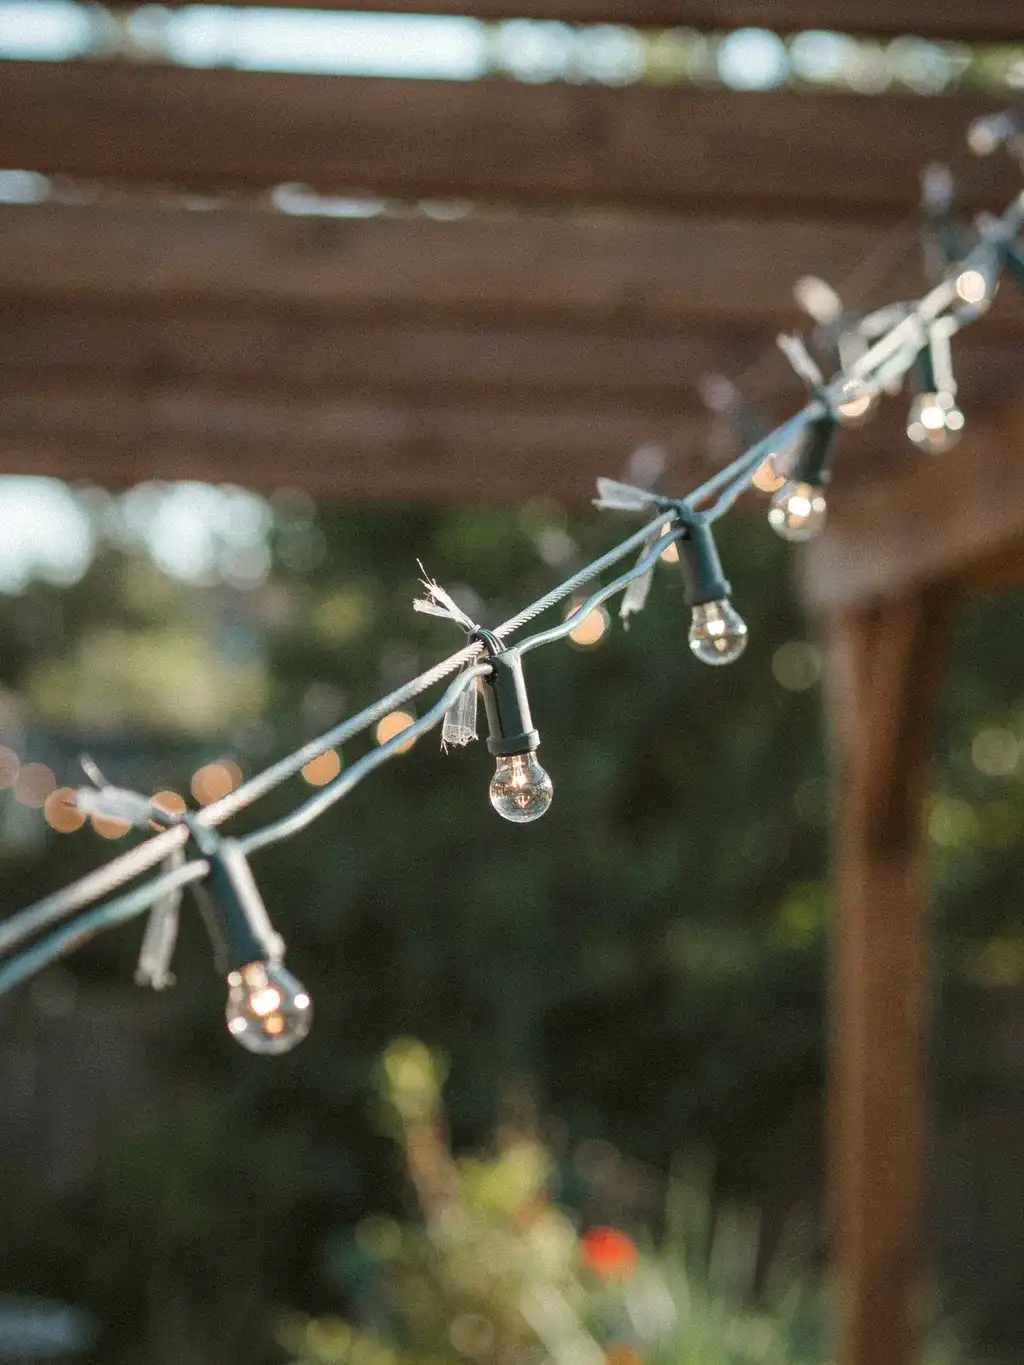
Here’s the detail that keeps the strand itself from sagging between attachment points, even on a tight wire. Use the built-in clips or hooks on your lights to attach the strand to the guide wire, then add a small zip tie every 12 to 18 inches in between. The clips hold the strand up; the zip ties stop it from drooping in little scallops between the clips.
Clear or black zip ties disappear against the cable. Reusable Velcro ties are even better if you plan to take the lights down seasonally, since you can undo and redo them year after year.
8. Pull out the built-in stretch before you finish
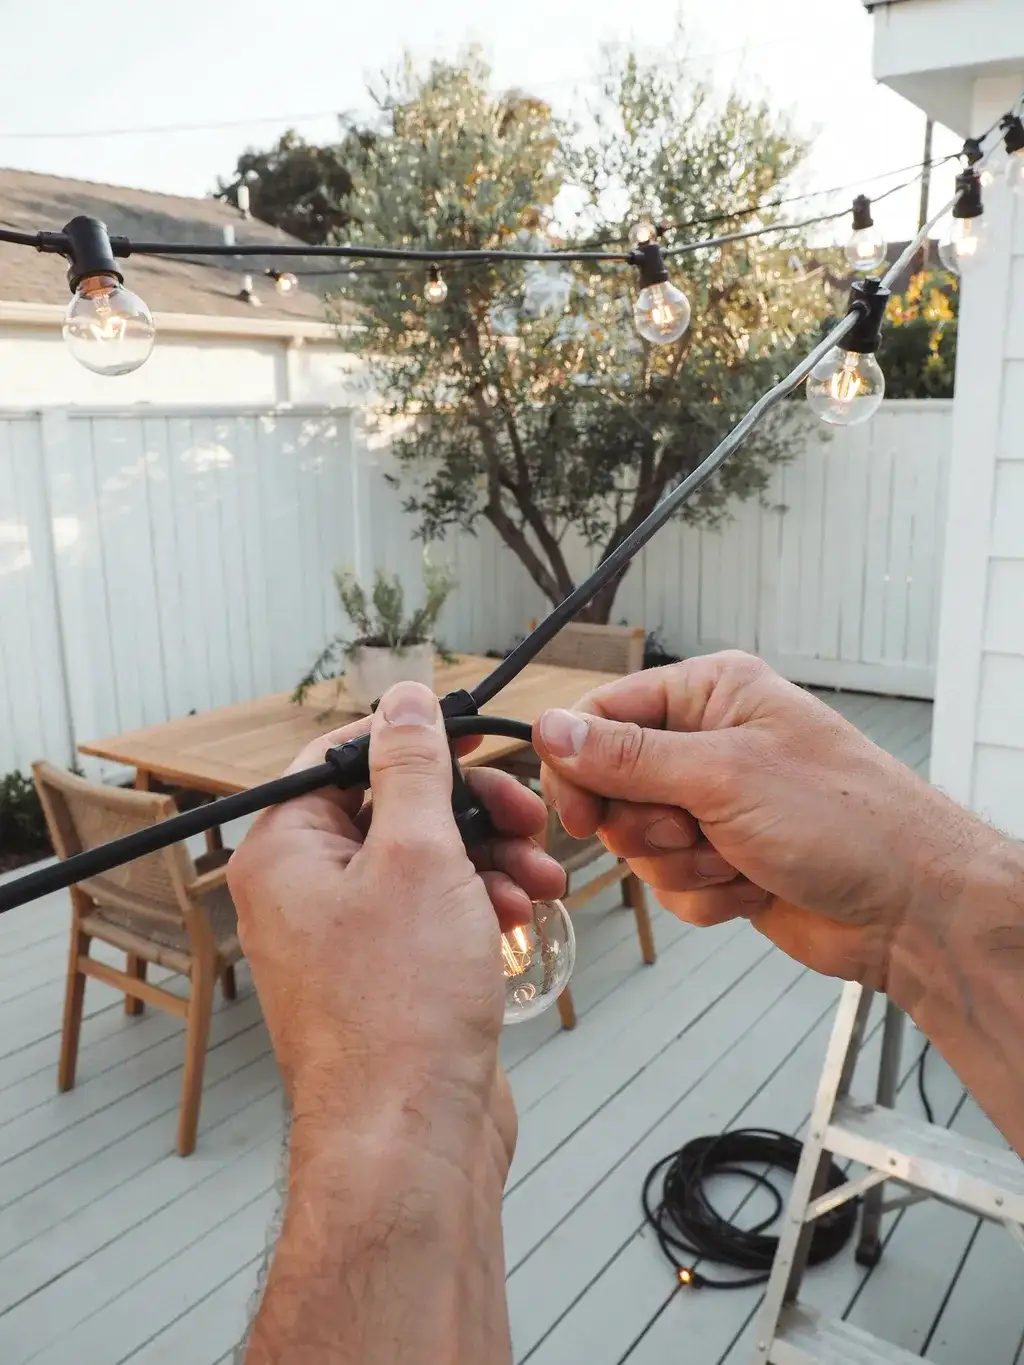
Outdoor light cords are made to flex a little, which means they have some natural stretch in them. Take advantage of it: once hung, gently pull along the strand to redistribute and remove most of that slack, then re-secure. Getting the initial stretch out now means far less sagging later.
One caution: pull gently. Yank it drum-tight and you can permanently overstretch the cord and damage it. You want the stretch out, not the life.
9. Aim for a little intentional sag, not zero
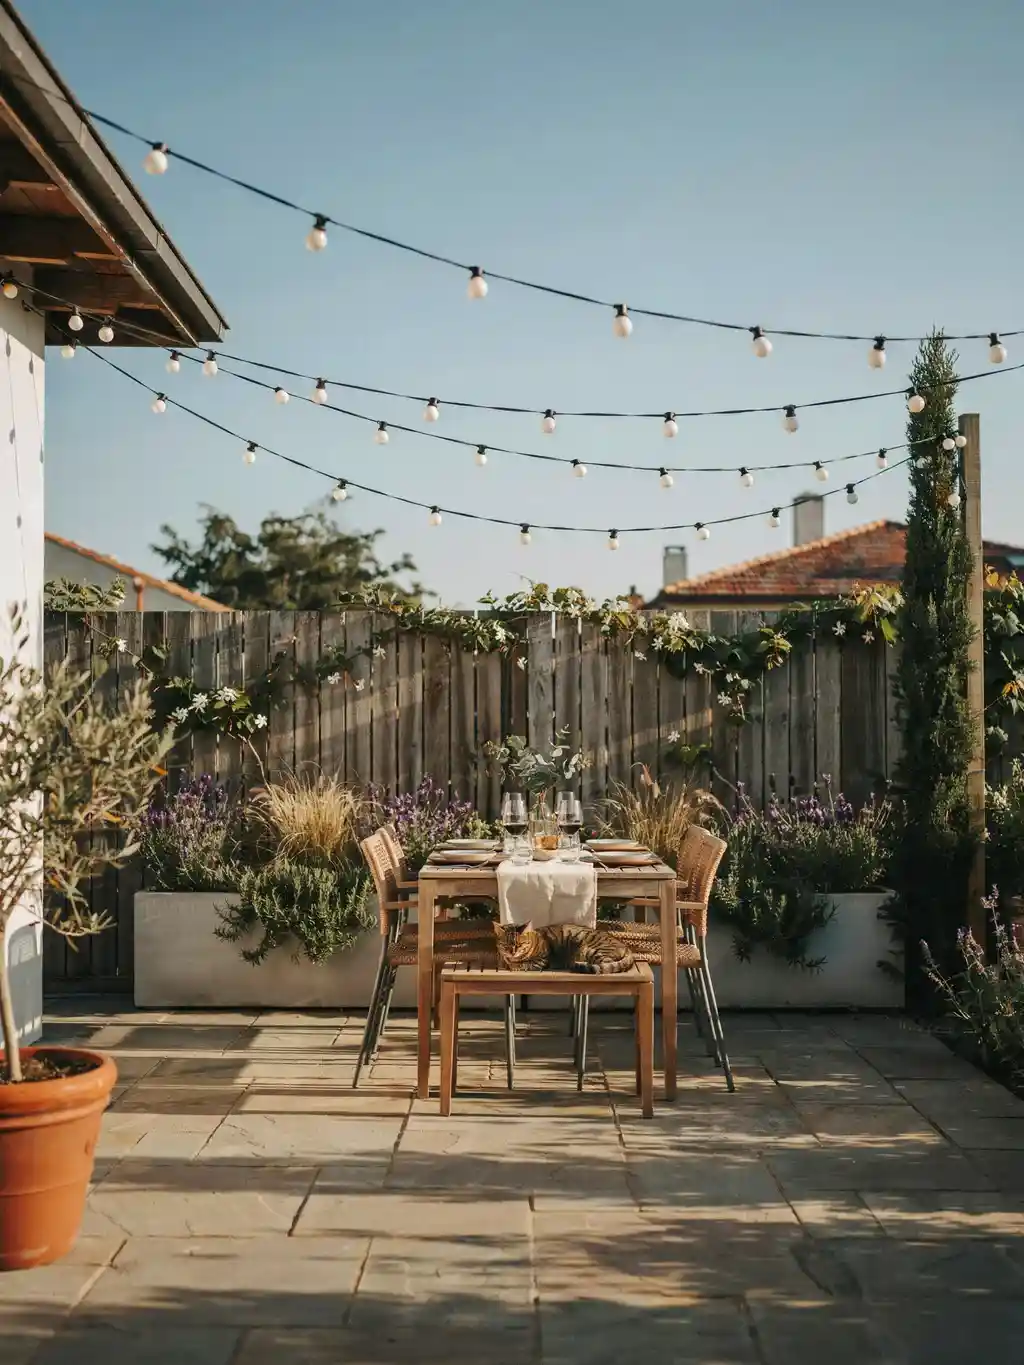
Counterintuitively, the goal isn’t a perfectly flat, tension-rod-straight line. A gentle, even, deliberate swag between posts is what gives string lights that warm, café-style charm, and it’s easier on the cord than pulling everything bar-tight. What you’re eliminating is the ugly, uneven, drooping-more-every-day kind of sag.
So hang your anchors high enough (more on that next) that a graceful drape still clears people’s heads. Even, chosen sag looks designed. Uneven, growing sag looks broken. Aim for the first.
10. Hang high enough for clearance, around 9 to 10 feet
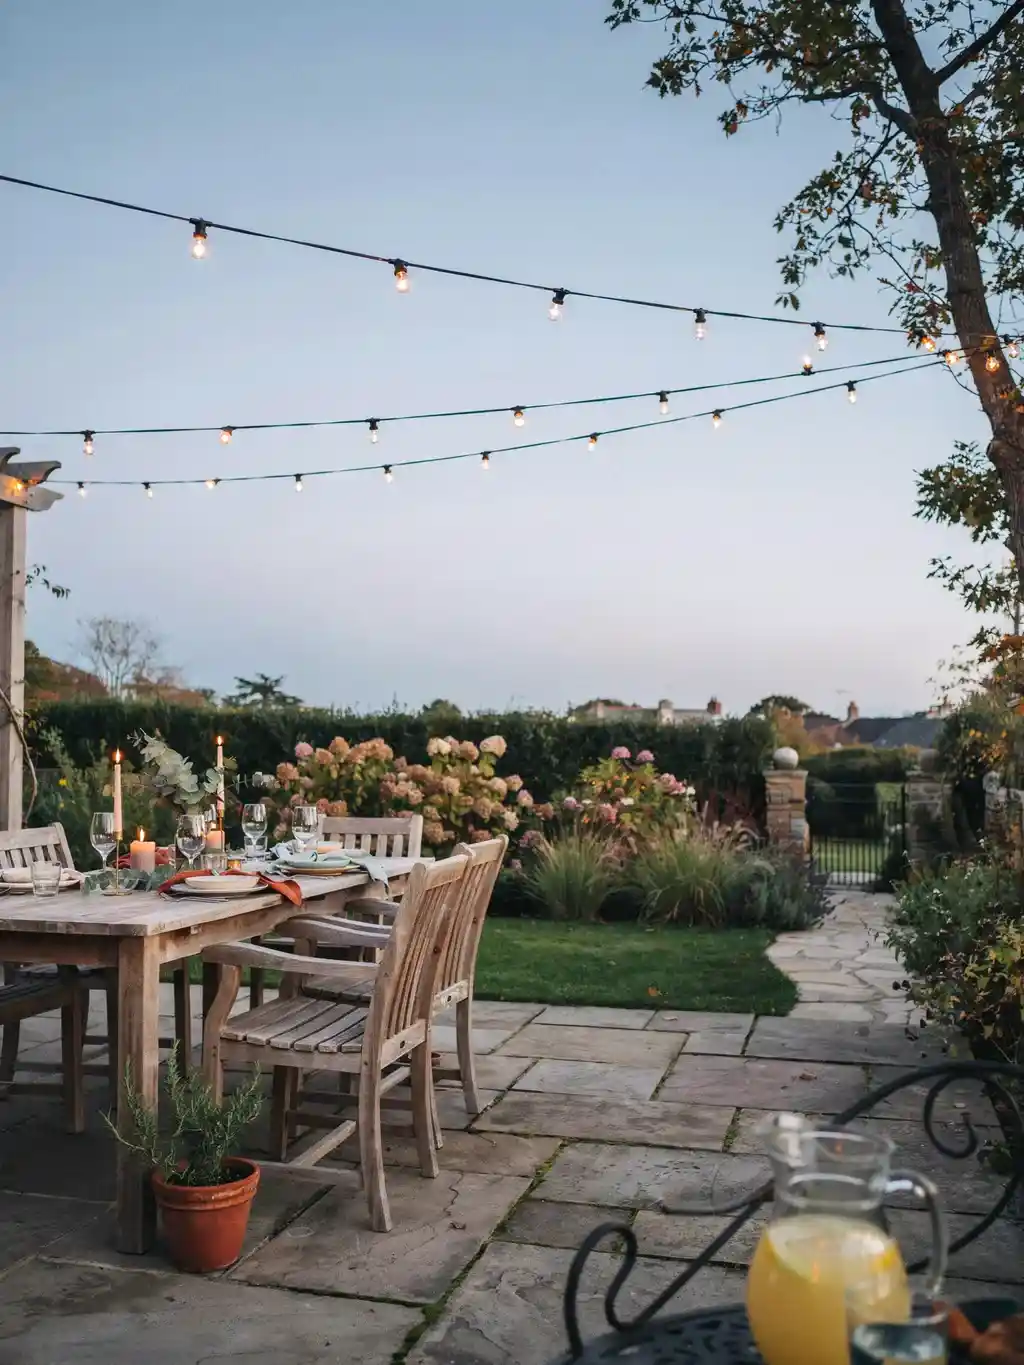
Height matters for both looks and not-clotheslining-your-guests. Keep the lights at least 8 to 10 feet off the ground in walking or dining areas, and mount the guide-wire anchors around 9 feet or higher so that even with a bit of intentional drape, the lowest bulb stays comfortably overhead.
Over a dining table you can go a touch lower for intimacy; across a lawn people walk under, keep it higher. Planning the height before you drill saves you moving anchors later.
11. Mount anchor hooks perpendicular to the pull
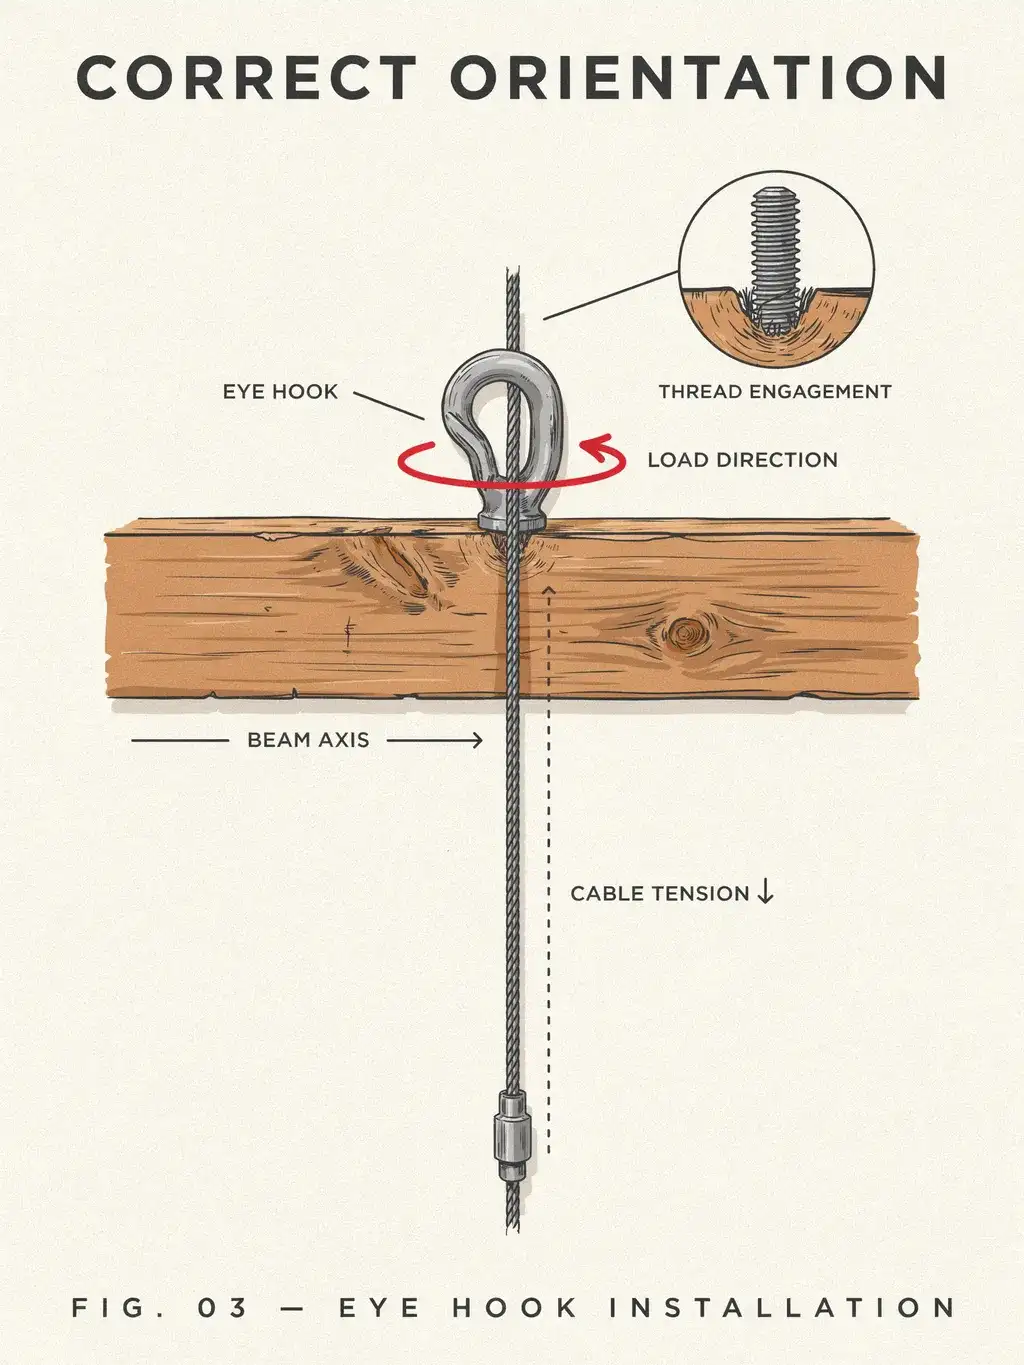
A small technical tip that prevents anchors working loose: install each eye hook or screw hook so it points perpendicular to the direction the cable pulls. This orients the hook to resist the tension rather than letting the cable slowly lever it straight out of the wood.
Pre-drill a pilot hole first (especially in trees or hardwood) to avoid splitting, then screw the hook in firmly. A well-oriented, well-seated hook is what keeps the whole system from failing at the ends.
12. Protect your trees if you’re anchoring to them
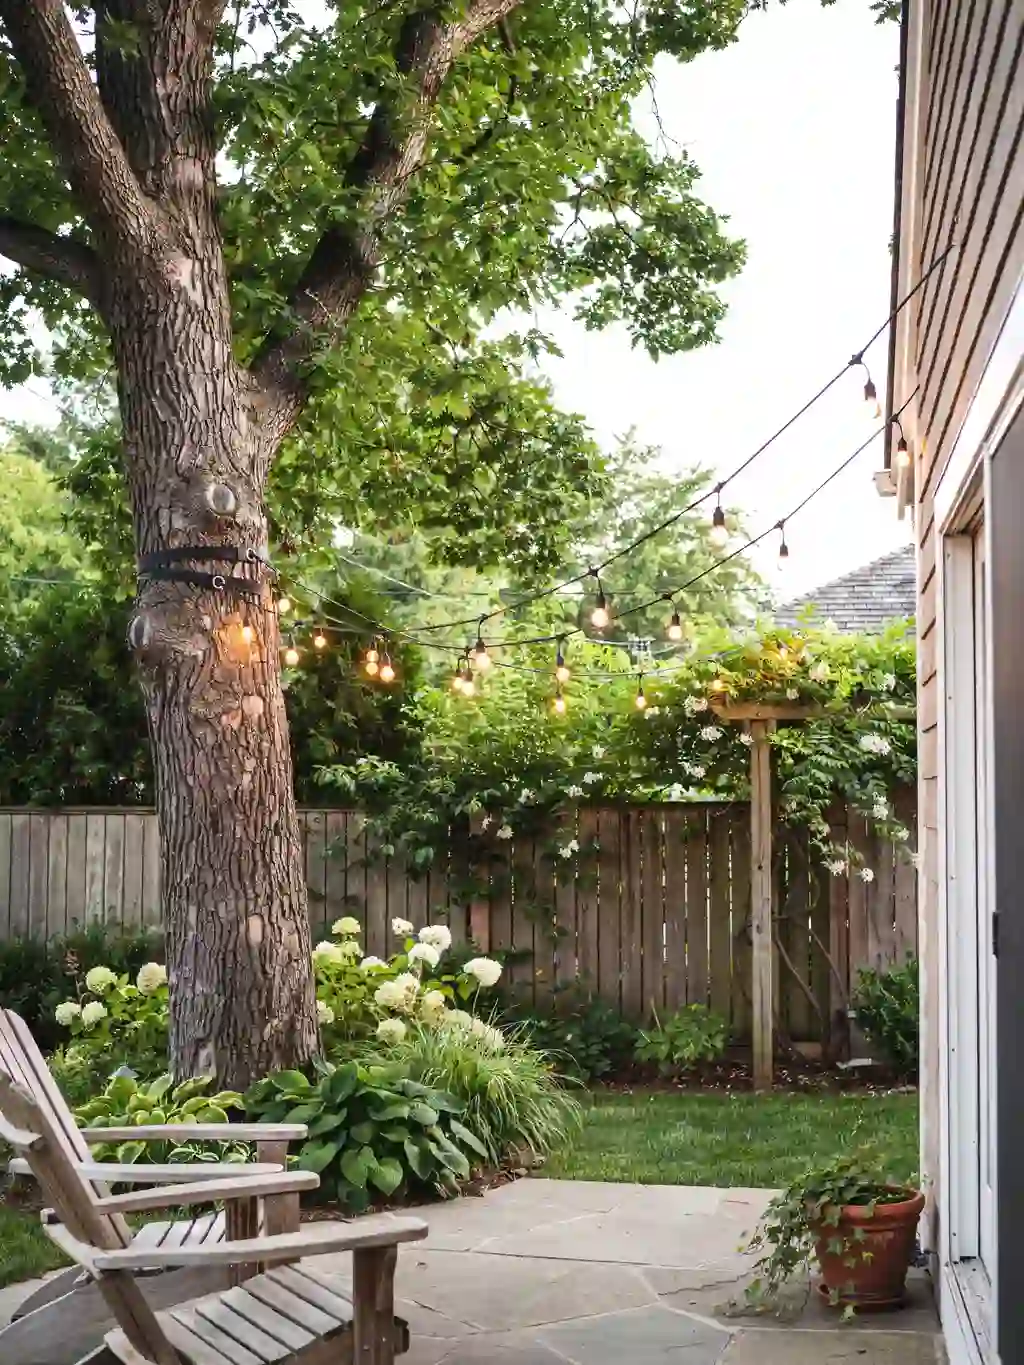
Trees make gorgeous, sturdy anchors, but don’t nail into them or wrap wire tight around the trunk, which damages the bark and the tree. Use tree-friendly straps or a loosely fastened, removable hook that you can loosen as the tree grows.
A healthy tree is a long-term anchor; a damaged one is a liability. Treat it kindly and it’ll hold your lights for years.
Layout ideas that stay taut
The support system above works with any design. Here are the layouts worth planning around.
13. The straight-line run for a modern look
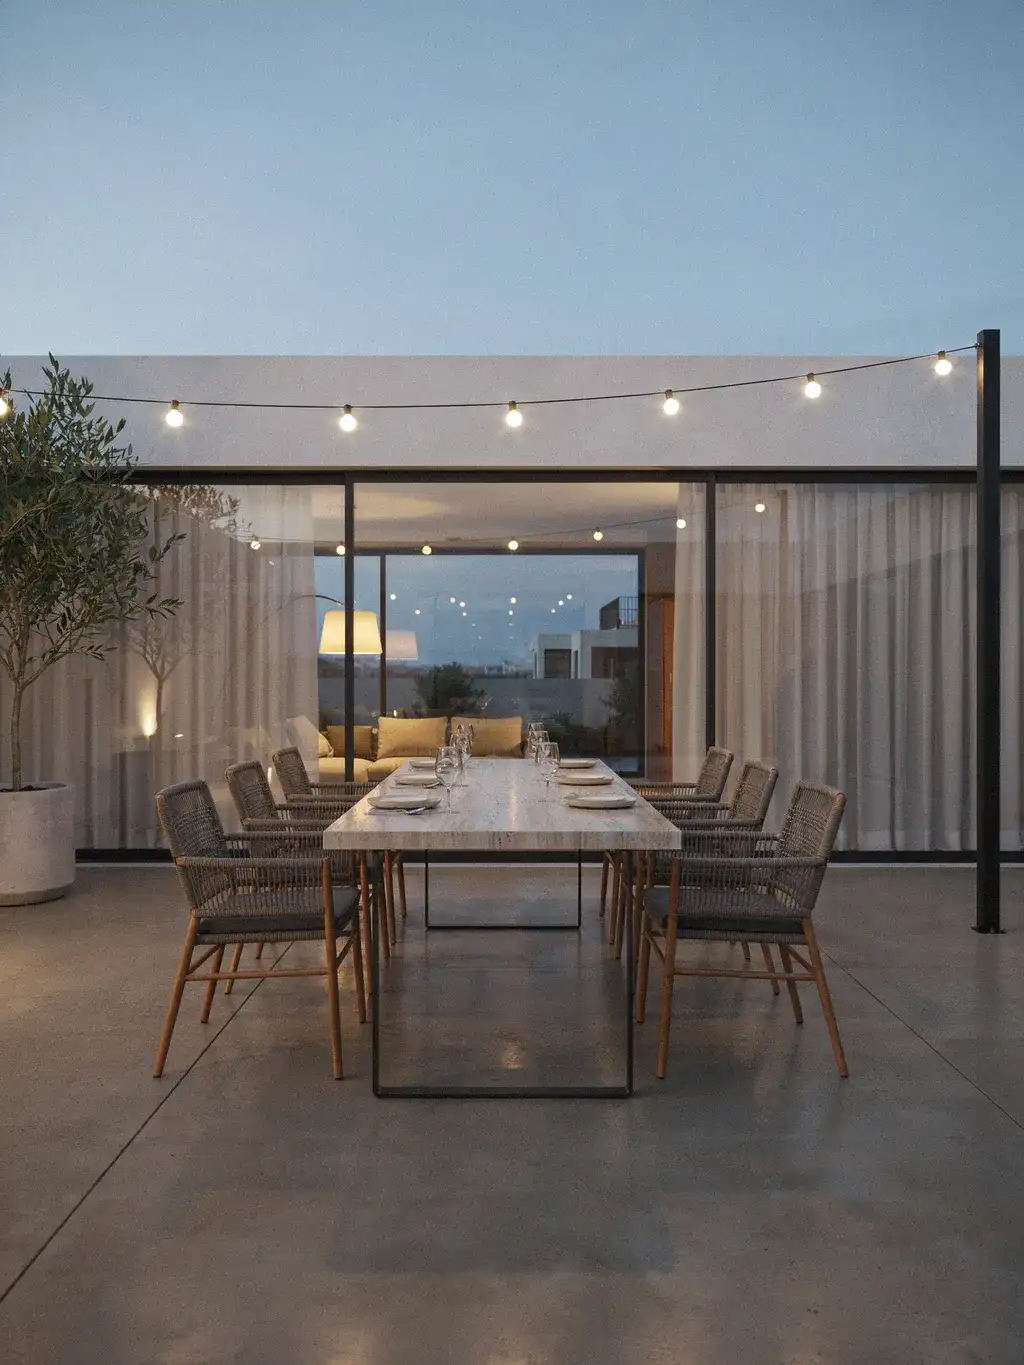
A single guide wire from one post to another, lights hung in one clean line, gives a minimalist, architectural vibe that’s perfect over a dining table or a walkway. To avoid a stark “runway” effect, stagger bulb heights slightly or use a strand with drop-down bulbs.
14. The classic crisscross or X over a patio
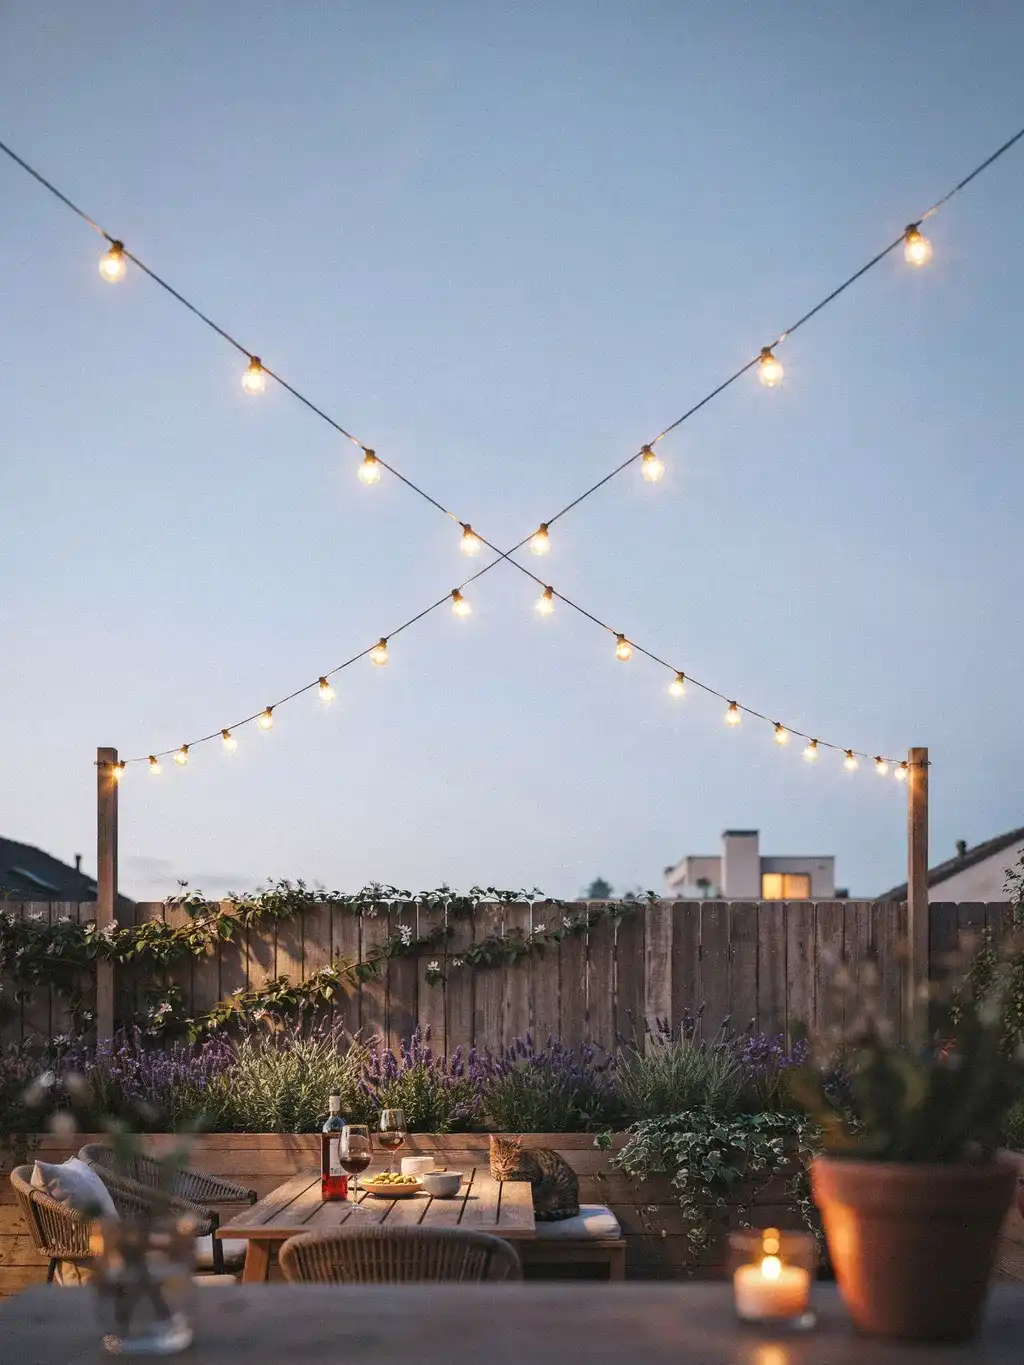
Running lights diagonally across a square patio or seating area, corner to corner, creates that trendy café canopy of light overhead. It throws even, scattered light across the whole space and is ideal for open areas. Anchor all four corners solidly and cross two guide wires in the middle.
15. The zigzag along a fence or pergola
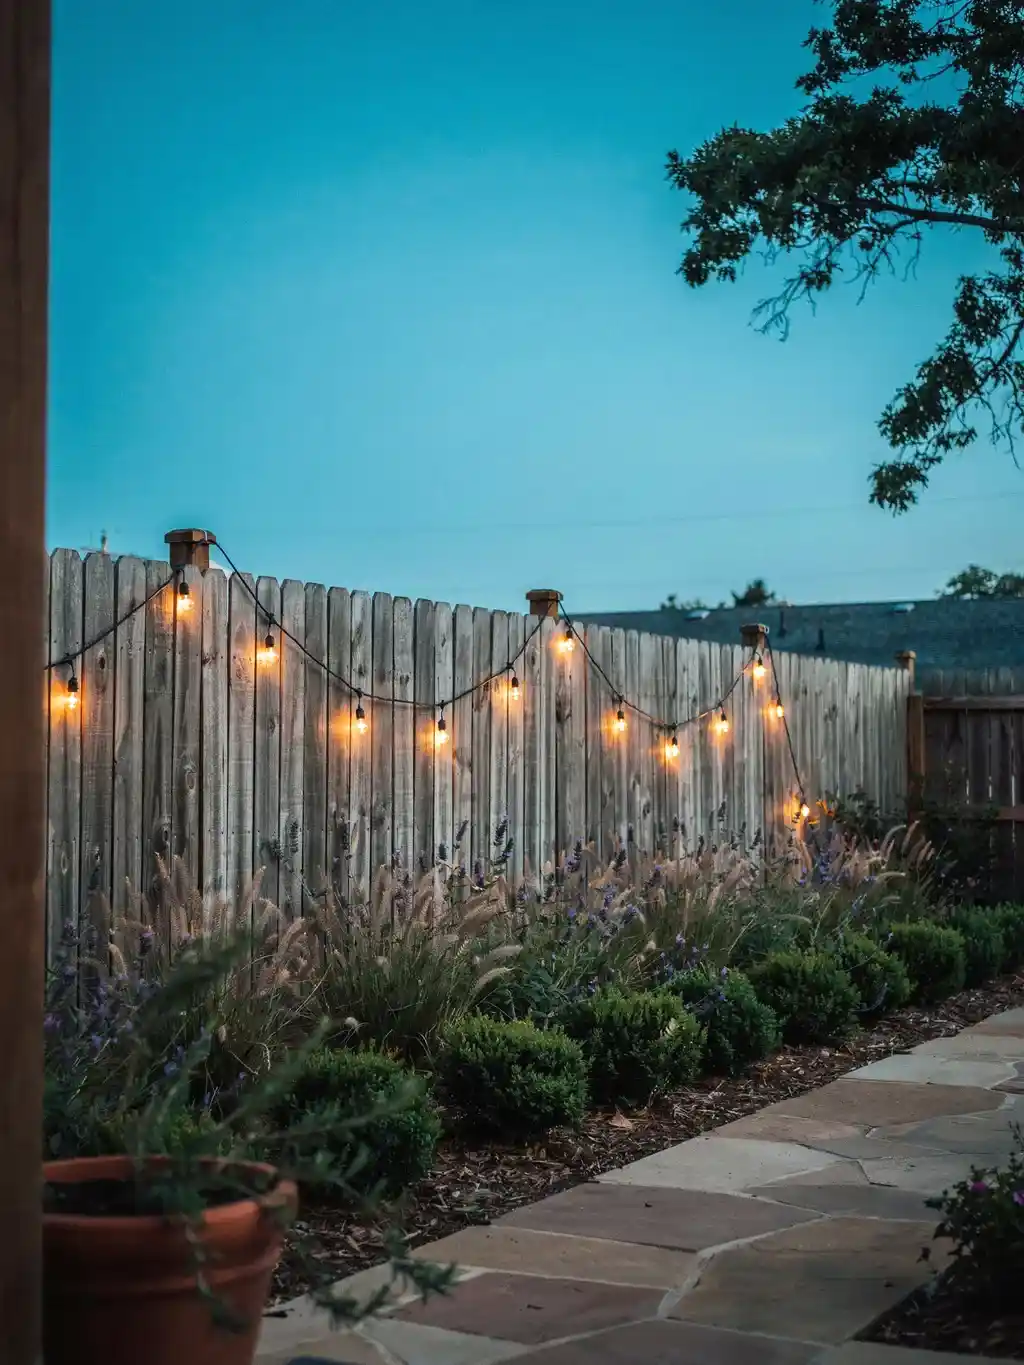
For a long or irregular space, zigzag the guide wire back and forth between anchor points down the length of the area. It covers a big footprint with one continuous run and looks lively and full. Great along a fence line or down a pergola’s beams.
16. The wheel-spoke canopy from a center point
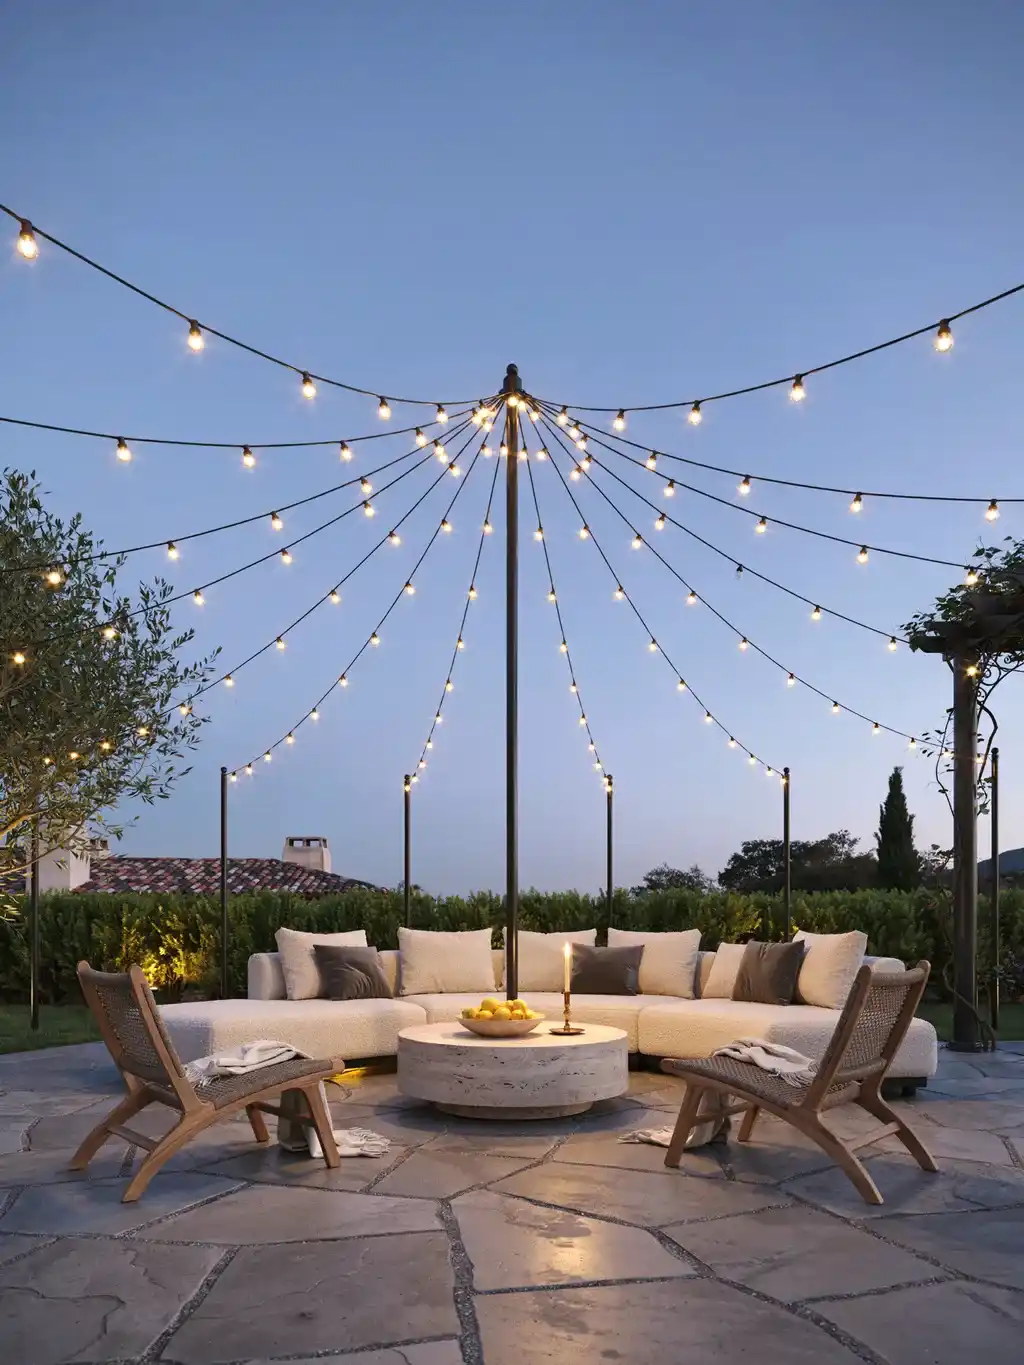
For a dramatic overhead canopy, run several guide wires out like spokes from a single high central point (the top of a tall post or a pergola centre) to anchors around the perimeter. Use a central open hook that holds tension from multiple lines. It creates a stunning tented ceiling of light over a whole seating area.
17. Perimeter lighting around a deck or railing
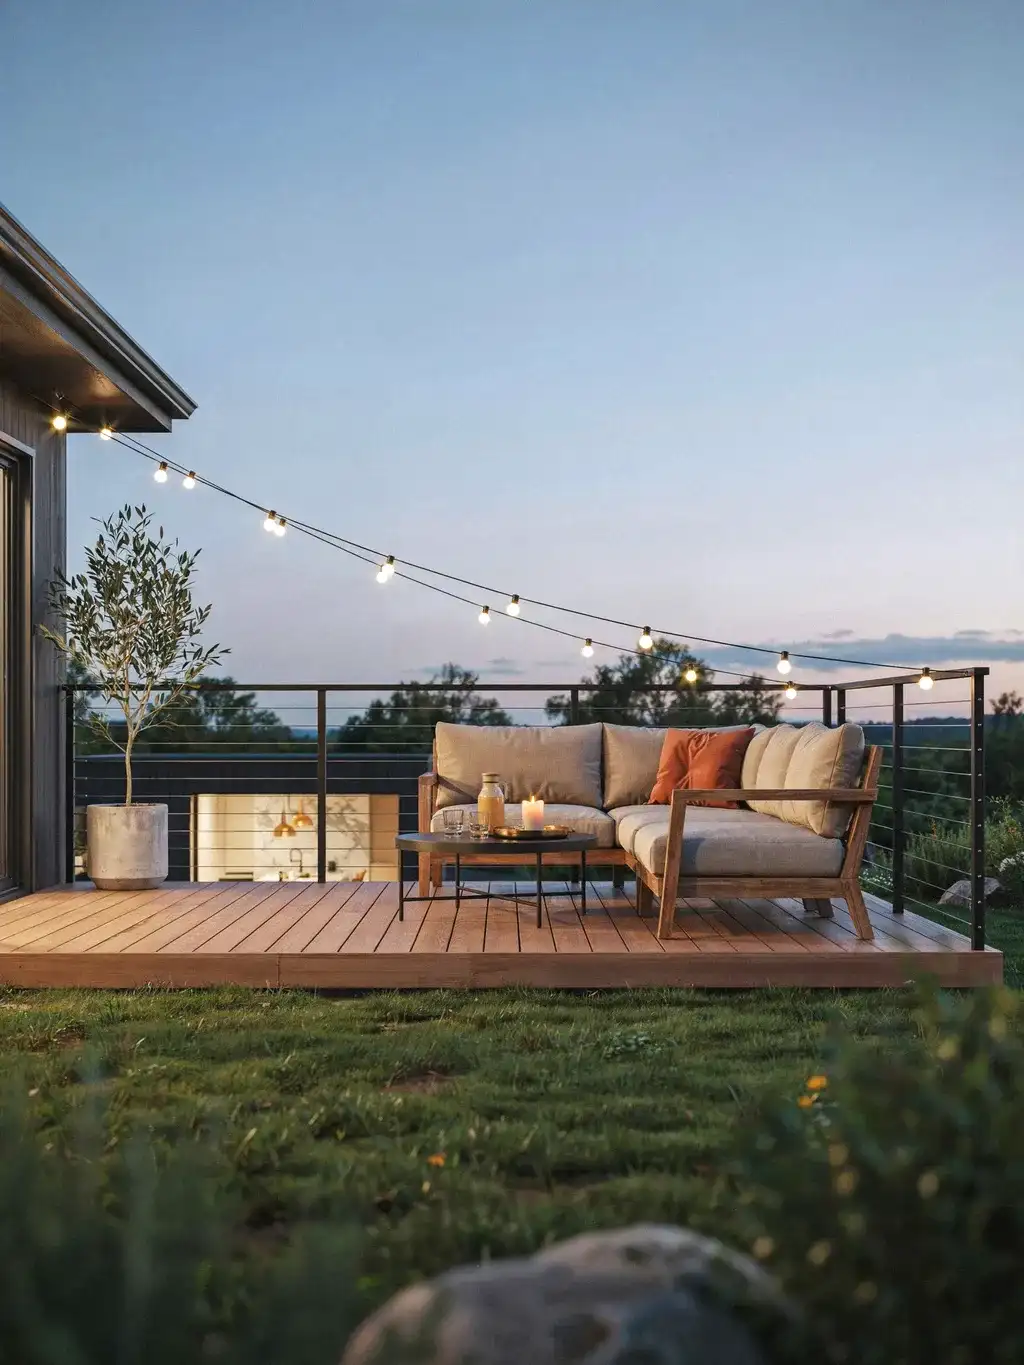
Outline a deck, balcony, or patio by running lights around its perimeter. On railings, secure with clips or zip ties every 4 to 5 feet. It’s simple, safe, low to no drilling, and defines the space beautifully.
18. Wrapped posts, pillars, and pergola columns
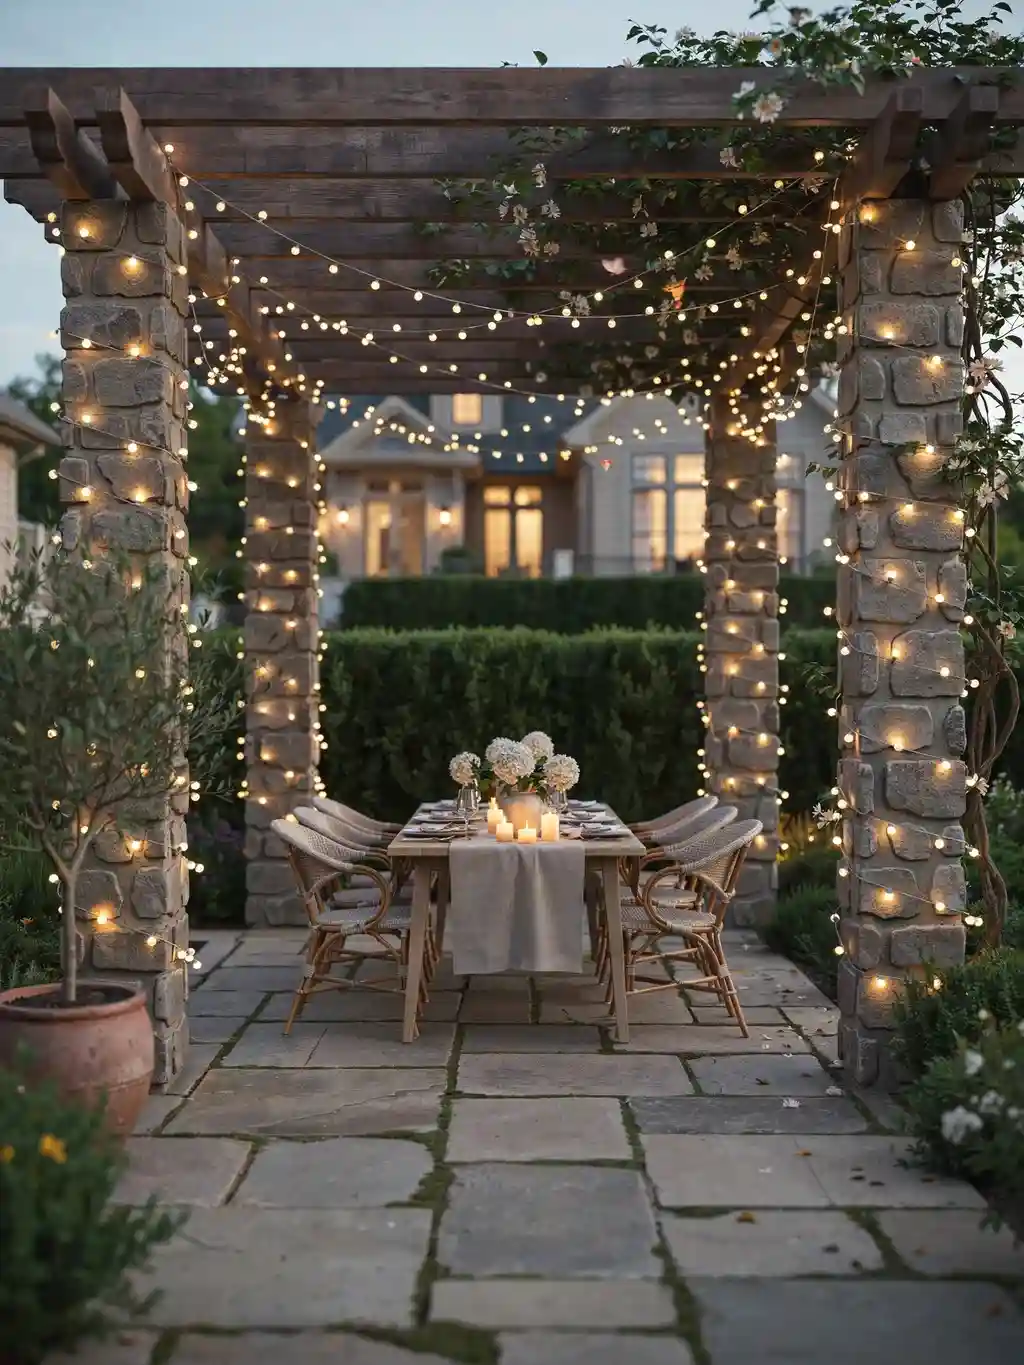
Spiral string lights up and around vertical posts, pergola columns, or porch pillars. Because they’re wrapped tight to a solid surface rather than spanning a gap, these never sag, making them a foolproof accent to pair with your overhead runs.
19. The no-drill planter-post method
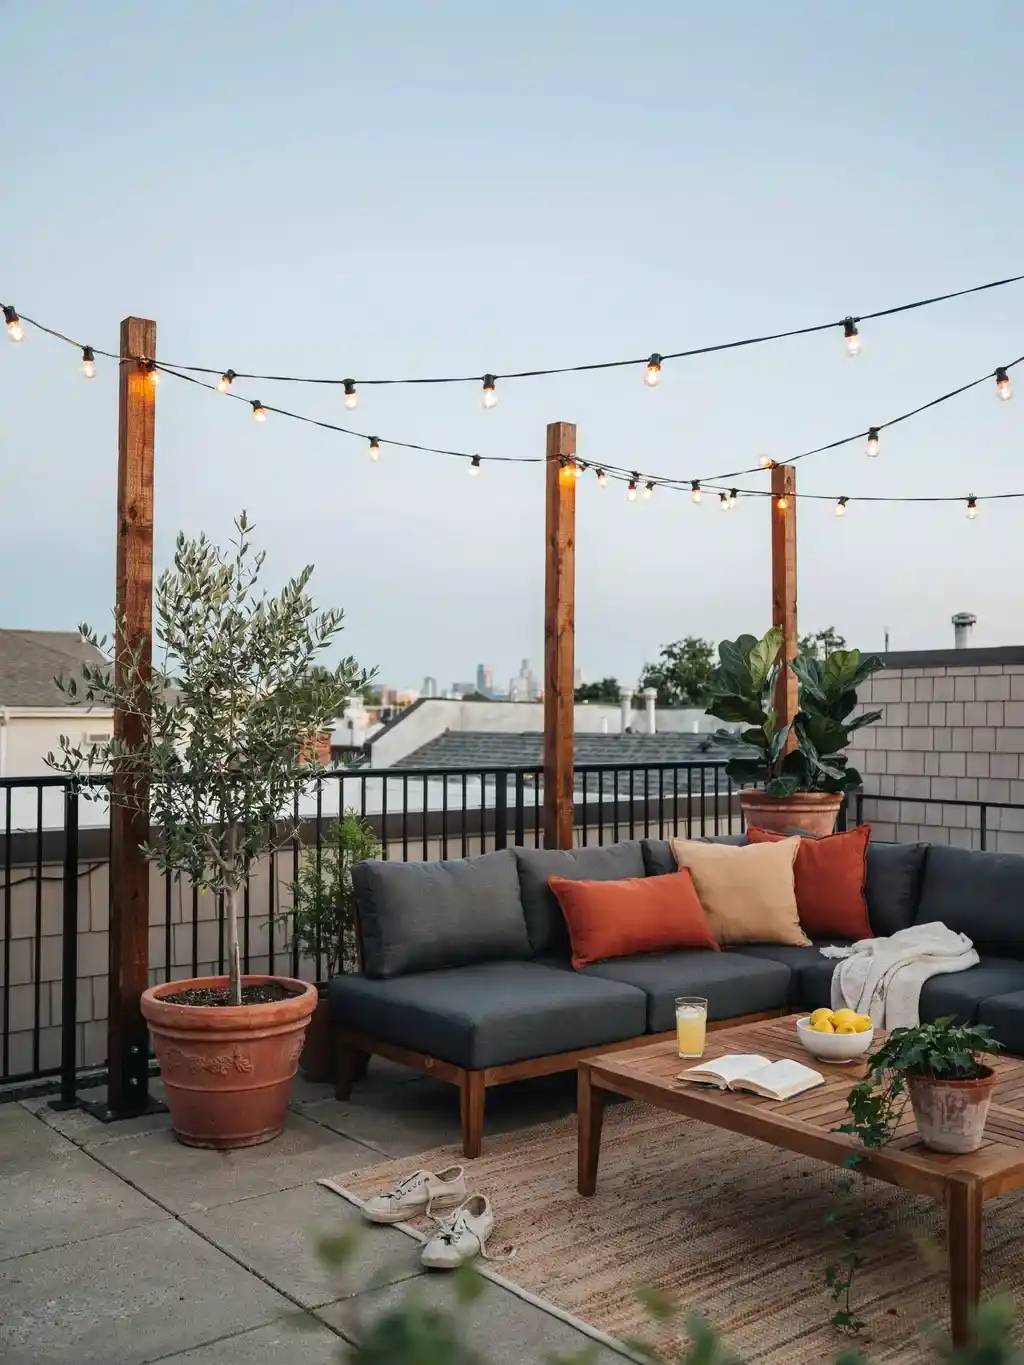
Renting, or can’t drill? Set a wooden or metal pole into a large planter or bucket filled with concrete (then hide it with soil and plants), and use these as movable anchor points. A few of these around a patio give you sturdy posts to string a guide wire between with zero holes in anything. Perfect for small patios up to about 12×12 feet.
20. Renter-friendly no-damage anchoring
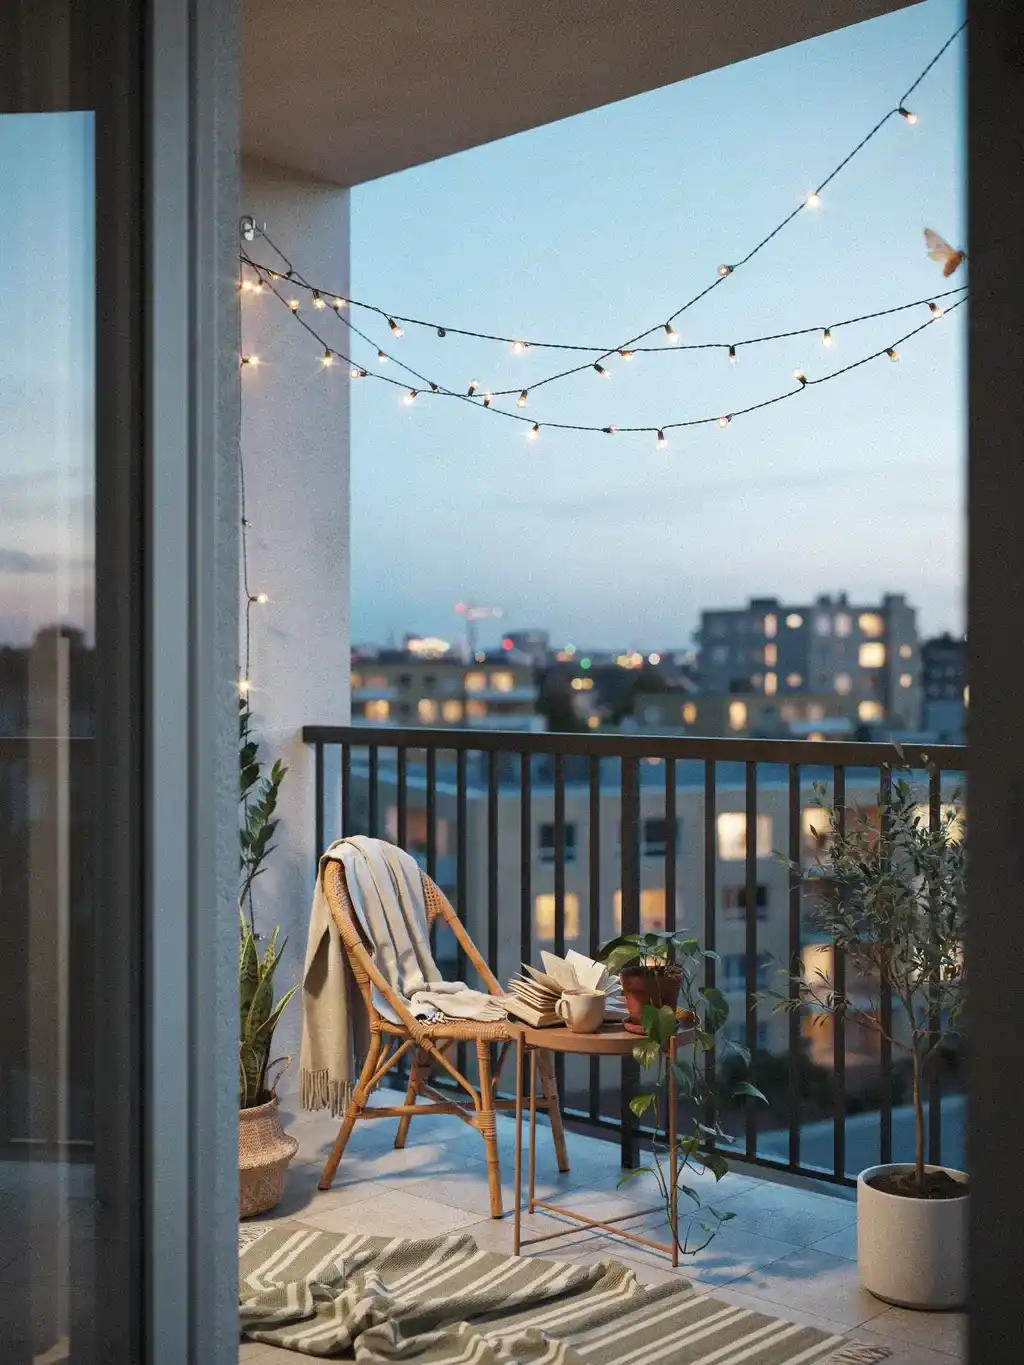
Beyond planter posts, use outdoor-rated adhesive hooks or heavy-duty command strips on smooth walls, gutter clips under the roofline, or zip ties around existing railings. These hold lights without leaving marks, ideal for balconies and rentals, though for spanning runs still add a light guide wire where you can.
21. Buy commercial-grade, weatherproof lights from the start
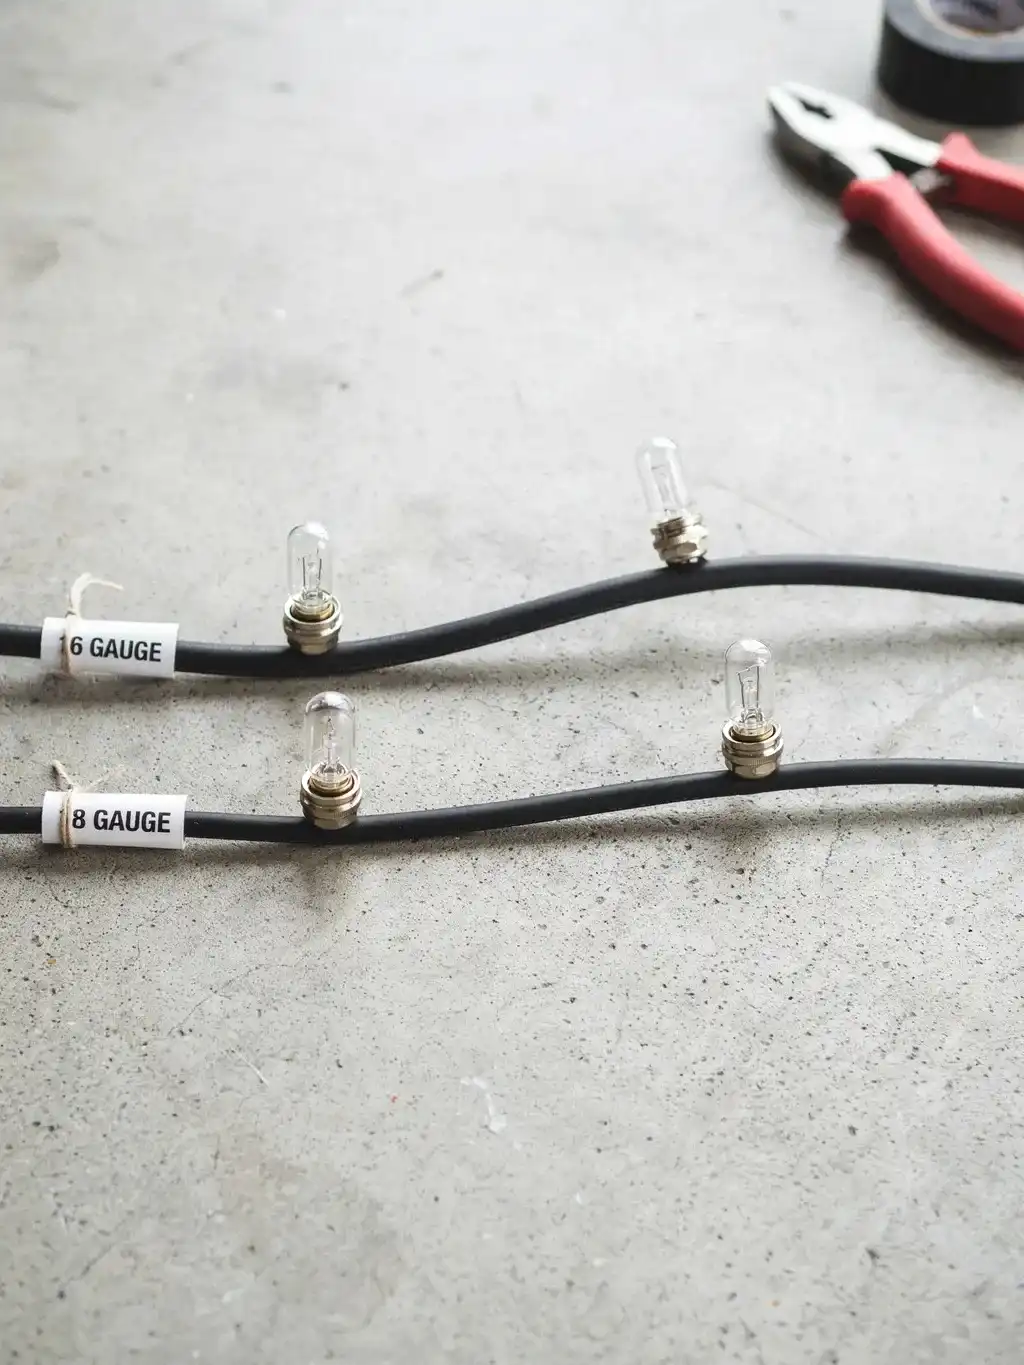
Half of longevity is the lights themselves. Cheap indoor-rated strands stretch, cloud, and fail fast outdoors. Choose commercial-grade, outdoor-rated LED string lights with an IP65 or higher weatherproof rating, thick weatherproof cords, and sturdy sockets (ideally with replaceable bulbs). They cost more up front and outlast the cheap ones many times over.
22. Mind the wire gauge on long or linked runs
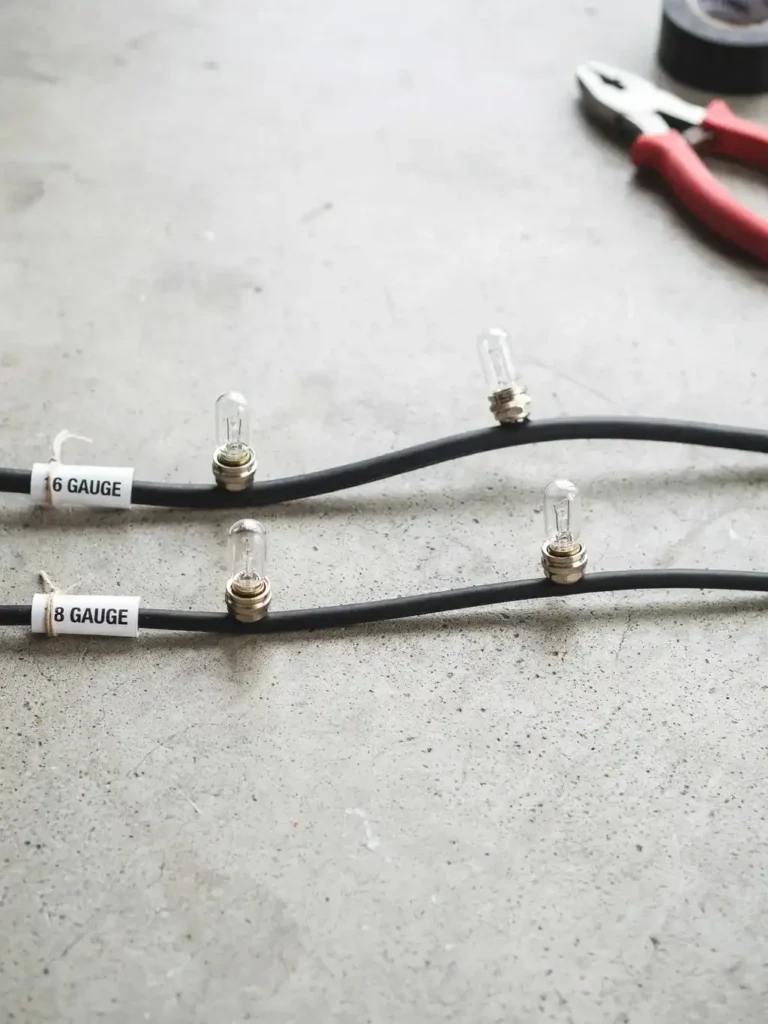
If you’re chaining several strands end to end across a big area, pay attention to wire gauge. A thicker 16-gauge strand carries power more consistently over distance than a thin 18-gauge one, so the far end doesn’t dim. Matching or upgrading gauge keeps a long run evenly bright from first bulb to last.
23. Power it safely with a GFCI outlet
Always plug outdoor lights into a GFCI-protected outlet, which cuts power instantly if it detects a fault, essential anywhere near moisture. Use outdoor-rated extension cords, keep plug connections off the ground and protected from pooling water with a cover or by tucking them under an eave, and route cords so they aren’t a trip hazard.
24. Maintain and re-tension through the season
A two-minute monthly check keeps everything crisp. Inspect for loose connections and worn spots, wipe dust off bulbs so they stay bright, confirm the guide-wire anchors are still tight, and give the turnbuckle a twist if any sag has crept back. In severe storms, it’s worth taking lights down if you can, and always remove them if you spot any wiring damage.
The bottom line
Lights that still look sharp in week ten come down to one core idea: let a taut steel guide wire carry the weight, not the light cord. Run stainless or galvanized cable between genuinely strong anchors, tension it with a turnbuckle, space your supports 10 to 15 feet apart, clip the lights on with zip ties between, pull out the built-in stretch, and aim for a gentle intentional drape hung 9 to 10 feet up. Add commercial-grade weatherproof lights and a GFCI plug, then re-tighten the turnbuckle once a month. Do that, and the only thing sagging by week two will be your neighbours’ lights, not yours.


