Ultimate Pantry Organization Guide: How to Keep Everything Perfectly Arranged
- Blog Kitchen Design
 Alina
Alina- 0
- 15 minutes read


I decanted my entire pantry once. Bought thirty-two matching glass jars, hand-lettered chalk labels, the whole Pinterest setup. Six months later I had thirty-two jars of unknown beige powders, because nobody had refilled the labels and I’d been buying replacements in plastic bags and tipping them in. The whole point of the system was to know what I had. I had the opposite.
That sums up a lot of pantry organization advice. The Instagram pantries look beautiful in week one and become unmaintainable by month two, because the systems are built for the photo, not for a household that actually eats from the shelves. A pantry that stays organized is a different project from a pantry that looks organized.
Here’s the actually workable version. The bit nobody photographs.
Step 1: empty everything
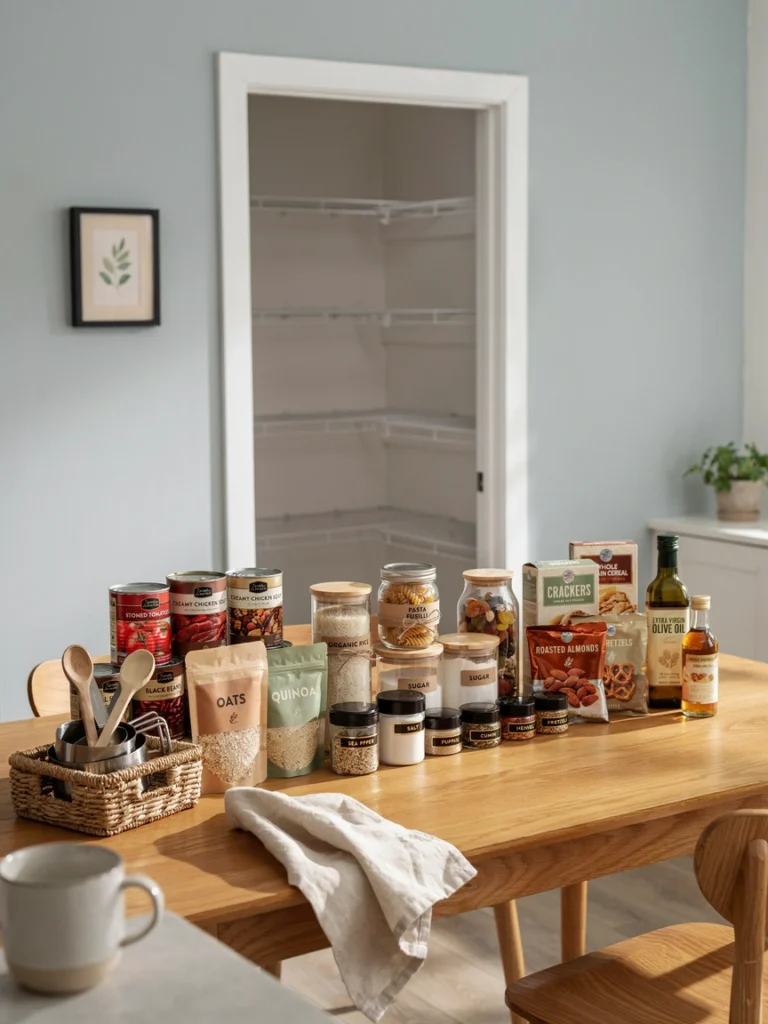
Take it all out. Every box, jar, can, tin, mystery packet from 2019. Put it on the kitchen table. Wipe the shelves clean.
You’ll find: expired things, duplicate things you forgot you owned, things you intended to cook with three years ago, and at least one container of something unidentifiable. This is the whole reason to start by emptying. You cannot organize what’s already there because half of what’s already there shouldn’t be.
Throw out the expired. Donate the unopened-but-unwanted to a food bank. Reunite the duplicates. You’ll recover roughly a third of your pantry space without buying a single container.
Step 2: categorize, but only the way you actually cook
The Instagram approach groups everything by visual category: all grains together, all cans together, all baking together. It photographs beautifully and means you spend twenty minutes assembling a meal because the things you use together live in different zones.
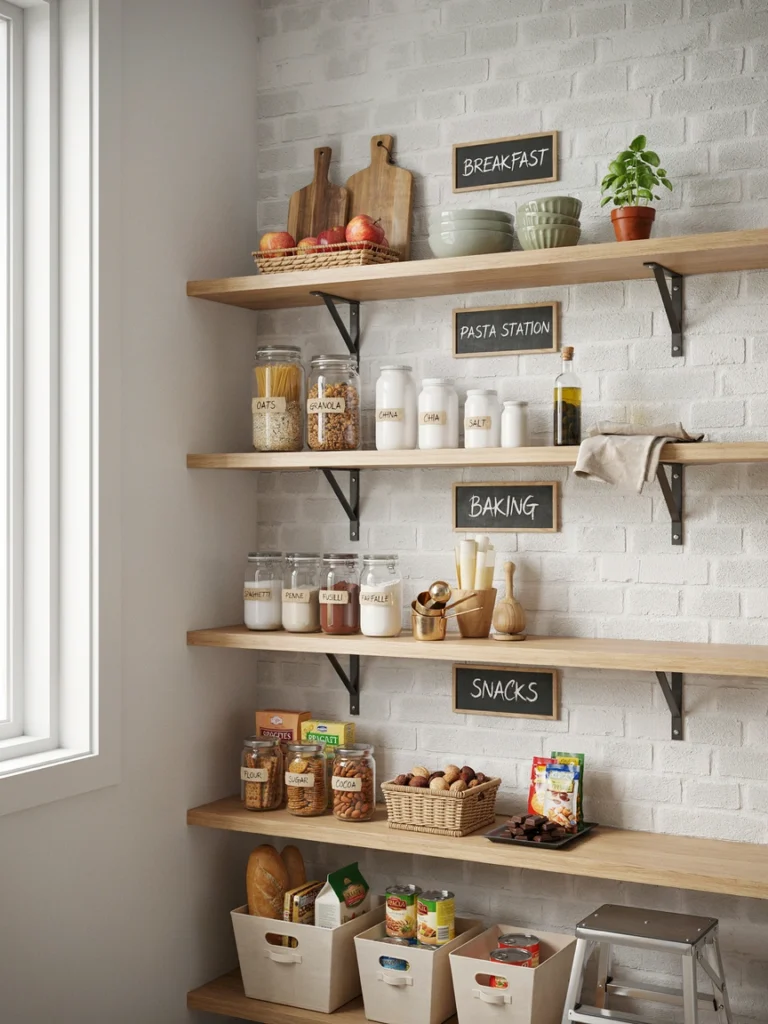
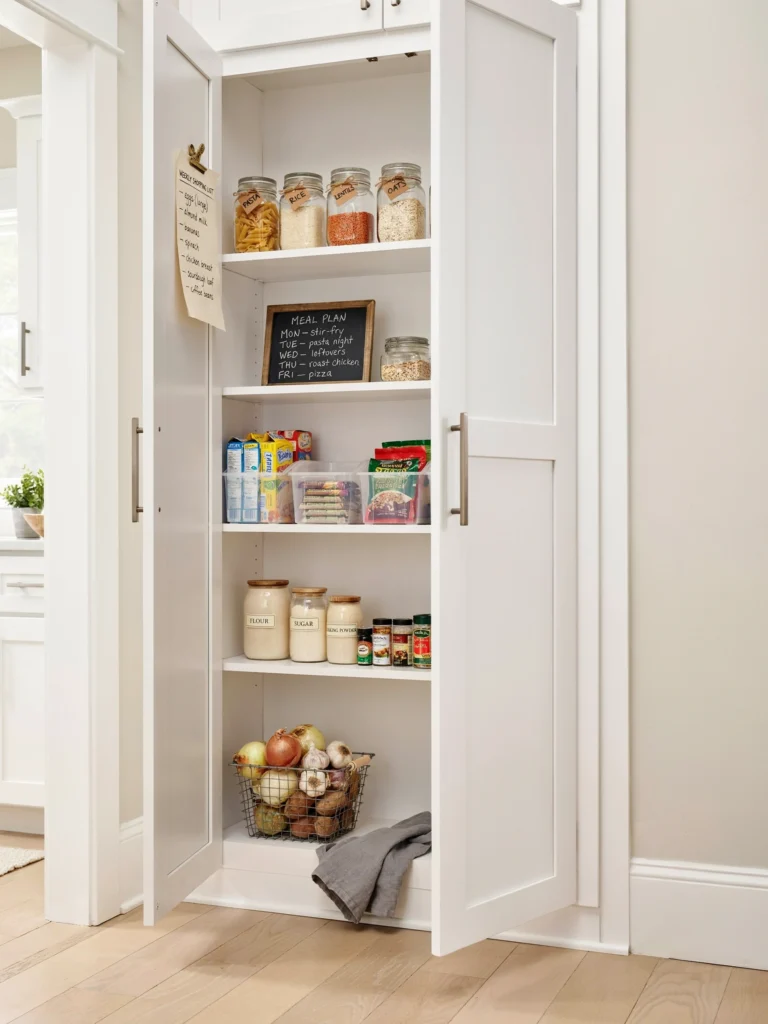
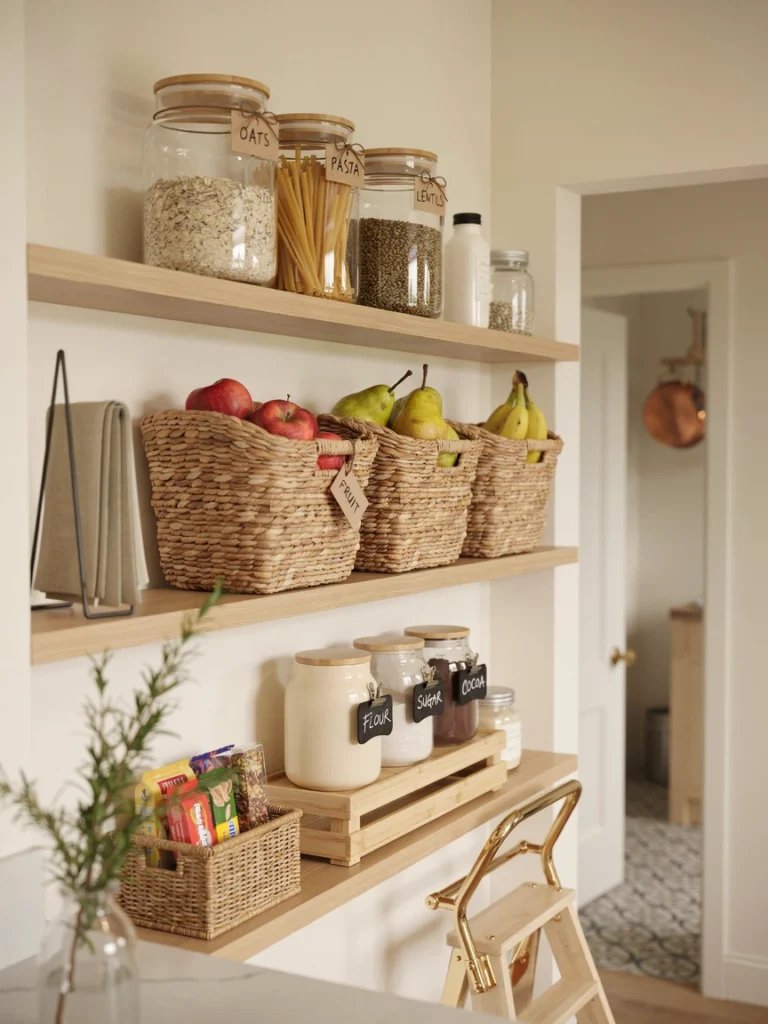
The better approach: group by how you cook. If pasta nights happen weekly, the pasta, the jarred sauces, the dried herbs you use with them, and the parmesan all live together. If breakfast is consistent in your house, the cereals, oats, jams, and coffee are one zone. The categorization should map to your actual meals, not to a homeware store’s mental model.
Eight categories is usually plenty: breakfast, baking, pasta and grains, cans and jars, snacks, drinks and mixes, oils and vinegars, herbs and spices.
Step 3: the decanting question
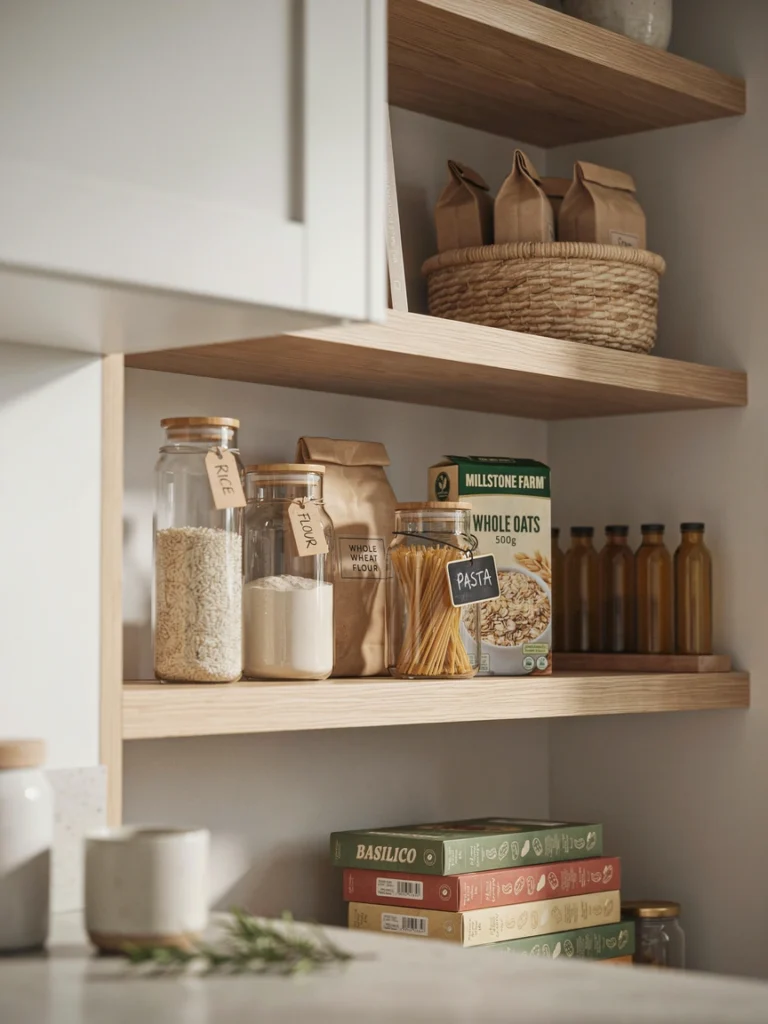
Here’s the call most guides won’t make. You do not need to decant everything.
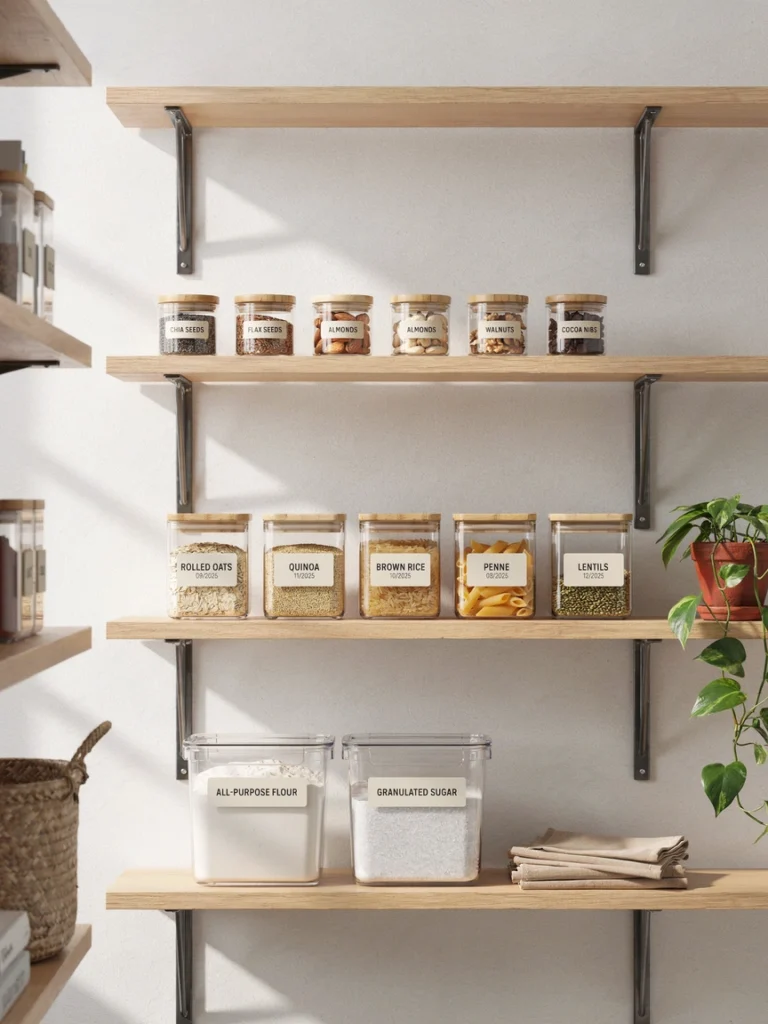
Decanting is genuinely useful for: bulk grains and pasta you buy often (rice, oats, dried pasta, sugar, flour), where the original packaging is messy and the contents go stale once opened. Decanting is largely pointless for: anything you buy infrequently, anything that ships in its own resealable container, anything you only have one of, and any tinned or canned good.
The full-pantry decant looks magazine-worthy and creates a chronic problem. Refills require unbagging into jars, the labels degrade, and you lose the cooking instructions and expiration dates that were printed on the original packaging. You also tie up a lot of money in containers for things you barely use.
A useful rule: decant the ten or twelve things you cook with constantly. Leave everything else in its original packaging.
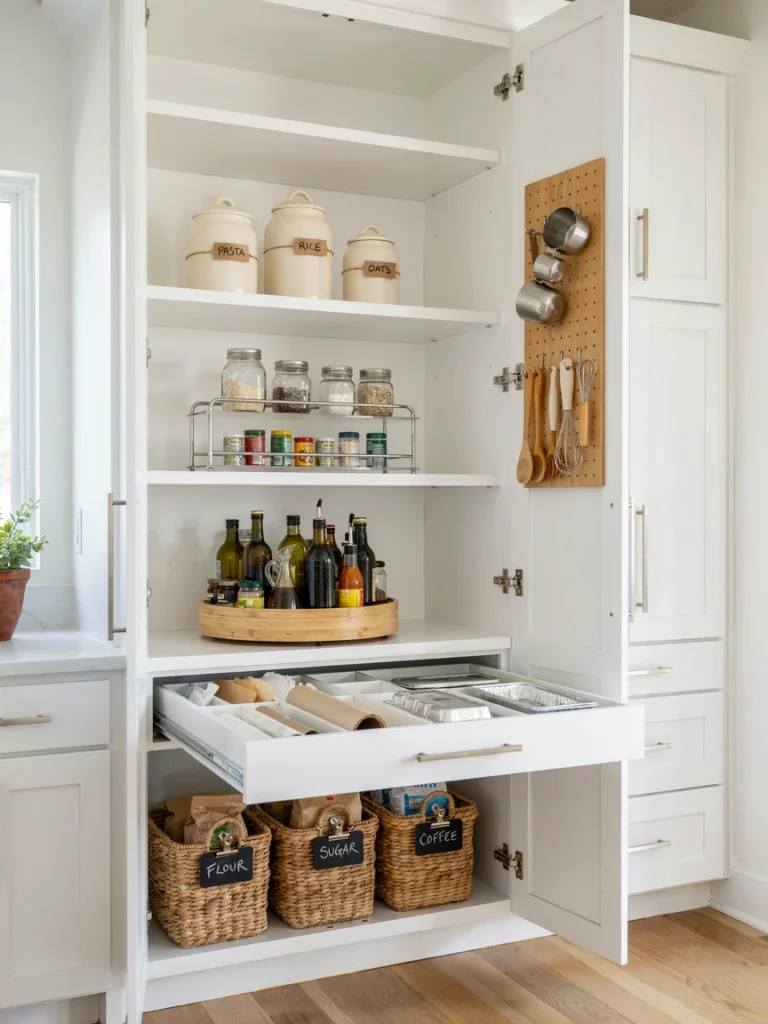
Step 4: containers worth buying
For the things that do earn a container, get the right one.
OXO Good Grips POP containers are the gold standard for kitchen pantry use. The button on the lid creates an airtight seal, they stack squarely, and the rectangular shapes don’t waste shelf depth the way round jars do. A starter set of five to seven runs about £80 to £120. Worth it for the items that get refilled often.
Glass jars (mason, Weck, or the basic IKEA ones at £3 to £5 each) work well for things you want to see: dried beans, lentils, pasta shapes. The visual cue is the whole point. They don’t seal as well as POP containers, but for items that get used quickly the difference doesn’t matter.
Brabantia bread bins and cake tins for things that need to breathe slightly and stay dry. Less photogenic, more functional.
What to skip: novelty-shape containers (round jars in square spaces waste a third of the shelf), anything labeled “vintage farmhouse” or “aesthetic kitchen,” anything from a craft site that needs you to assemble it yourself. They’re decor disguised as storage.
Step 5: the supporting cast
The unsung items that genuinely change how a pantry works:
- Lazy susans / turntables for the back of deep shelves. £8 to £20 each. The single highest-impact item per pound spent. Place one in the back corner, fill it with oils, vinegars, jars, condiments. Suddenly the back of the shelf isn’t a graveyard.
- Wire risers or shelf steppers so you can see the back row of cans and jars over the front row. £10 to £30 for a set.
- Open wire baskets for snacks, packet mixes, and anything in floppy bags. £5 to £15 each. Contains the chaos visually and lets you slide the whole basket out to find what’s underneath.
- A small bin for half-empty bags (the open crisps, the partial tortilla pack). One designated home for “started but not finished” packets stops them from drifting across the shelf.
- Pull-out drawer organizers if your pantry has shallow drawers. Otherwise the back of the drawer becomes another graveyard.
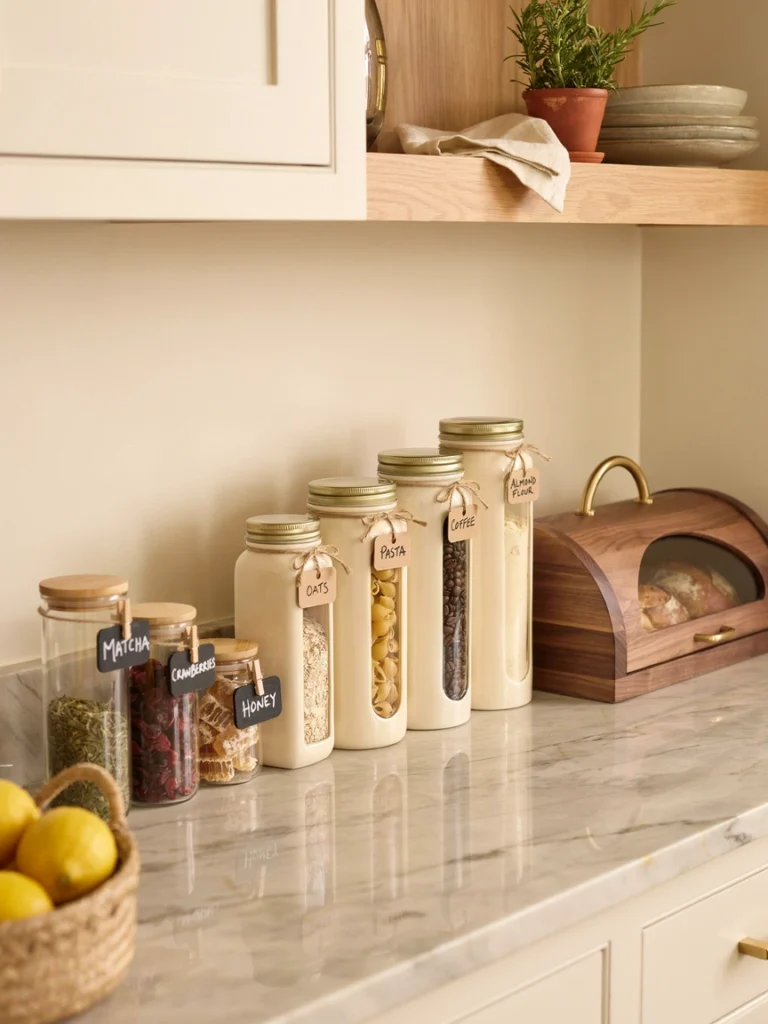
Step 6: labels, the realistic version
If you’ve decanted, you need labels. If you haven’t, you don’t.
A label maker is worth the £25 to £40 if you’ve committed to a real decant system, because the labels stay readable through dishwasher cycles and household rubs. Chalk labels look beautiful in photos and smudge off within a week. Avoid.
Crucially, label the date of decanting alongside the contents. Pantry items don’t last forever in glass jars either, and a date stamp tells you when to refresh.
For the un-decanted majority of items, no labels needed. The packaging labels itself.
Step 7: the maintenance ritual
This is the bit nobody writes about, and it’s the only reason any of this lasts.
Once a week, before the weekly shop, spend five minutes pulling everything to the front of each shelf, throwing out anything visibly past it, and noting what you’re low on. That’s the entire system.
Once a quarter, spend twenty minutes doing a slightly deeper pass: check the dates on tins, wipe a shelf or two, top up the decanted jars.
Twice a year, do the full empty-and-restart from Step 1. This sounds excessive. It takes an hour. It saves you from the slow drift that turns every organized pantry into chaos within eighteen months.
What this actually costs
For a small-to-medium pantry, done properly:
- Six to eight OXO POP containers for the high-rotation items: £100 to £150
- Four to six glass jars for the visible-grain items: £15 to £30
- Two lazy susans: £20 to £40
- A set of wire risers: £15 to £25
- Three or four wire baskets: £20 to £45
- A label maker: £30
- Maybe a bread bin: £30 to £50
Total for a thoroughly organized pantry: roughly £230 to £370. If you go heavier on IKEA glass jars and skip a couple of the OXO items, you can come in closer to £150.
A fully kitted-out Pinterest pantry with matching containers for absolutely everything regularly runs £600 to £1,000 and is harder to maintain over time. The middle path costs less and works better.
What I actually do now
The thirty-two decanted jars are mostly gone. I kept eight, for the things I cook with most: rice, oats, pasta, flour, sugar, two kinds of beans, coffee. Everything else lives in its original packaging on shelves grouped by how I cook. There are two lazy susans (one for oils and vinegars, one for jars of stuff). One basket for snacks. One small bin for half-open bags. A pencil and a piece of paper inside the cupboard door for the shopping list.
It isn’t what you’d photograph for a homeware brand. But the labels still match what’s in the jars, the back of the shelf isn’t a graveyard, and I can find dinner ingredients in under thirty seconds. After three years.
That’s the system. Lower than the Instagram ceiling, higher than the chaos floor, sustainable indefinitely.


