DIY Walk-In Closet Guide: How to Build Your Own Closet Step by Step
- DIY And Crafts IKEA
 Alina
Alina- 0
- 23 minutes read


My first attempt at a DIY walk-in closet was a wall of shelves I’d built myself, all 16 inches deep, all very symmetrical, all very pleased with themselves. Then I tried to hang a winter coat on the rod, the sleeves brushed the back wall, and the coat itself sat at a 30-degree angle because there wasn’t enough depth for it to swing straight. I had built a handsome shoe display. The actual clothes still lived in a wardrobe in the bedroom.
So before we get to the satisfying part where you stand inside your finished closet feeling like a person who has their life together, here’s the thing nobody mentions in the breezy DIY guides. A walk-in closet is mostly math. Get the dimensions right and you can build it from almost anything. Get them wrong and you have a beautifully made room that won’t hold your clothes.
This is the guide I wish I’d had before I owned a circular saw.
Before you start: is your space actually big enough?
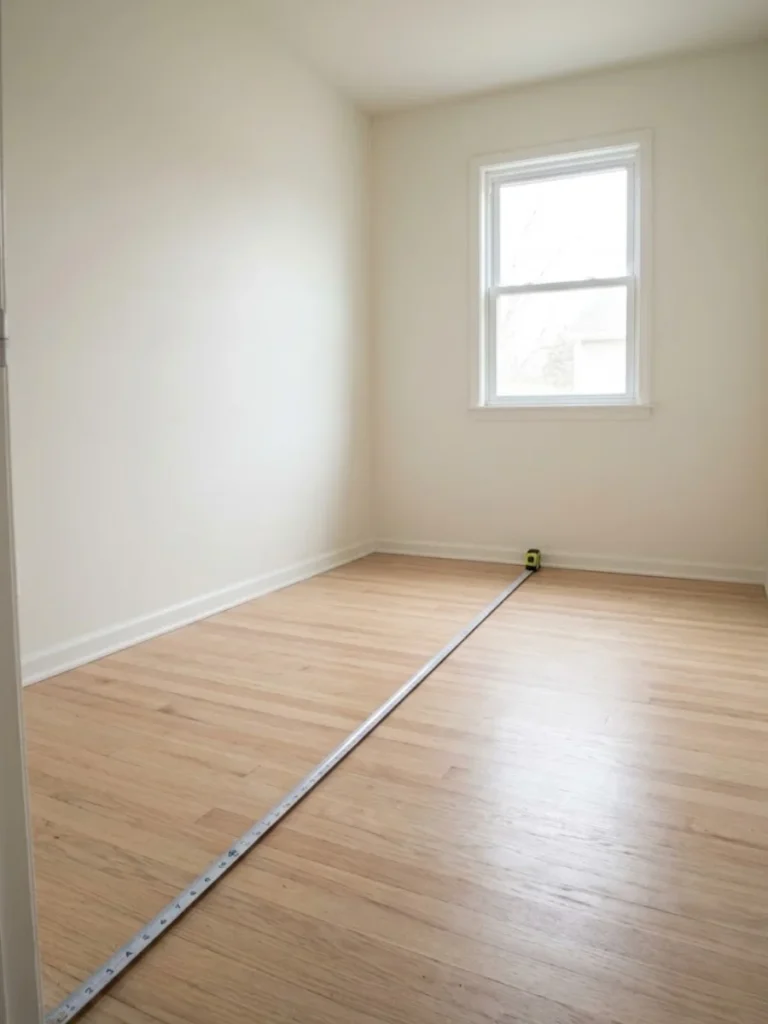
Fastest way to save yourself a weekend is to do a brutal honest measurement first.
A genuinely usable walk-in closet needs:
- A minimum of 24 inches of depth on any wall where you’ll hang clothes (this is the non-negotiable one)
- At least 24 inches of clear walkway down the middle, ideally closer to 36
- Total minimum size: roughly 5 feet by 7 feet for a single-sided walk-in, 7 feet by 7 for a U-shaped one
If your space is narrower than that, you don’t have a walk-in closet, you have a reach-in closet with a door you can walk through. That’s fine, and most of this guide still applies, but you’ll want to design one or two walls rather than three.
If your space is bigger than about 7 feet by 9 feet, you’ve got room for an island in the middle. Worth knowing before you finalize the layout.
The first real decision: system or custom build
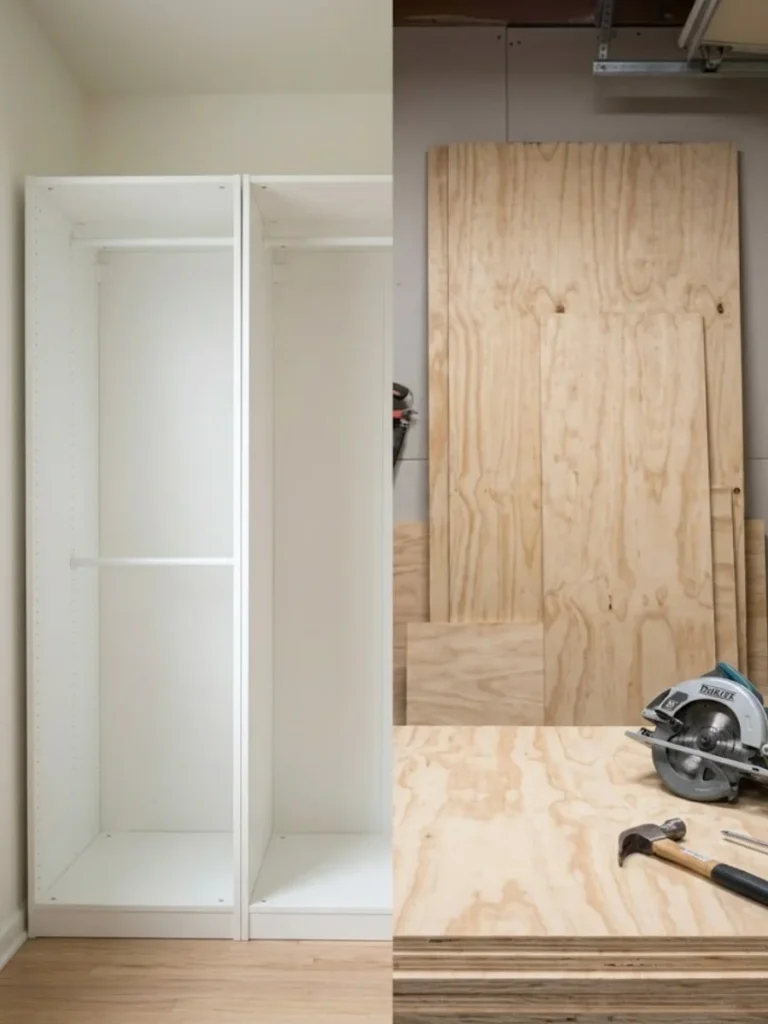
Before you buy a single screw, decide which of these you’re doing. They’re almost different projects.
Option A: IKEA PAX (or similar). Essentially a flat-pack closet kit. You buy modular frames in standard widths and heights, choose interior fittings, install the frames against the wall, and the closet is finished. Cost for a decent setup: around £400 to £1,200 depending on size and finishes. Build time: a long weekend.
Option B: Wire shelving system. Things like Elfa, ClosetMaid, or Rubbermaid. Wall-mounted standards and rails, with shelves and rods that hang off them. Cheaper than PAX, around £300 to £800 for a full closet, and faster to install. Less polished-looking but genuinely functional. Build time: a single day, sometimes less.
Option C: Custom MDF or plywood build. You build the whole thing from sheets of material, cut to size, with shelves and rods sized exactly to your space. Maximum customization, maximum hassle. Cost varies wildly, anywhere from £200 in materials if you have tools to £800-plus with finishing. Build time: a full week of evenings, plus a weekend.
I’ve done all three. PAX is what I’d recommend to most people. Custom is satisfying if you enjoy that kind of work, but you’ll spend significantly more time for a result that’s only slightly better, and PAX trimmed out with crown molding and quarter-inch panels on visible sides hides the flat-pack origins entirely. That last trick is the secret of the closets you see online that look custom and aren’t.
The rest of this guide assumes you’re doing some version of the PAX-with-trim approach, since wire shelving installation is essentially follow-the-manual.
Step 1: measure properly, and write it down
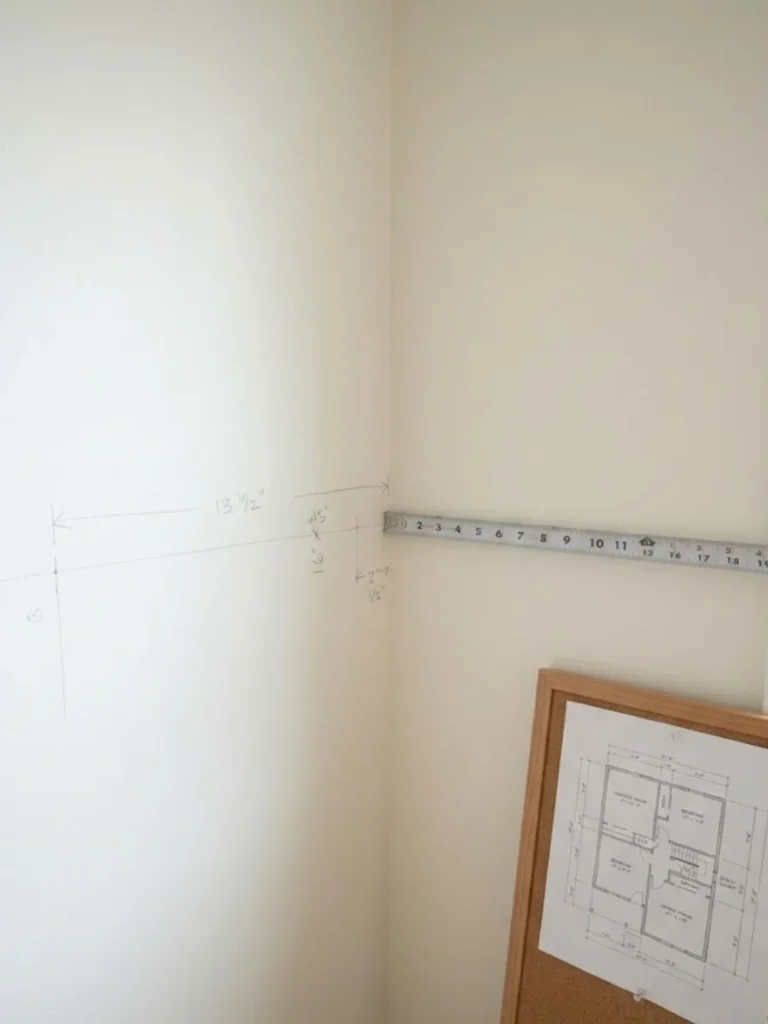
Get a real tape measure, not the wobbly one in the kitchen drawer. Measure the width, depth, and height of the closet space at multiple points. Walls are often not square. Floors are rarely level. Ceilings can drop in the middle. Write all of it down in a notebook.
Sketch the room from above, with the door drawn in. On the sketch, mark:
- Which way the door swings (this catches people out constantly)
- Where any windows are
- Where electrical outlets currently live, and where you wish there were more
- Where the light switch is
You’ll refer back to this sketch about forty times. Don’t trust it to your memory.
Step 2: plan what actually goes where

This is the part people skip. Open your existing wardrobe and count. How many hanging garments do you actually own. How many are long (dresses, coats) versus short (shirts, blouses). How many shelves of folded clothes you have. How many pairs of shoes. Whether you need drawer space for underwear and socks, or whether you have a separate dresser.
The closet has to fit your real clothes. Not the clothes you imagine you’ll own when you finally become organized.
Sketch the closet interior on paper next. Allocate:
- Hanging space (single-rod sections for long items, double-rod for short items where you can stack two rods vertically)
- Folded shelf space
- Drawer space, if needed
- Shoe storage
- Accessories (belts, bags, jewelry)
A useful rule of thumb. Short hanging clothes need about 40 inches of vertical space from rod to shelf. Long hanging clothes need about 65. A pair of stacked rods (shirts on top, trousers below) needs about 84 inches total.
If your ceiling is 8 feet (96 inches), you can fit a double-rod section with about 12 inches of shelf above for less-used items. That’s the most efficient use of vertical space in a closet, by a long way.
Step 3: gather your materials and tools

For a PAX-style build with trim:
- PAX frames in your chosen sizes
- Interior fittings (rods, shelves, drawers, dividers, soft-close runners if you’re feeling fancy)
- Quarter-inch finish-grade plywood or MDF for any visible side panels
- Crown molding and base trim
- Wood filler, caulk, primer, paint
- Cabinet screws for joining frames
Tools:
- Drill and bits
- Tape measure
- Level (a 4-foot level is worth the money for this job)
- Stud finder
- Hammer
- Mitre saw or mitre box for cutting trim
- Caulk gun
- Sandpaper
For a fully custom build, add a circular saw, a table saw if you have one, and a brad nailer for the finished panels.
Step 4: empty the space and prep
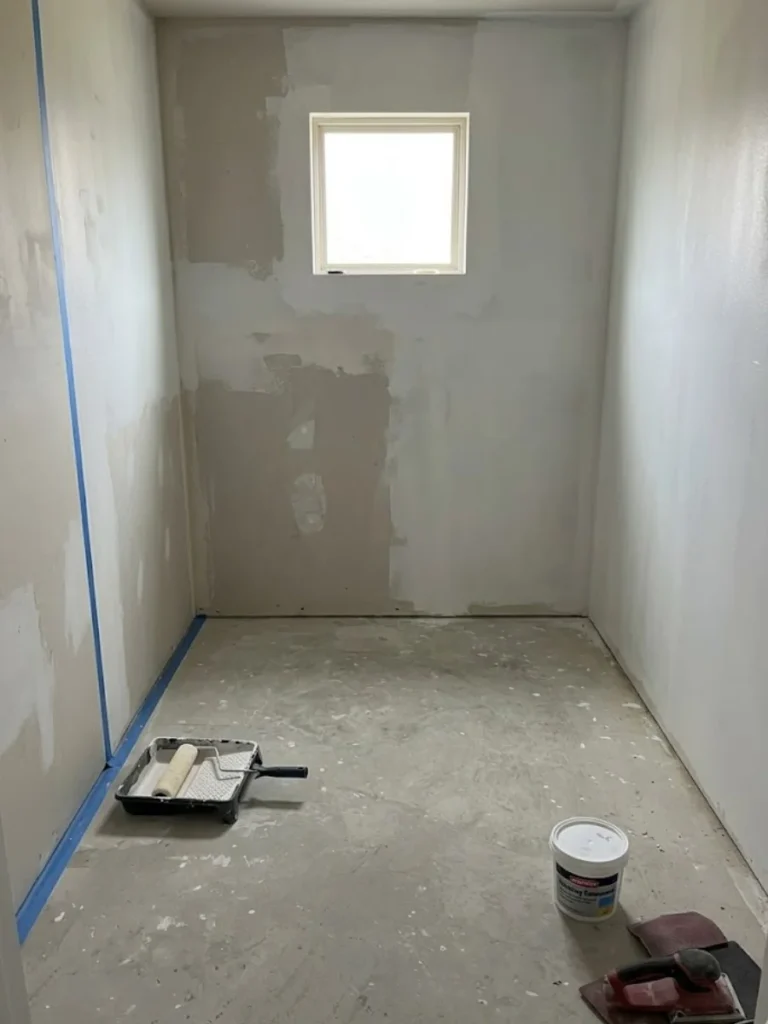
Take everything out. Clean the walls and floor. Patch any holes. Prime and paint the inside of the closet before you install anything. Much easier to paint a bare room than to cut in around installed cabinetry afterwards.
If you’re adding electrical (outlets, switched lighting, a sensor light), this is the moment to call an electrician unless you actually know what you’re doing.
Step 5: mark and level
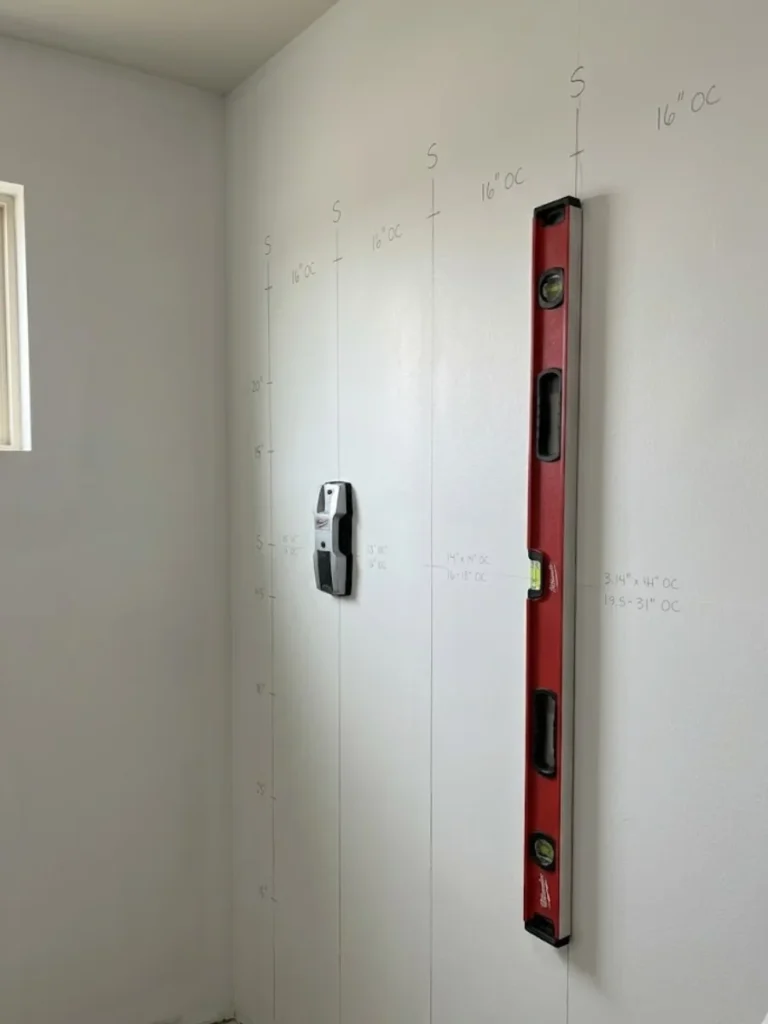
Find your studs with a stud finder. Mark them with pencil lines up the wall.
Mark the position of every frame or cabinet on the wall, at the correct height. Use the level relentlessly. Walls slope. Floors slope. The level is the only thing that tells you the truth.
If your floor is meaningfully off, you’ll want to shim your cabinets at the base so they sit level rather than parallel to the floor. This is the most common reason DIY closets look slightly wrong once finished. Everything in them is leaning a couple of degrees and the eye notices even when it can’t name what’s off.
Step 6: install the frames
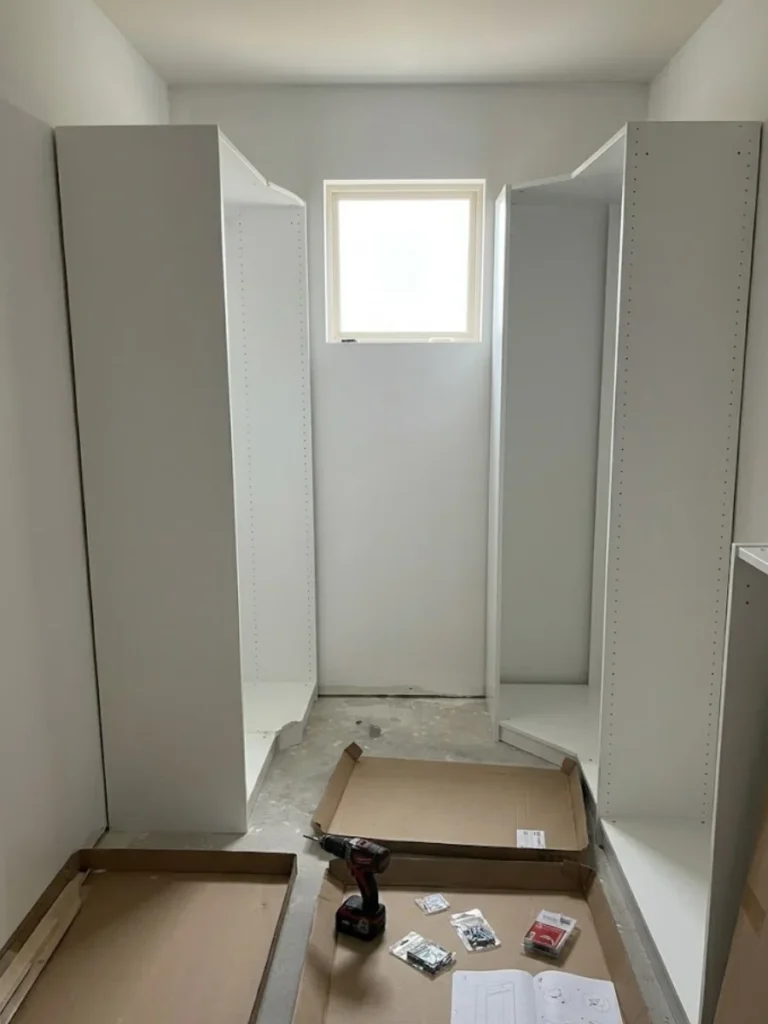
For PAX: build each frame on its back on the floor, following the instructions, then walk it upright and into position. They’re heavy. A second pair of hands helps a lot.
Anchor each frame to wall studs with appropriate screws, not just into drywall. A closet full of clothes is heavier than people expect. Drywall anchors alone will eventually fail, usually at three in the morning, with a sound you can’t unhear.
For custom builds, install vertical sides first, anchored to wall and floor, then build horizontal shelves and dividers off them.
Step 7: install the interior fittings
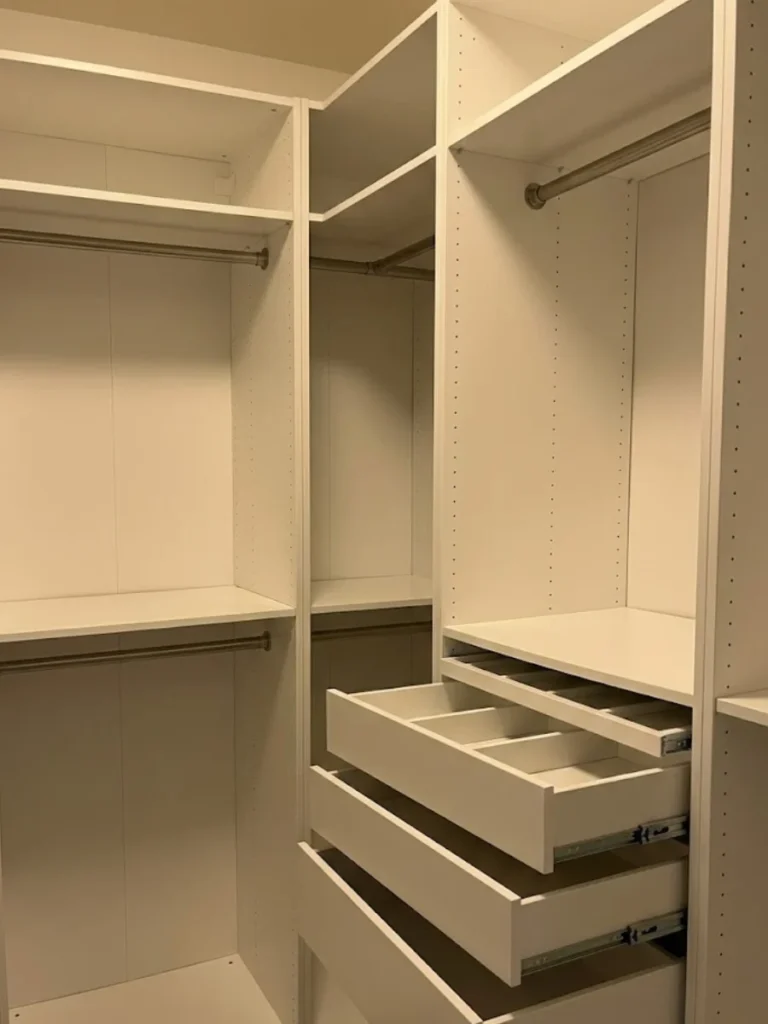
Rods, shelves, drawers, shoe racks, dividers. Most mount with adjustable shelf pins or pre-drilled screw positions. Take your time getting them level. A rod that’s even slightly off will show clothes hanging at an angle for the rest of the closet’s life.
Step 8: trim, paint, and finish
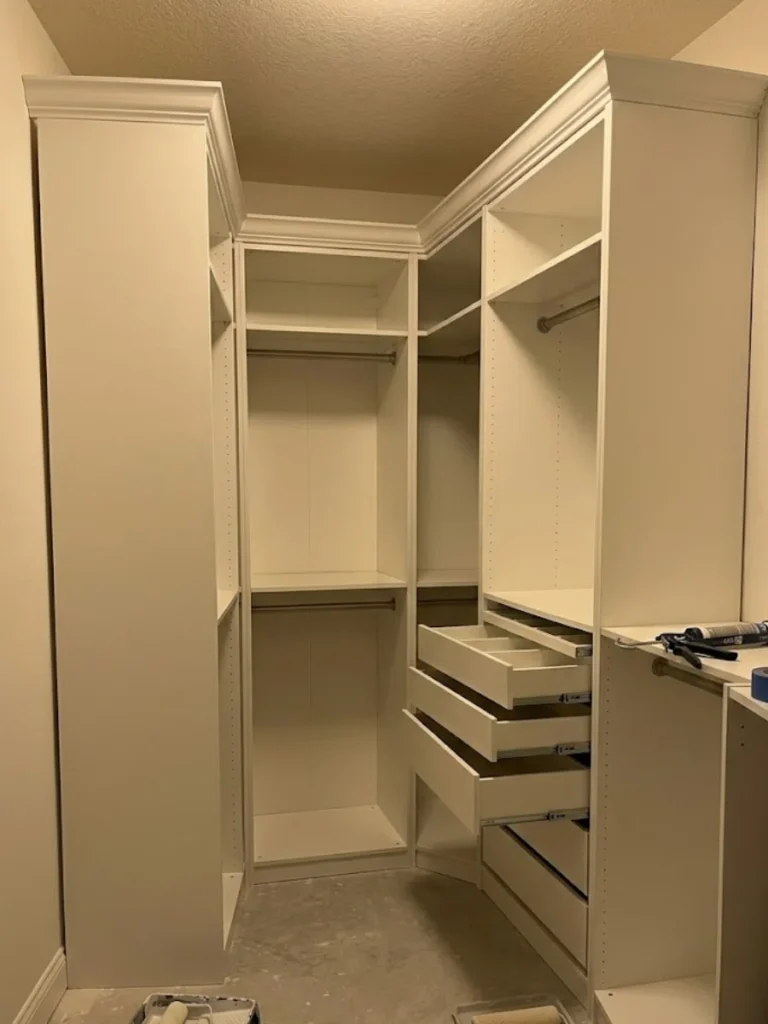
This is what turns a closet from “assembled flat-pack” into “built-in.”
Add crown molding at the top, base trim at the bottom, and a vertical trim piece between any visible side seams. Caulk all the joints. Touch up any small dings with wood filler, sand, then paint.
This stage is the most annoying part of the build and takes longer than you’d think. It’s also the difference between a closet that looks DIY and one that looks like it came with the house.
Step 9: the things that finish the job
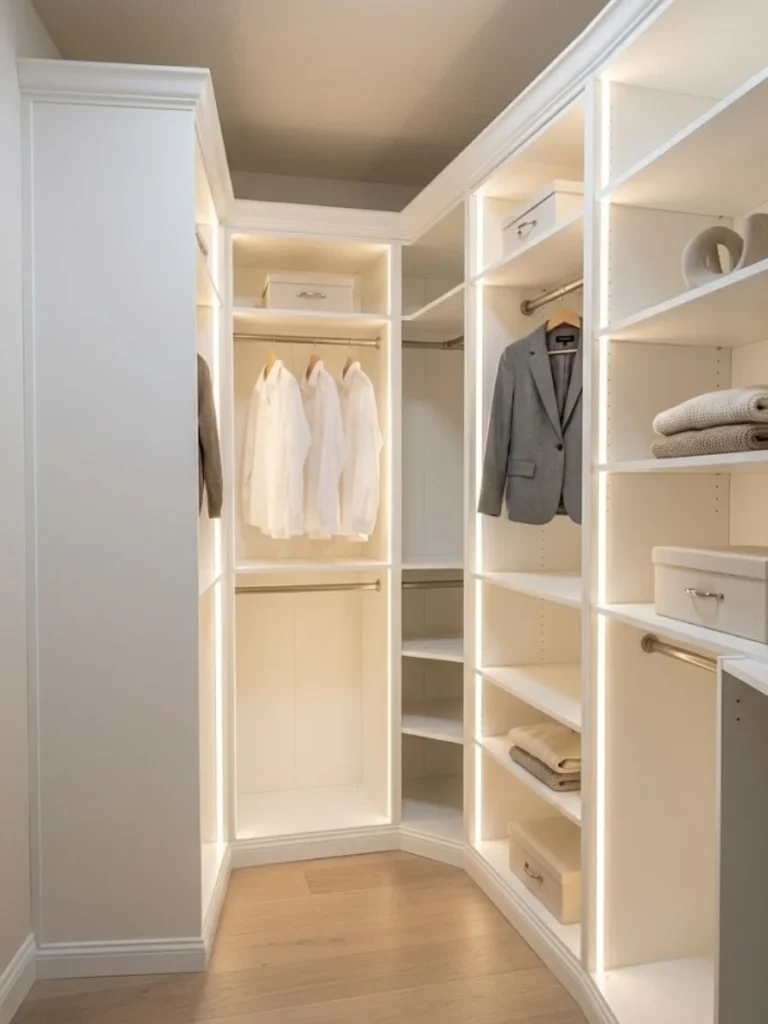
The closets that genuinely feel luxurious all share these:
- Good lighting. LED strip lighting inside the closet, or a motion-sensor ceiling fixture. A dark closet is a closet you don’t use.
- A full-length mirror somewhere inside or on the door
- An outlet at chest height for steaming, ironing, or charging things
- One thing that’s not strictly necessary but is the secret weapon: a stool or small bench. Massive quality-of-life upgrade.
Honest budget
For a small-to-medium walk-in built with PAX and trimmed out:
- PAX frames and basic interiors: £400 to £700
- Drawers, fancy interiors, soft-close runners: add £200 to £400
- Trim, paint, filler, caulk: £50 to £100
- Lighting and electrical, if you do it yourself: £40 to £150
- Lighting with an electrician: add £150 to £400
A complete DIY walk-in closet using PAX and proper trim work lands somewhere between £700 and £1,500 for most rooms. A fully custom MDF build can be done for as little as £300 in materials if you already own tools, but expect to spend twice as long on it.
For comparison, a professionally designed custom walk-in from a closet company typically runs £3,000 to £10,000. So the DIY approach saves real money. It just costs time.
The mistakes I made so you don’t have to
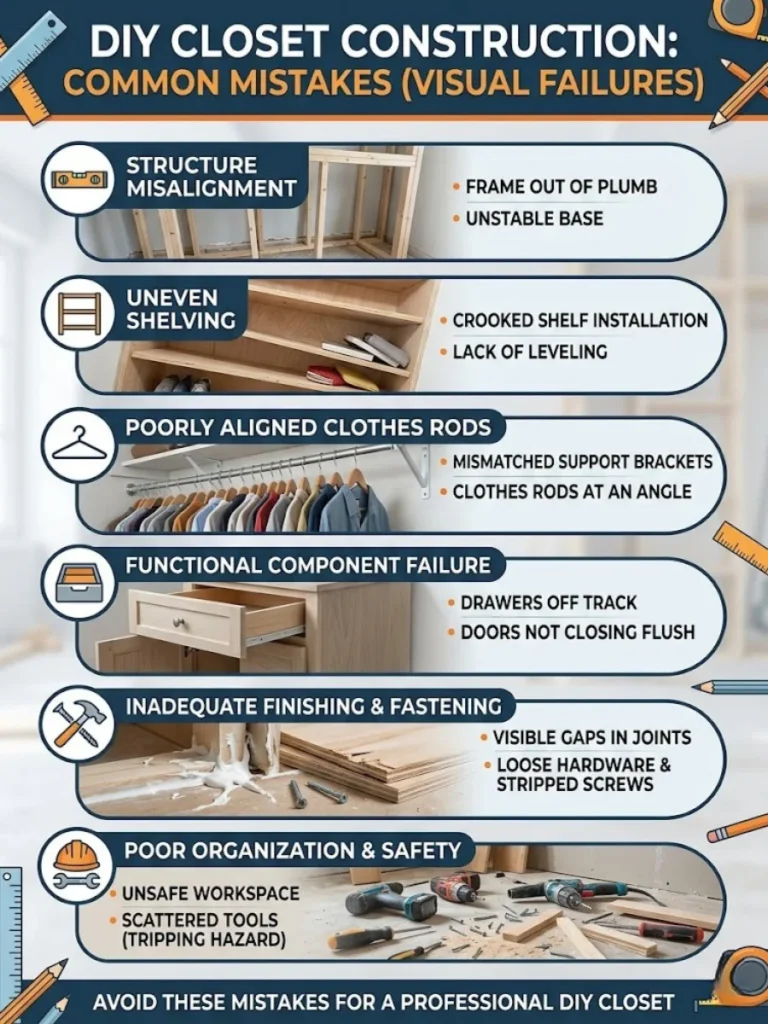
- Built shelves at 16 inches depth. Discovered hanging clothes need 24. Rebuilt.
- Forgot to mark the door swing on my plan. Built a section of closet that the door now hits when it opens. Rebuilt.
- Skipped lighting because “the bedroom light is right there.” Closet was always dark. Added strip lighting six months later.
- Didn’t level the frames properly. Drawers stuck. Re-shimmed.
- Used drywall anchors instead of finding studs. Loaded the closet. Heard a sound I’d rather forget. Reinforced everything.
If you do none of these, you’re already ahead of where I was.
The current closet, built four years ago using the approach above, has held up beautifully. It looks built-in. It cost about £900 all in. It’s the only home improvement project I’ve ever finished and not immediately wanted to redo.
Worth a weekend. Worth a careful afternoon of planning before that weekend, more than anything else.


