Sewing Desk Ideas That Actually Hold Up to Real Sewing
- Home Organization Ideas
 Alina
Alina- 0
- 15 minutes read


I bought a beautiful little writing desk for my sewing once. Slim legs, a single shallow drawer, about 90cm wide. It lasted four days. The first time I ran a heavy denim seam through the machine, the whole thing walked sideways across the floor and the drawer rattled itself open. I’d spent £140 on something that couldn’t survive a pair of jeans.
That sums up most sewing desk advice. A lot of the pretty setups you see were styled for a photo, not for someone backstitching at 11pm with three projects half-finished and pins everywhere. So here are the sewing desk ideas that have actually earned their place in my flat, plus a few I tried and wouldn’t bother with again.
Start with a desk that doesn’t move
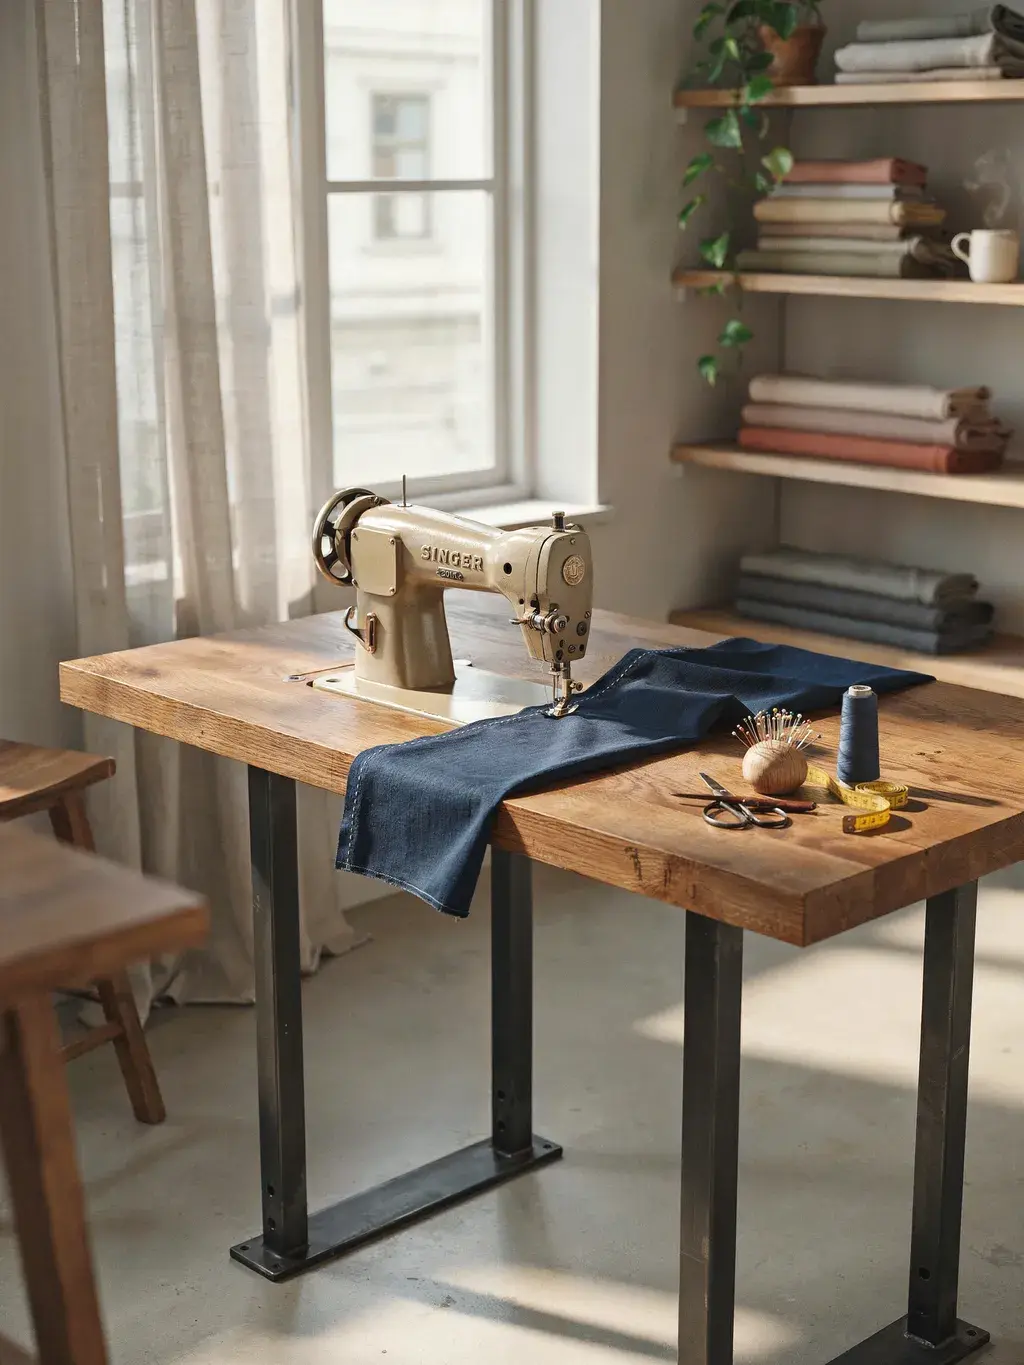
The single most important thing in a sewing room is a surface that stays put. Machines vibrate. A wobbly desk turns a straight seam into a wavy one and gives you a headache by the second hour.
I switched to a basic IKEA desk frame with a solid pine top and the difference was immediate. Anything with four sturdy legs and a bit of weight will do. If your desk has any give, the cheapest fix is a couple of felt pads under the machine and a non-slip mat. Honestly, a stable £60 desk beats a gorgeous £200 one that shudders every time you press the pedal.
Build in a lowered machine well if you can
This is the upgrade nobody tells you about. A standard desk sits your machine bed about 8cm above the surface, so your fabric has to climb up to meet the needle. A sewing cabinet with a recessed platform drops the machine so its bed sits flush with the desktop. Large quilts and curtains glide instead of dragging.
You can buy purpose-built cabinets, but they’re expensive and bulky. The budget version: cut a machine-sized hole in a desktop and build a shelf underneath at the right height. I haven’t done this myself, my landlord would have words, but a friend did it with a £25 worktop offcut and swears by it for quilting.
Give yourself more surface than you think you need
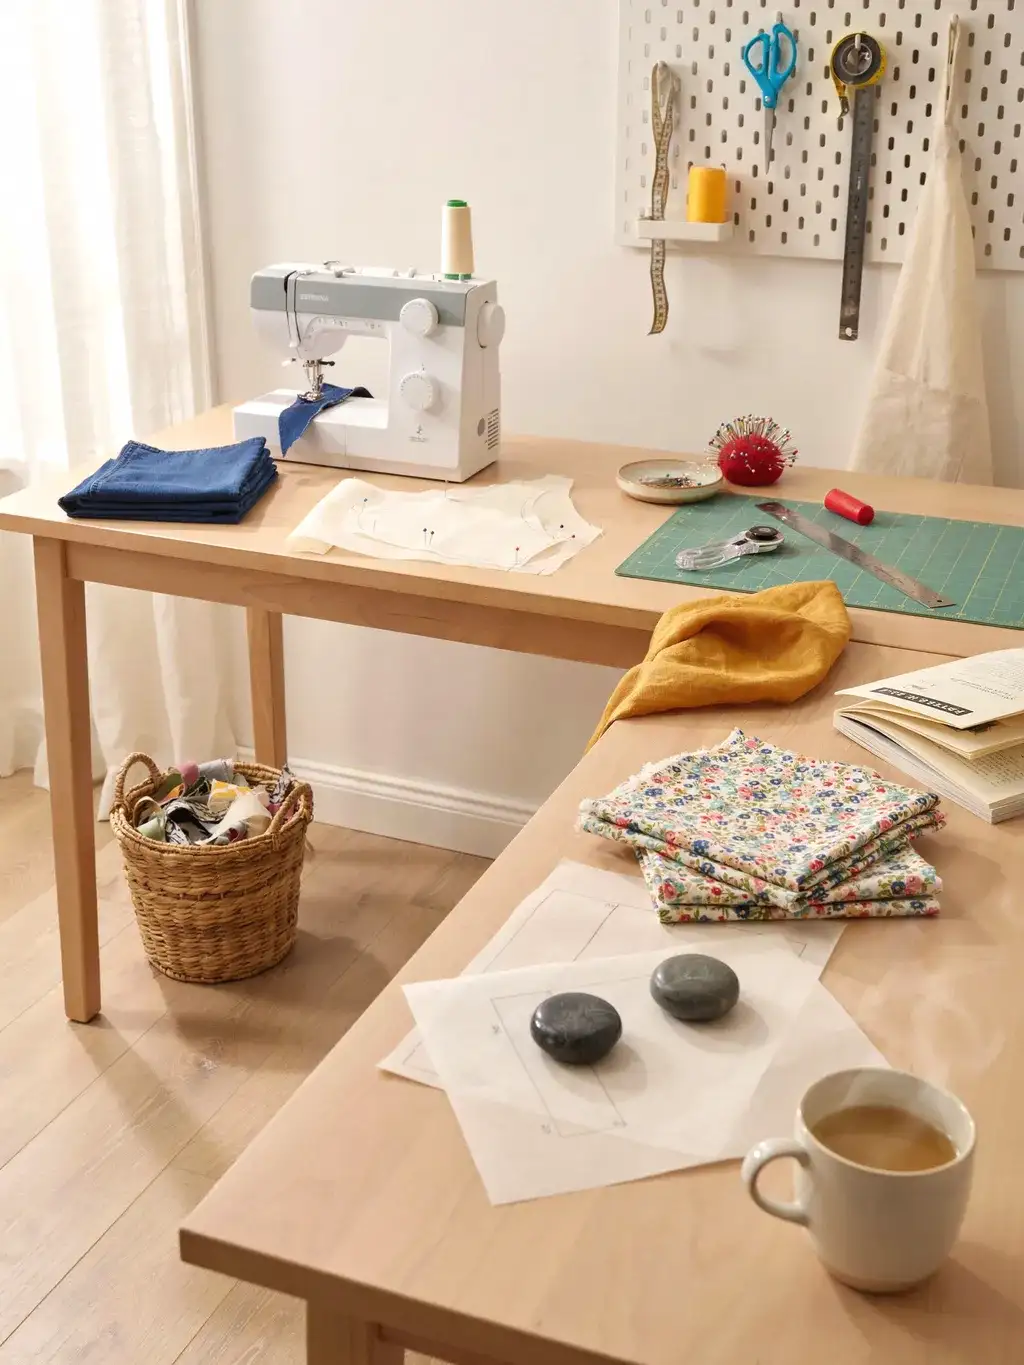
Every beginner underestimates this. You need room for the machine, room for fabric to feed out the left and behind, plus space for your cutting, pinning, and the inevitable pile of things you haven’t put away.
A 120cm wide desk is a sensible minimum. 140cm is better. If you can run an L-shape into a corner, even better, because it gives you a dedicated cutting zone separate from the machine. The single best thing I did was add a cheap fold-down wall shelf to the left of my machine purely to catch fabric as it comes off. It cost £18 and stopped my finished seams from puddling on the floor.
Get the height right or your back pays for it
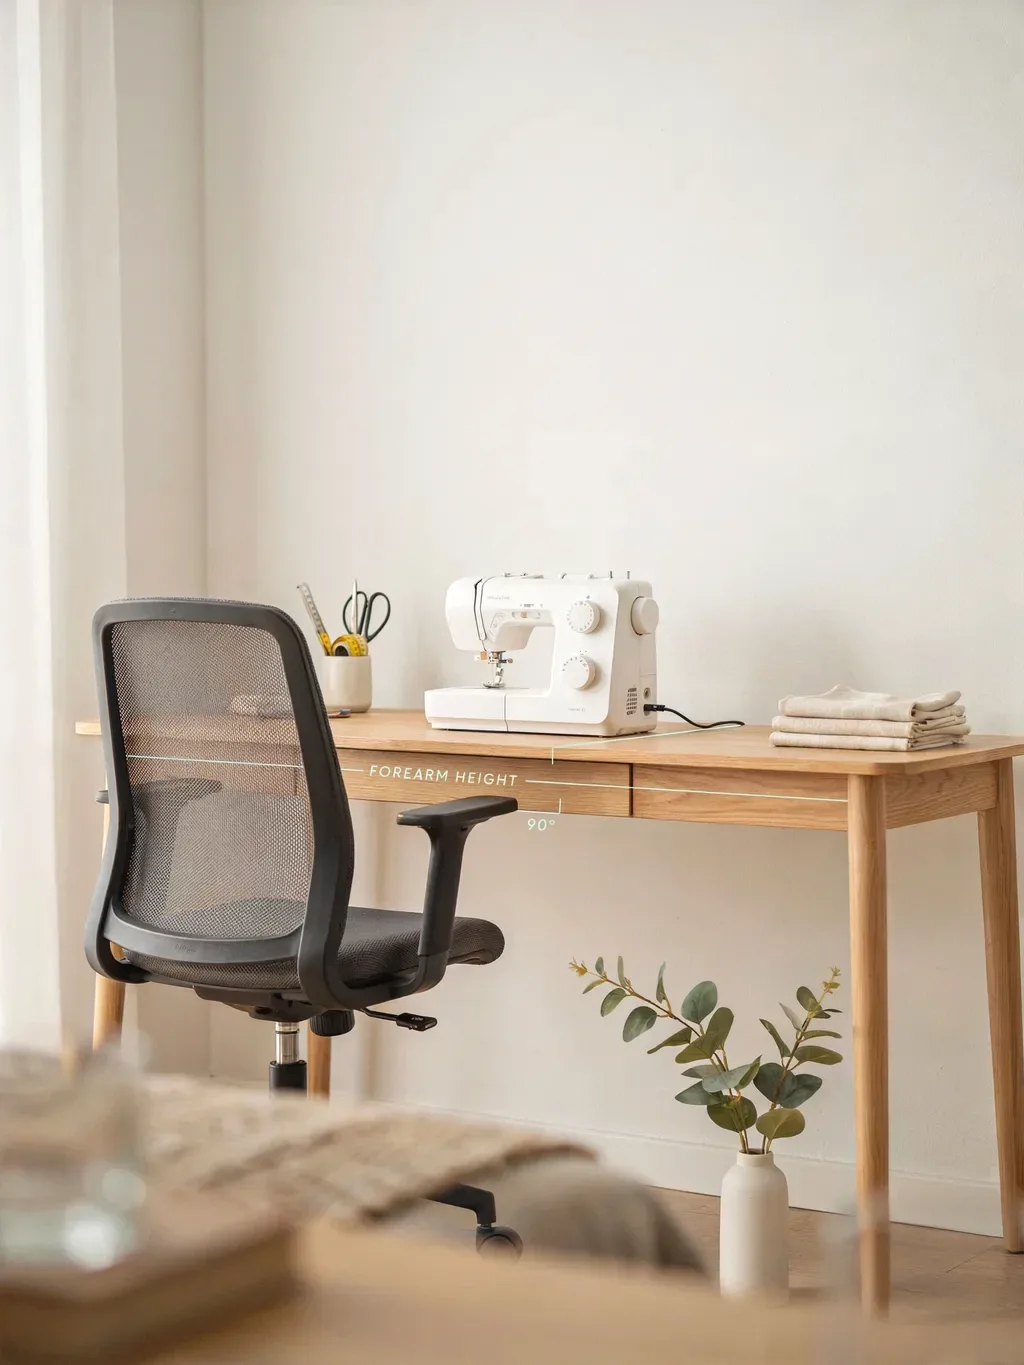
Most desks are built for typing, around 73cm high. For sewing, that’s slightly too tall, because your hands work at the machine bed, not the desktop. The fix is a chair you can raise, or lowering the desk if the legs allow it.
The real test: sit down, put your hands where the needle is, and your forearms should be roughly parallel to the floor with relaxed shoulders. If you’re hunching or reaching up, something’s wrong. An adjustable office chair solves this for most people and costs far less than a new desk.
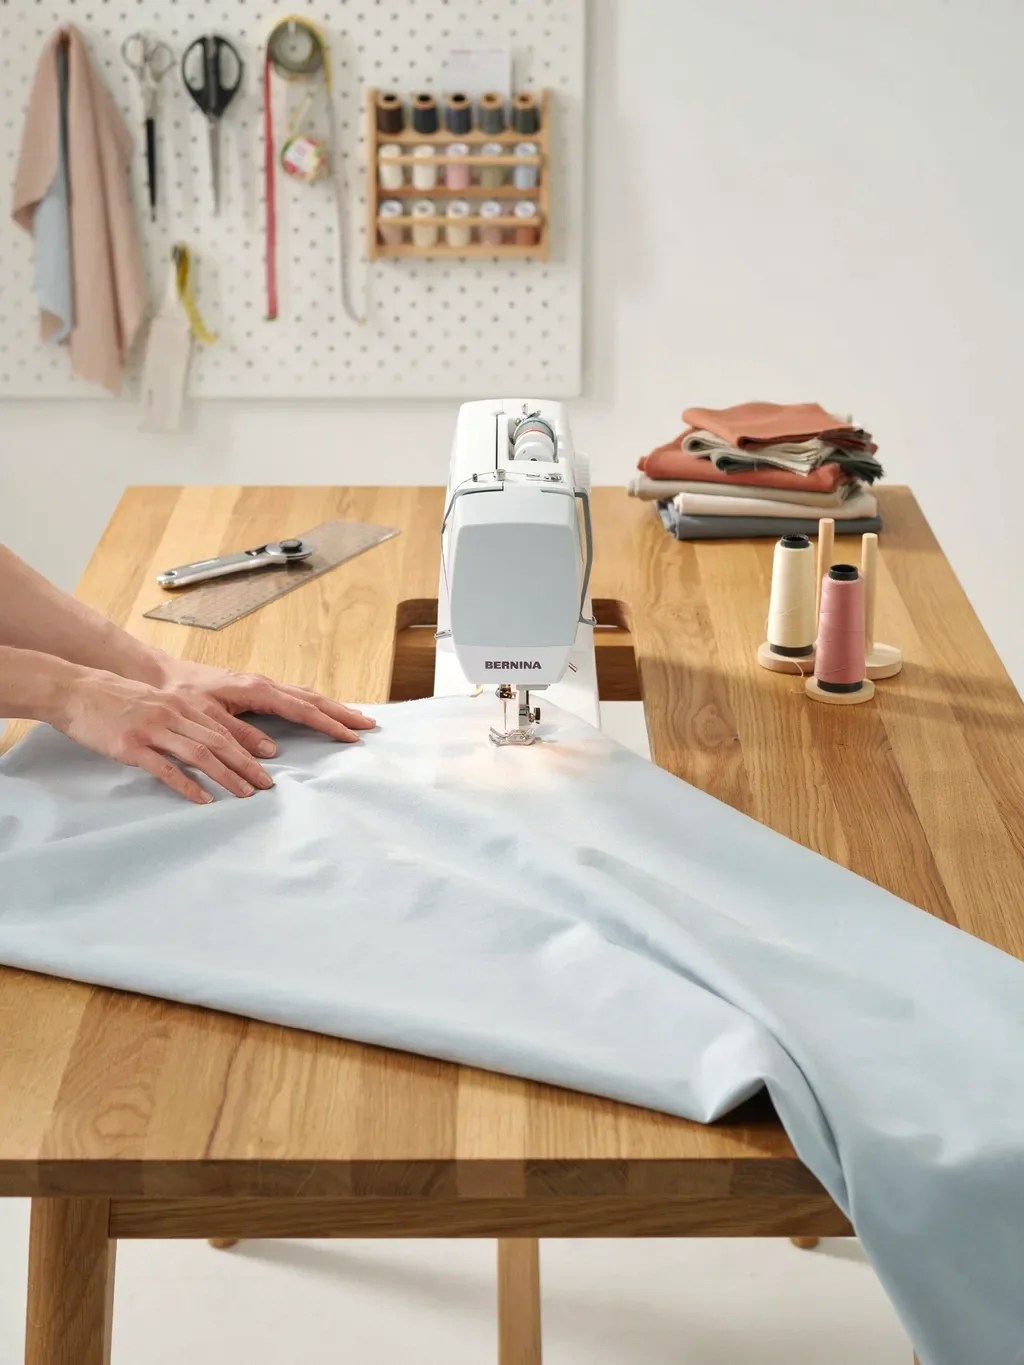
Thread and tool storage within arm’s reach
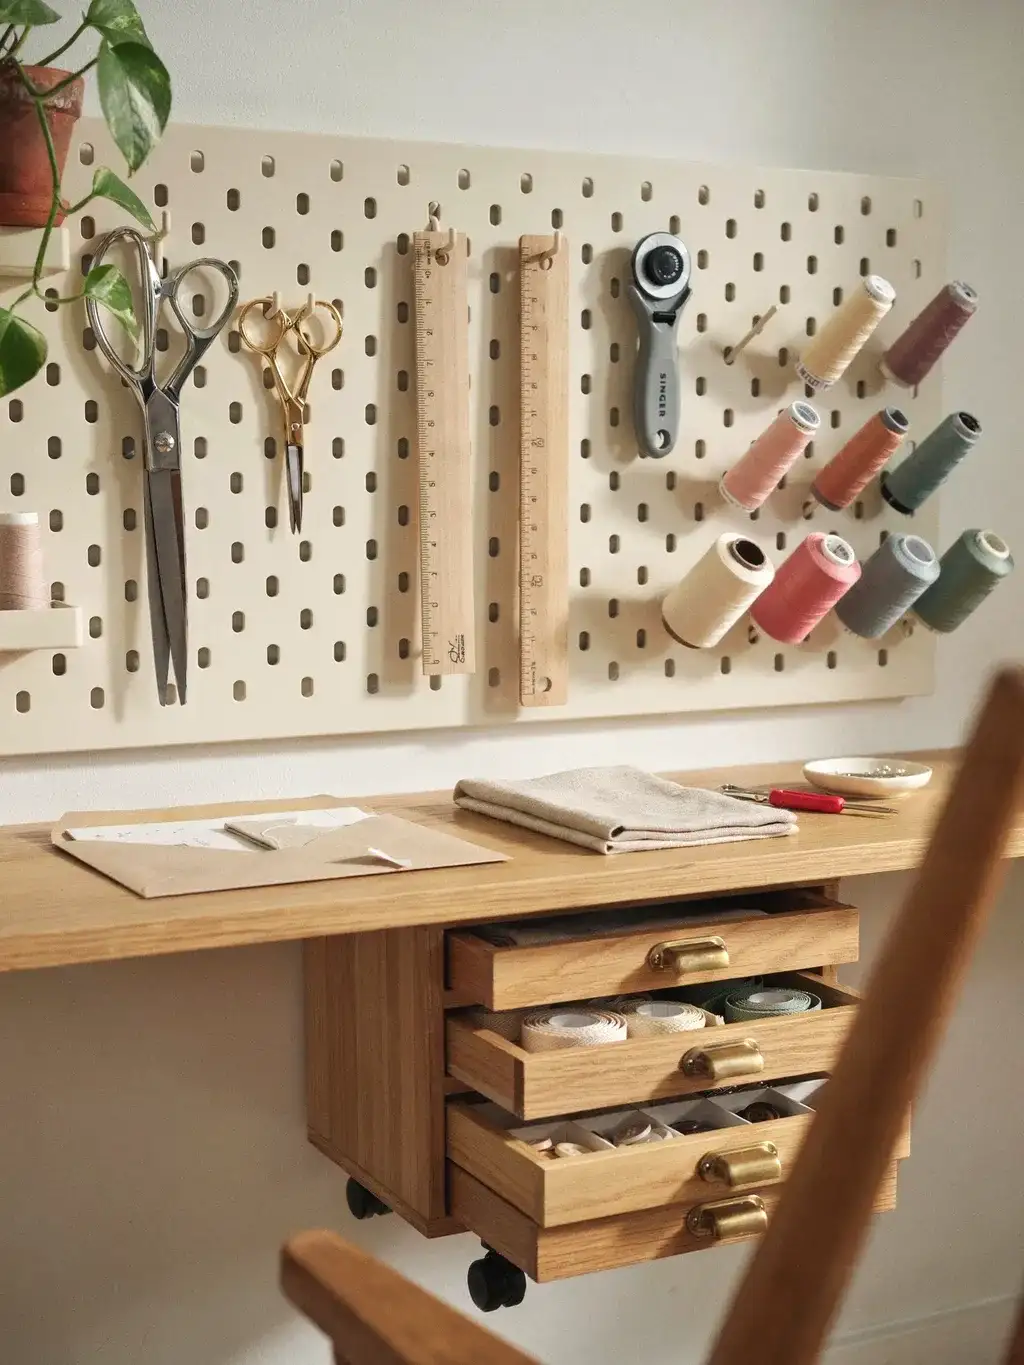
The thing that slows you down most isn’t sewing, it’s getting up to find the right thread or the seam ripper for the fourth time. Keep the essentials in the arc your hand can reach without standing.
A small drawer unit on castors that tucks under the desk is ideal. I use a three-drawer Helmer for bobbins, feet, and small tools, and a wall-mounted pegboard above the desk for scissors and rulers. Pegboard is the cheapest, most flexible storage going. A 60x60cm board with hooks runs about £20 and you can rearrange it endlessly as your kit grows.
A dedicated cutting surface saves your desktop
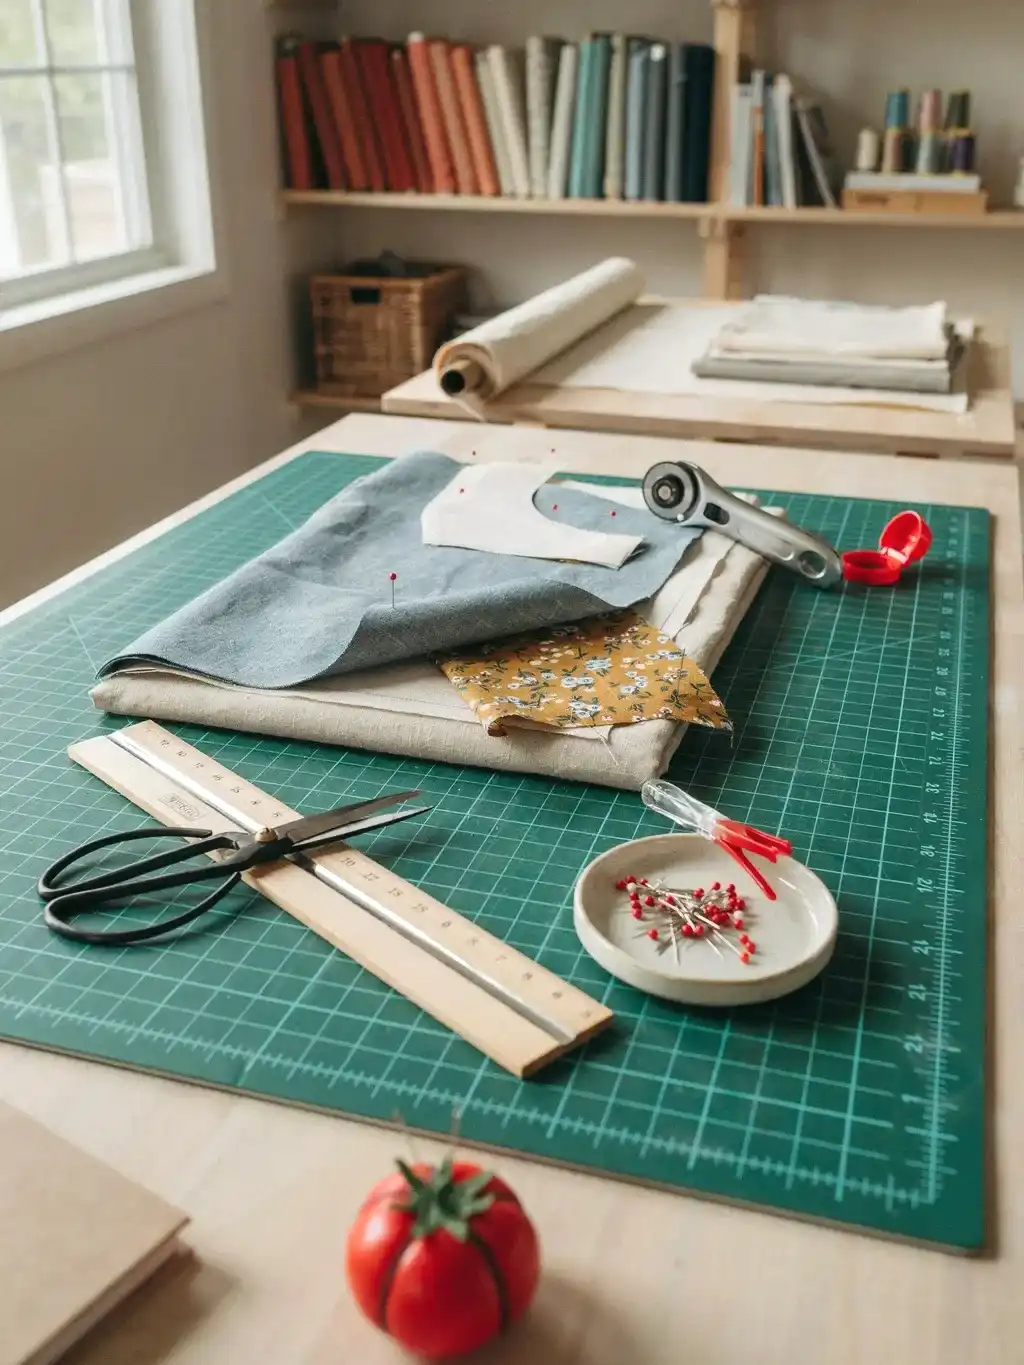
If you cut directly on a wooden desk, you’ll score it to ribbons and dull your blades on the hard surface. A self-healing cutting mat is non-negotiable if you use a rotary cutter. The A1 size covers a generous chunk of desk and lasts years.
Some people keep a separate, taller cutting table because bending over a low desk to cut wrecks your back. If you’ve got the space, a kitchen-counter-height surface for cutting is a lovely thing. If you don’t, a large mat on your main desk works fine, just expect to stand for the cutting.
Lighting matters more than the desk itself
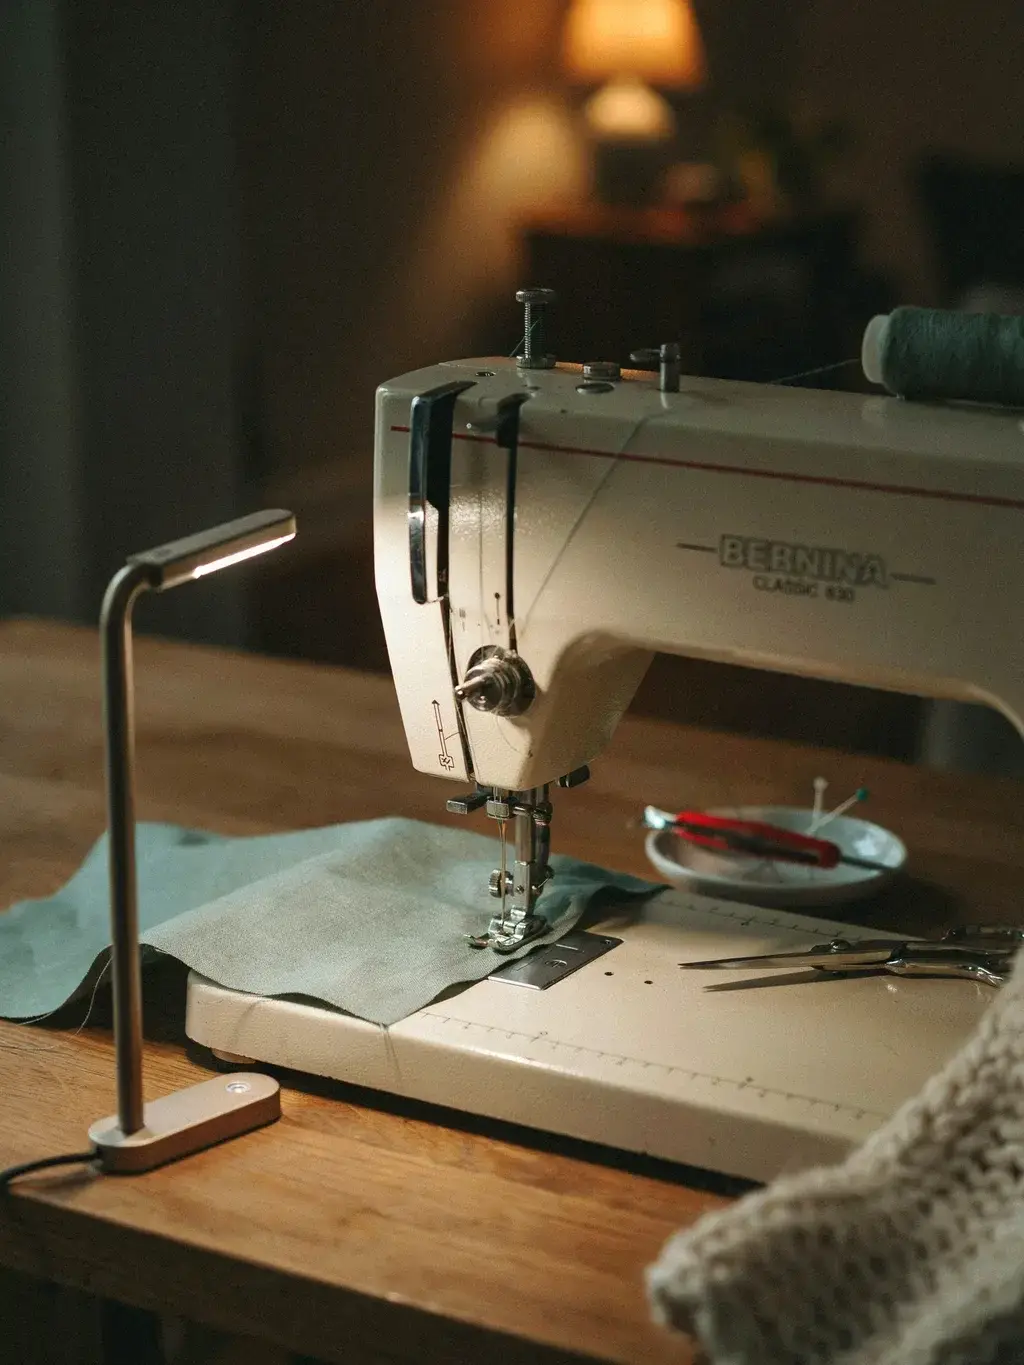
You can sew on a kitchen table if you have to. What you can’t do is sew well in bad light. Overhead room lighting throws shadows right where your hands are working, which is exactly where you need to see.
A clamp-on task lamp with a daylight-balanced LED bulb is the cheapest upgrade with the biggest payoff. Position it to the front-left of the machine so the needle and seam line are lit without your hand casting a shadow. Mine cost £24 and I’d rank it above almost everything else on this list. Natural daylight from a window to the side is even better when you can get it.
The fold-away idea, and why it’s a mixed bag
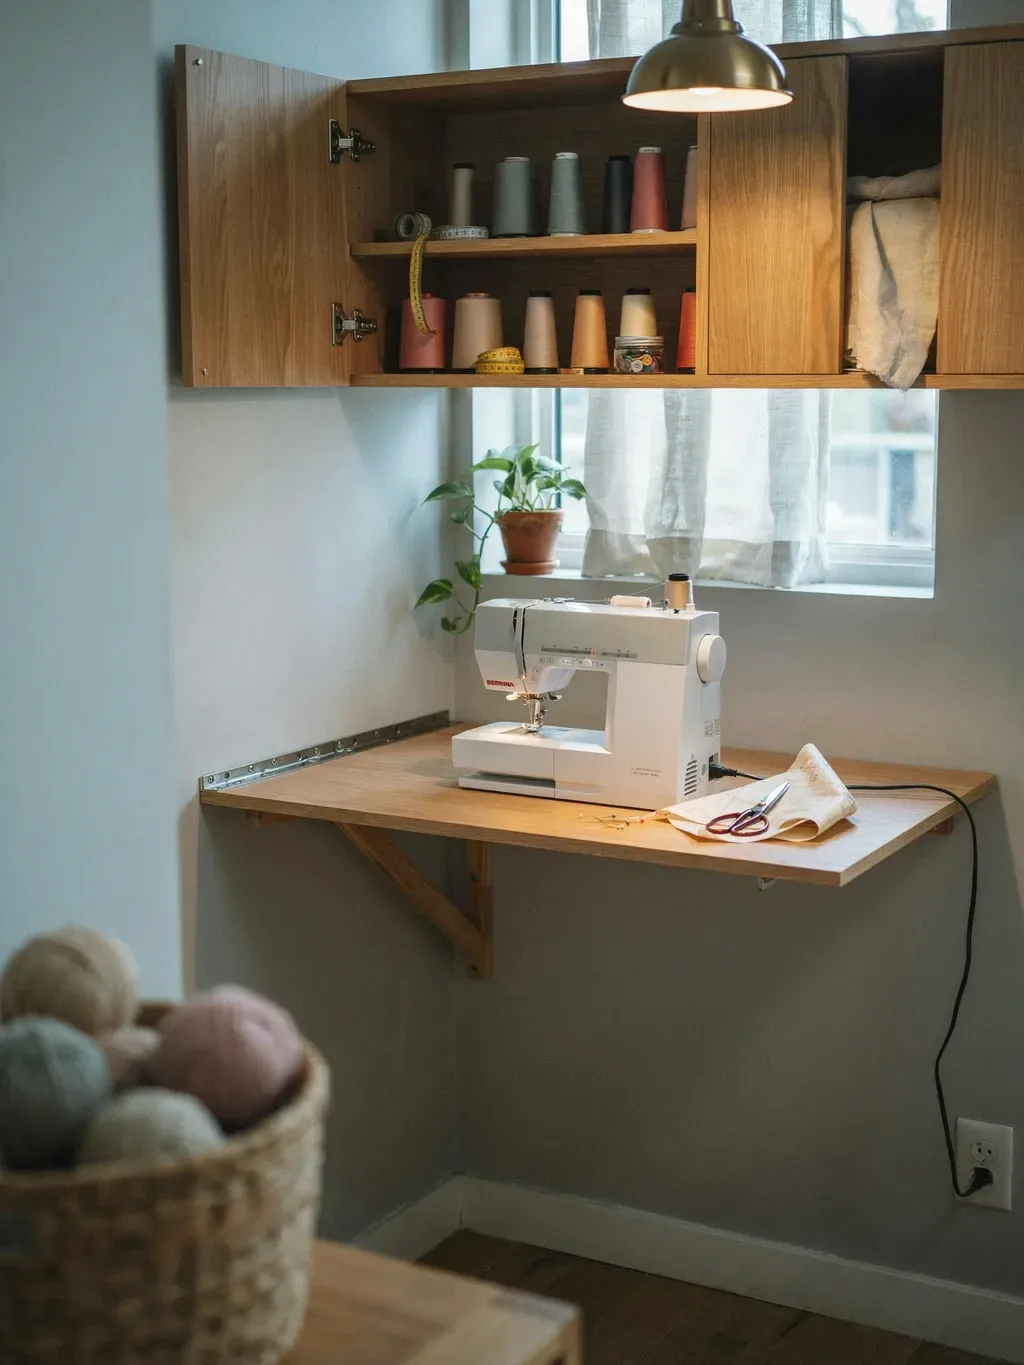
If you don’t have a spare room, a desk that folds or hides away sounds ideal. A drop-leaf table, a wall-mounted fold-down desk, or a machine that lives in a cupboard between sessions.
Here’s the honest tradeoff: anything you have to set up and pack away, you’ll use less. The friction is real. I tried keeping my machine in a cupboard for a while and found I just stopped sewing because hauling it out felt like a chore. If you go fold-away, leave the machine out and only fold the surface, or accept that you’ll sew less often. It’s a genuine compromise, not a free win.
Cable and pedal management
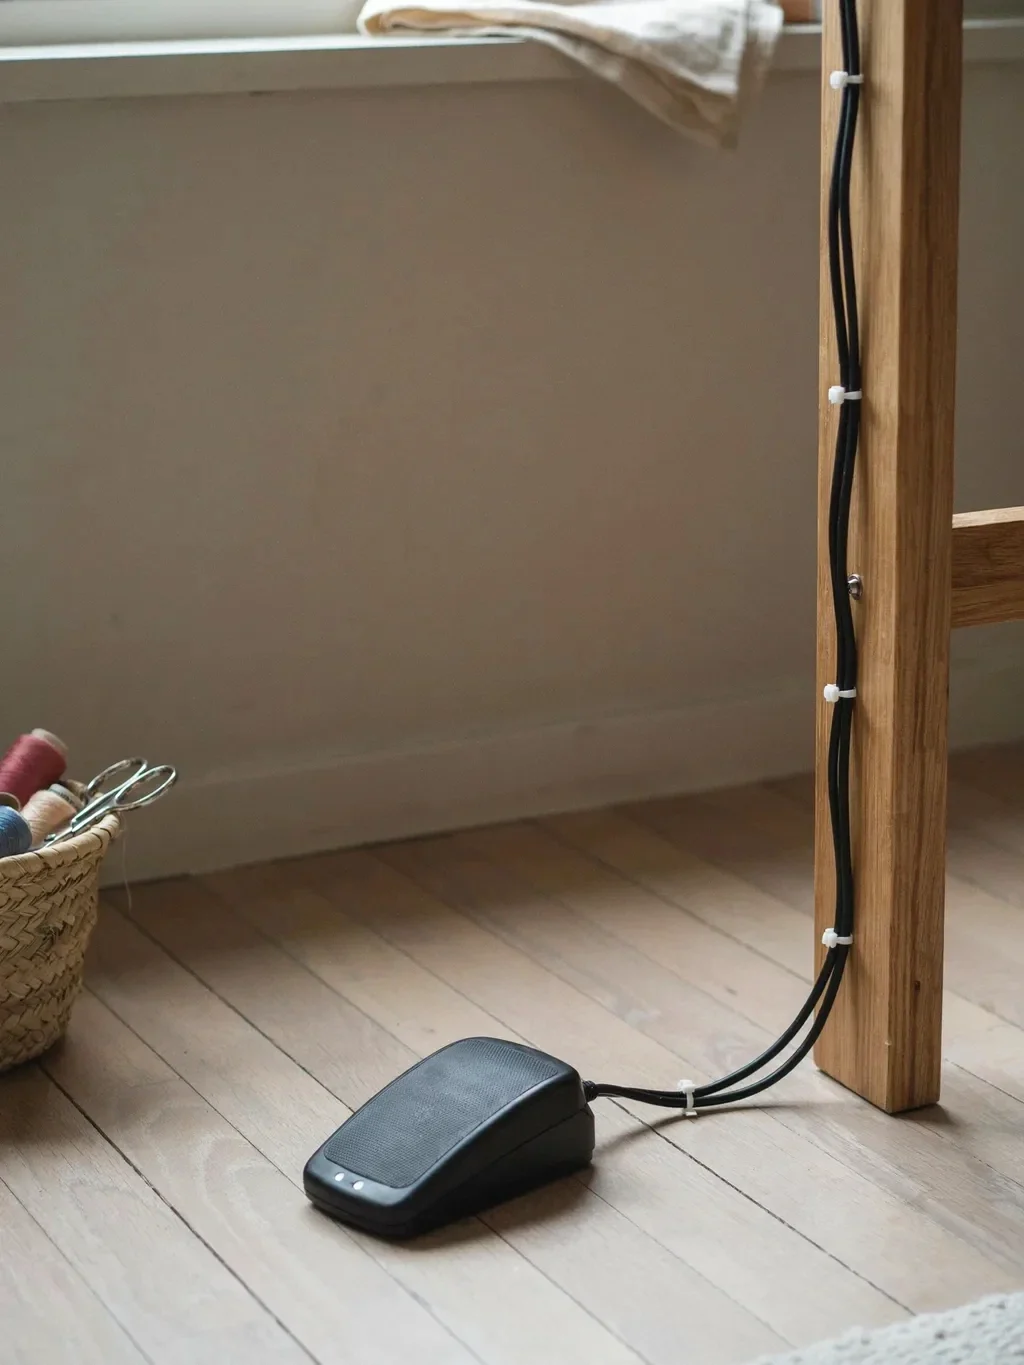
Small thing, big quality-of-life difference. The foot pedal cable always ends up tangled with the chair legs, and the power lead trails across where you walk. A couple of adhesive cable clips along the desk leg and a small basket to coil the slack keeps the pedal where your foot expects it. Costs almost nothing and stops the daily fight with the wires.
The real numbers
Here’s roughly what a solid setup costs if you build it piece by piece rather than buying a fancy all-in-one cabinet:
- Sturdy desk (IKEA frame plus pine top): £60 to £90
- Adjustable chair: £40 to £70 secondhand
- Pegboard plus hooks: £20
- Castor drawer unit: £35
- A1 self-healing cutting mat: £25
- Daylight task lamp: £24
- Fold-down catch shelf and cable clips: £20
That’s under £250 for something that genuinely works, against £400-plus for a dedicated sewing cabinet that may not even suit how you work. I’d spend the money on stability, storage, and light, in that order, and leave the looks for last.
A couple of things to skip
Don’t buy a desk with a glass top. It looks smart and it’s a nightmare, because pins scatter, it shows every speck of lint, and it’s cold and slippery under fabric. Don’t bother with tiny decorative thread racks that hold twenty spools either, you’ll outgrow them in a month and they collect dust on every reel.
And the one I learned the hard way: don’t choose a sewing desk for the photo. Choose it for the denim. The pretty writing desk is long gone, replaced by something heavier and far less elegant that has never once walked across the floor mid-seam. I don’t miss the slim legs at all.


